

React 是一個開源的 JavaScript 函式庫,用於構建前衛的網站設計並改善使用者介面。由於其強大、靈活和高效的特性,它已超越了其他競爭的前端函式庫和框架。React 提供了出色的功能和突出的特性,有助於實現自定義和動態動畫。
在動畫集合列表中,React 中的平滑滾動有助於增加網路應用程式的互動性並簡化動畫。平滑滾動 是一項允許使用者使用導覽列前往頁面不同區段的功能。這意味著,使用者不是在按下按鈕後立即被拉到同一個頁面的不同區段,而是透過滾動動畫被引導至目標位置。
在本指南中,我們將 引導您完成使用 React 實現平滑滾動的步驟.
讓我們開始吧!
先決條件
要跟隨本教學,您需要準備以下內容:
-
Git 已安裝在您的系統中。
-
最新版本的 Node.js 必須已設定完成。
-
使用本教學來 在 Ubuntu 18.04 上安裝 Node.js
-
基本設定:安裝 react-scroll
在這個適合初學者的指南中,我們將使用 react-scroll 設計一個簡單的應用程式。如果您已熟悉 React 基礎知識 並期待提升您在 react-scroll 功能方面的知識,請參考這些摘要步驟。
首先,安裝 react-scroll,使用以下指令:
|
1 |
npm npm i -S react-scroll |
接下來,匯入 react-scroll 套件:
|
1 |
import { Link, animateScroll as scroll } from "react-scroll"; |
之後,插入 <Link /> 元件,它將指向應用程式的特定區段:
|
1 |
<Link to="section1"> |
讓我們繼續前進,設計一個具有平滑滾動功能的 React 應用程式。
步驟 1:複製並執行 React 應用程式
在本指南中,我們將使用 React 起始專案,其中包含頂部的導覽列。在該處您將看到五個獨特的 <sections> 依序排列。
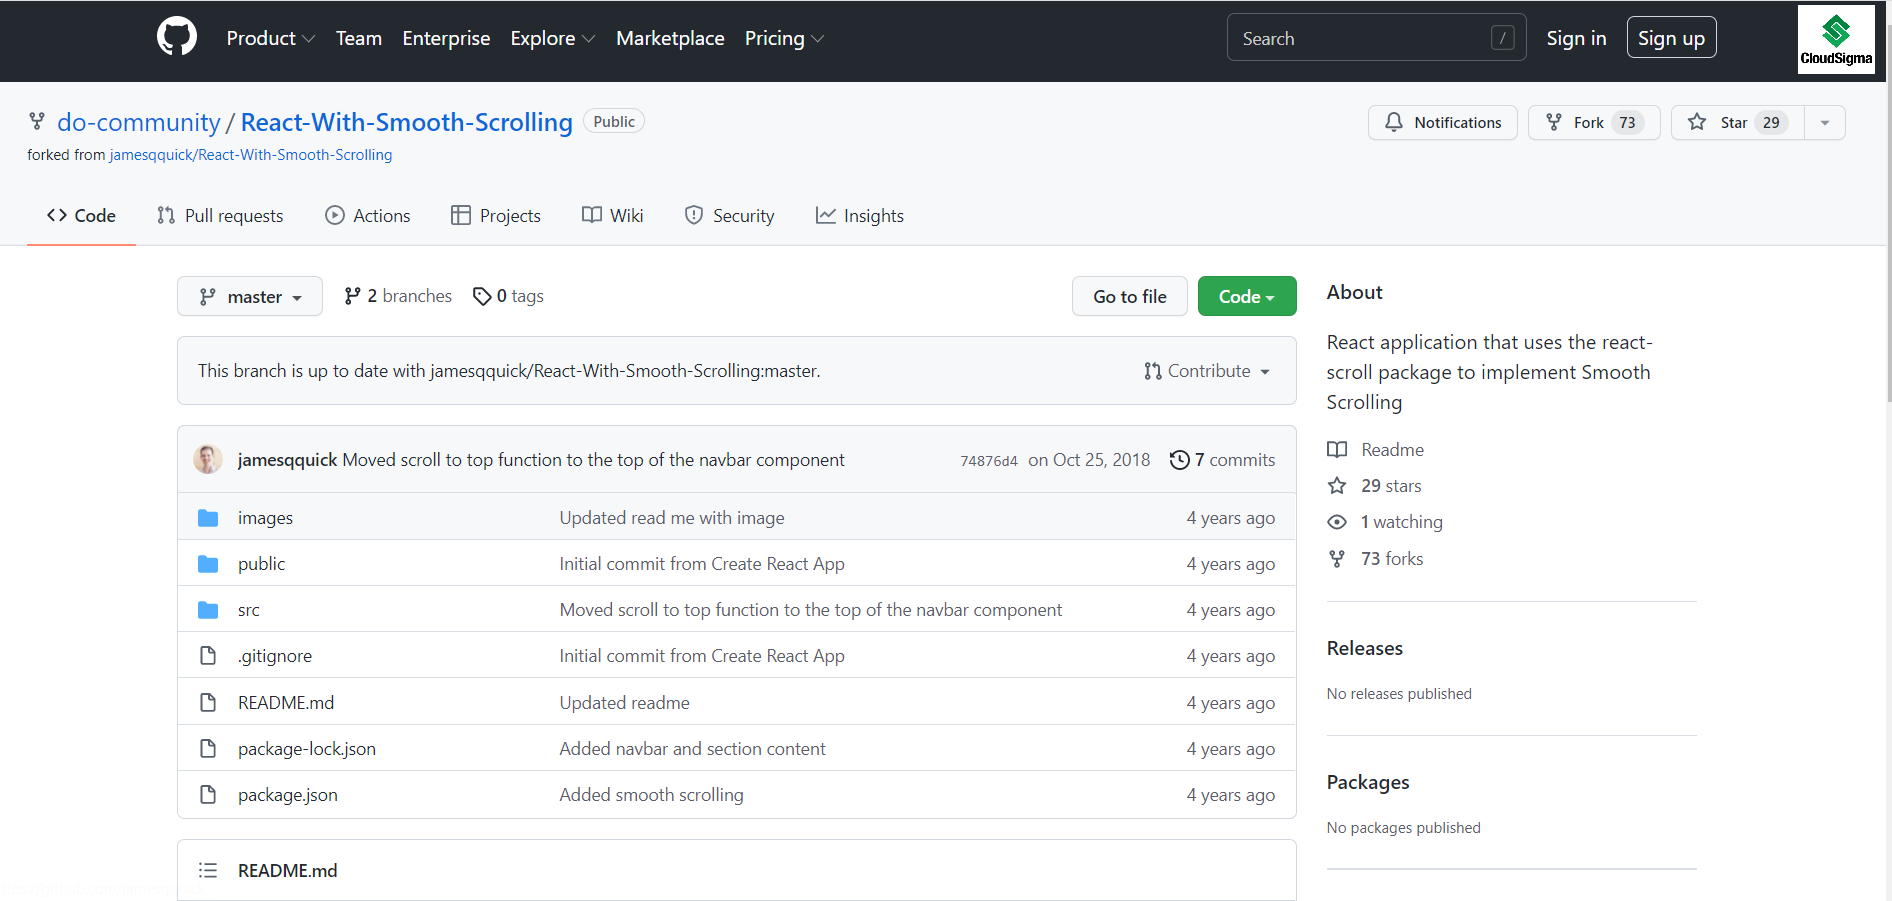
目前,導覽列中的連結是錨點標籤。然而,我們很快就需要更新它們以啟用平滑滾動。請跟隨 React With Smooth Scrolling 頁面以導覽至專案儲存庫。請特別注意,該連結指向的是 start 分支。而 master 分支則包含所有已完成的修改。打開該網址後,您將看到儲存庫:
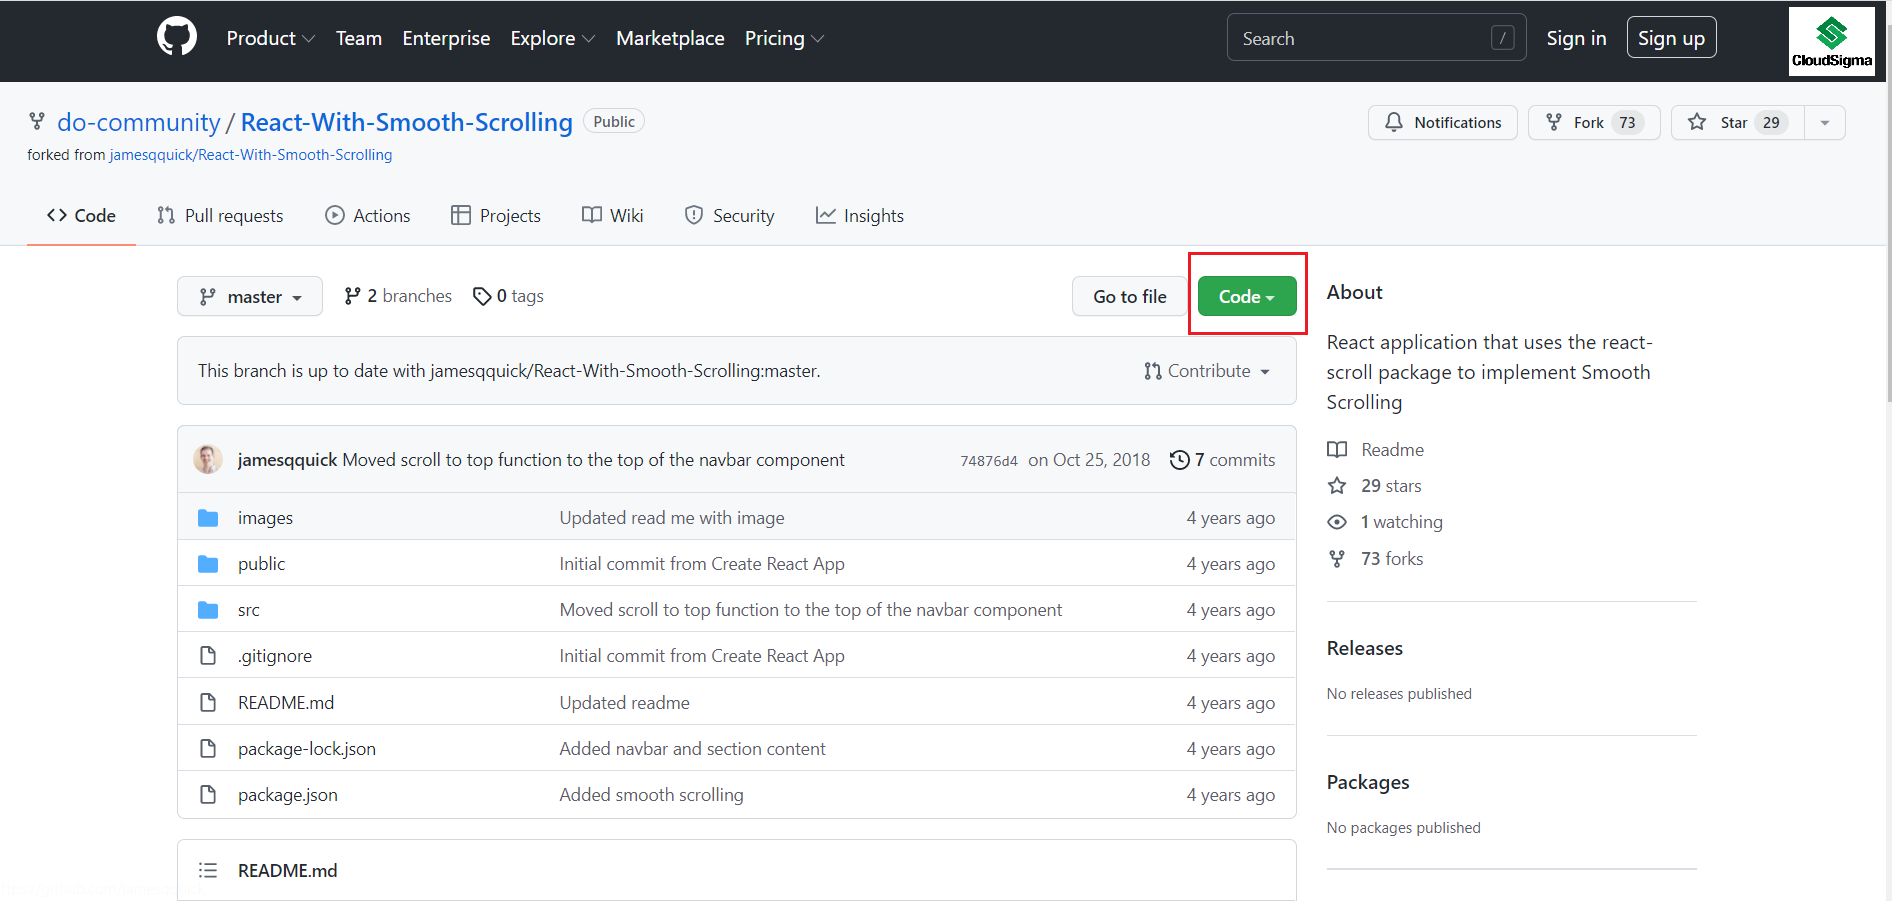
在儲存庫頁面上,您將看到綠色的 Code 按鈕。 按下 下拉箭頭:
點擊箭頭後,您將看到 HTTP 連結:
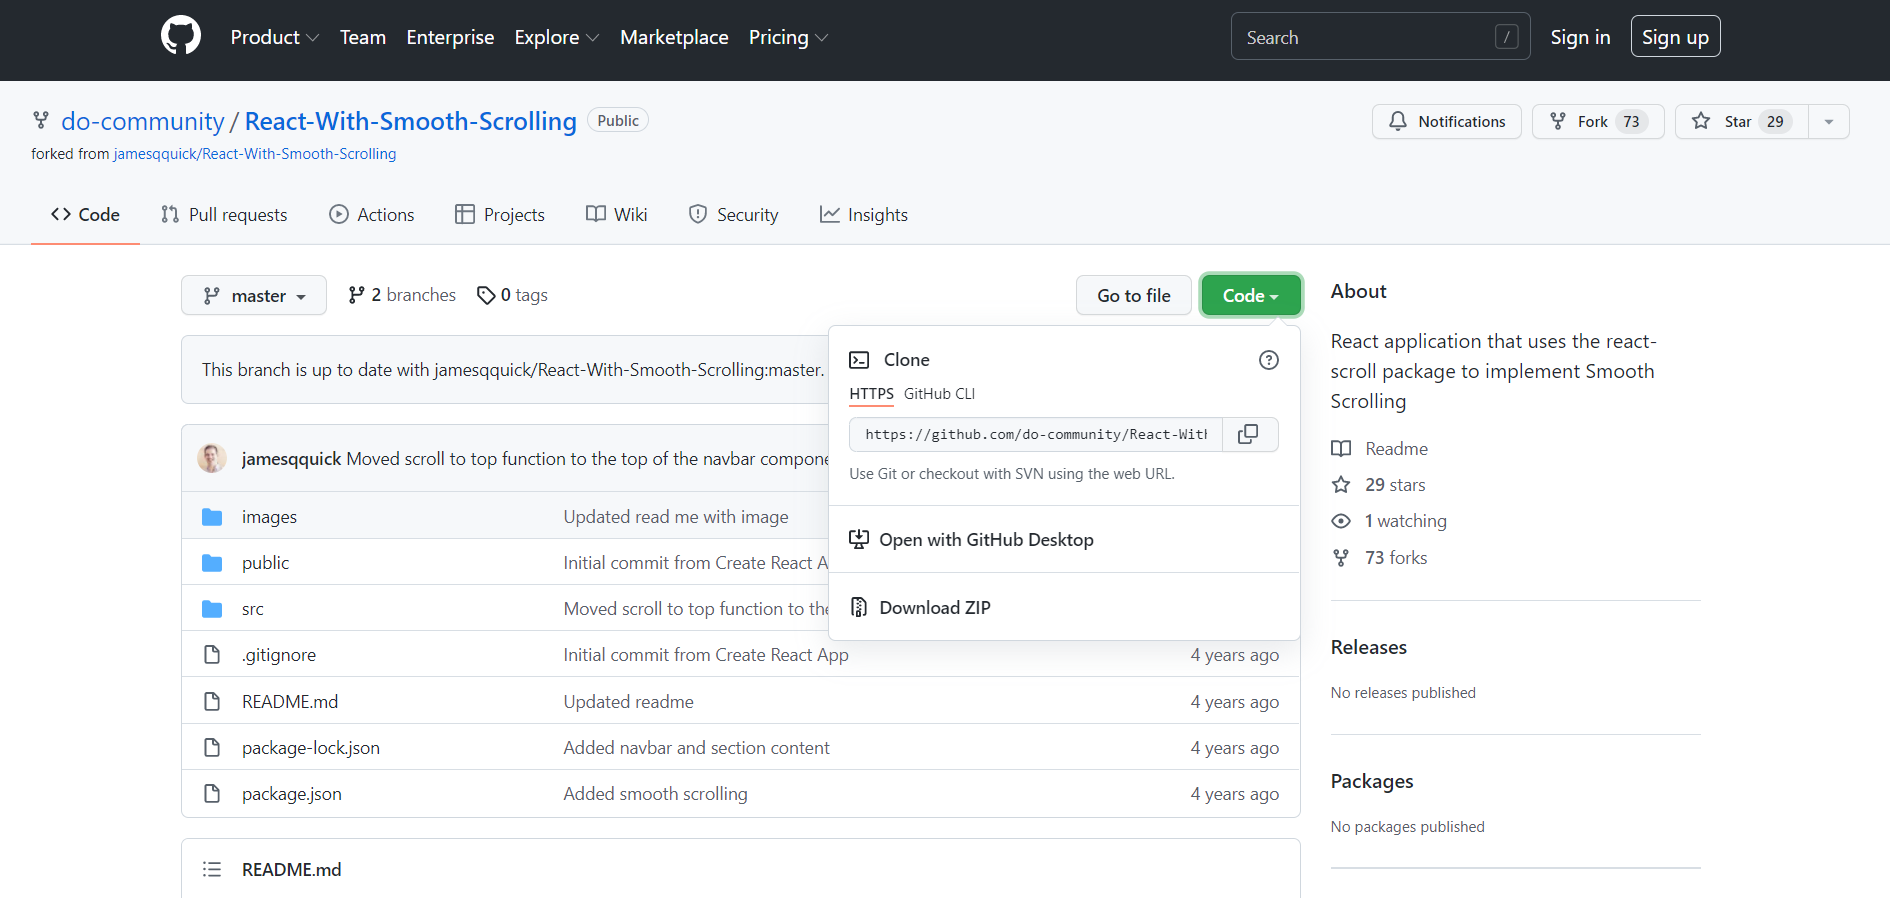
現在前往您的 git 終端機,並使用以下指令來 複製 (clone) 專案到您的本機電腦:
|
1 |
$ git clone https://github.com/do-community/React-With-Smooth-Scrolling.git |
在 src/Components 目錄中,您會找到一個 Navbar.js 檔案,其中包含 <Navbar> 以及與五個獨特的 nav-items 相對應的 <Section> 元件,它們依序排列:
|
1 2 3 4 5 6 7 8 9 10 11 12 13 14 15 16 17 18 19 20 21 22 23 24 25 26 |
import React, { Component } from "react"; import logo from "../logo.svg"; export default class Navbar extends Component { render() { return ( <nav className="nav" id="navbar"> <div className="nav-content"> <img src={logo} className="nav-logo" alt="標誌。" onClick={this.scrollToTop} /> <ul className="nav-items"> <li className="nav-item">區段 1</li> <li className="nav-item">區段 2</li> <li className="nav-item">區段 3</li> <li className="nav-item">區段 4</li> <li className="nav-item">區段 5</li> </ul> </div> </nav> ); } } |
接下來,導覽至 App.js 檔案,位於 src 目錄。在該處,您將會看到 <Navbar> 已與五個 <Section> 放在一起:
|
1 2 3 4 5 6 7 8 9 10 11 12 13 14 15 16 17 18 19 20 21 22 23 24 25 26 27 28 29 30 31 32 33 34 35 36 37 38 39 40 41 42 43 44 45 46 47 48 49 50 51 52 |
import React, { Component } from "react"; import logo from "./logo.svg"; import "./App.css"; import Navbar from "./Components/Navbar"; import Section from "./Components/Section"; import dummyText from "./DummyText"; class App extends Component { render() { return ( <div className="App"> <Navbar /> <Section title="區段 1" subtitle={dummyText} dark={true} id="section1" /> <Section title="區段 2" subtitle={dummyText} dark={false} id="section2" /> <Section title="區段 3" subtitle={dummyText} dark={true} id="section3" /> <Section title="區段 4" subtitle={dummyText} dark={false} id="section4" /> <Section title="區段 5" subtitle={dummyText} dark={true} id="section5" /> </div> ); } } export default App; |
預設情況下,每個 <Section> 元件都將包含一個 title 和 subtitle.
-
DRY 原則的實際應用
由於我們在教學中使用的是虛擬文字,讓我們新增一個 dummyText.js 檔案以節省時間並減少重複。使用新建立的 JavaScript 檔案傳遞到每個 <Section> 元素中。
-
安裝 React
使用以下指令來 執行 應用程式:
|
1 2 3 |
cd React-With-Smooth-Scrolling npm install npm start |
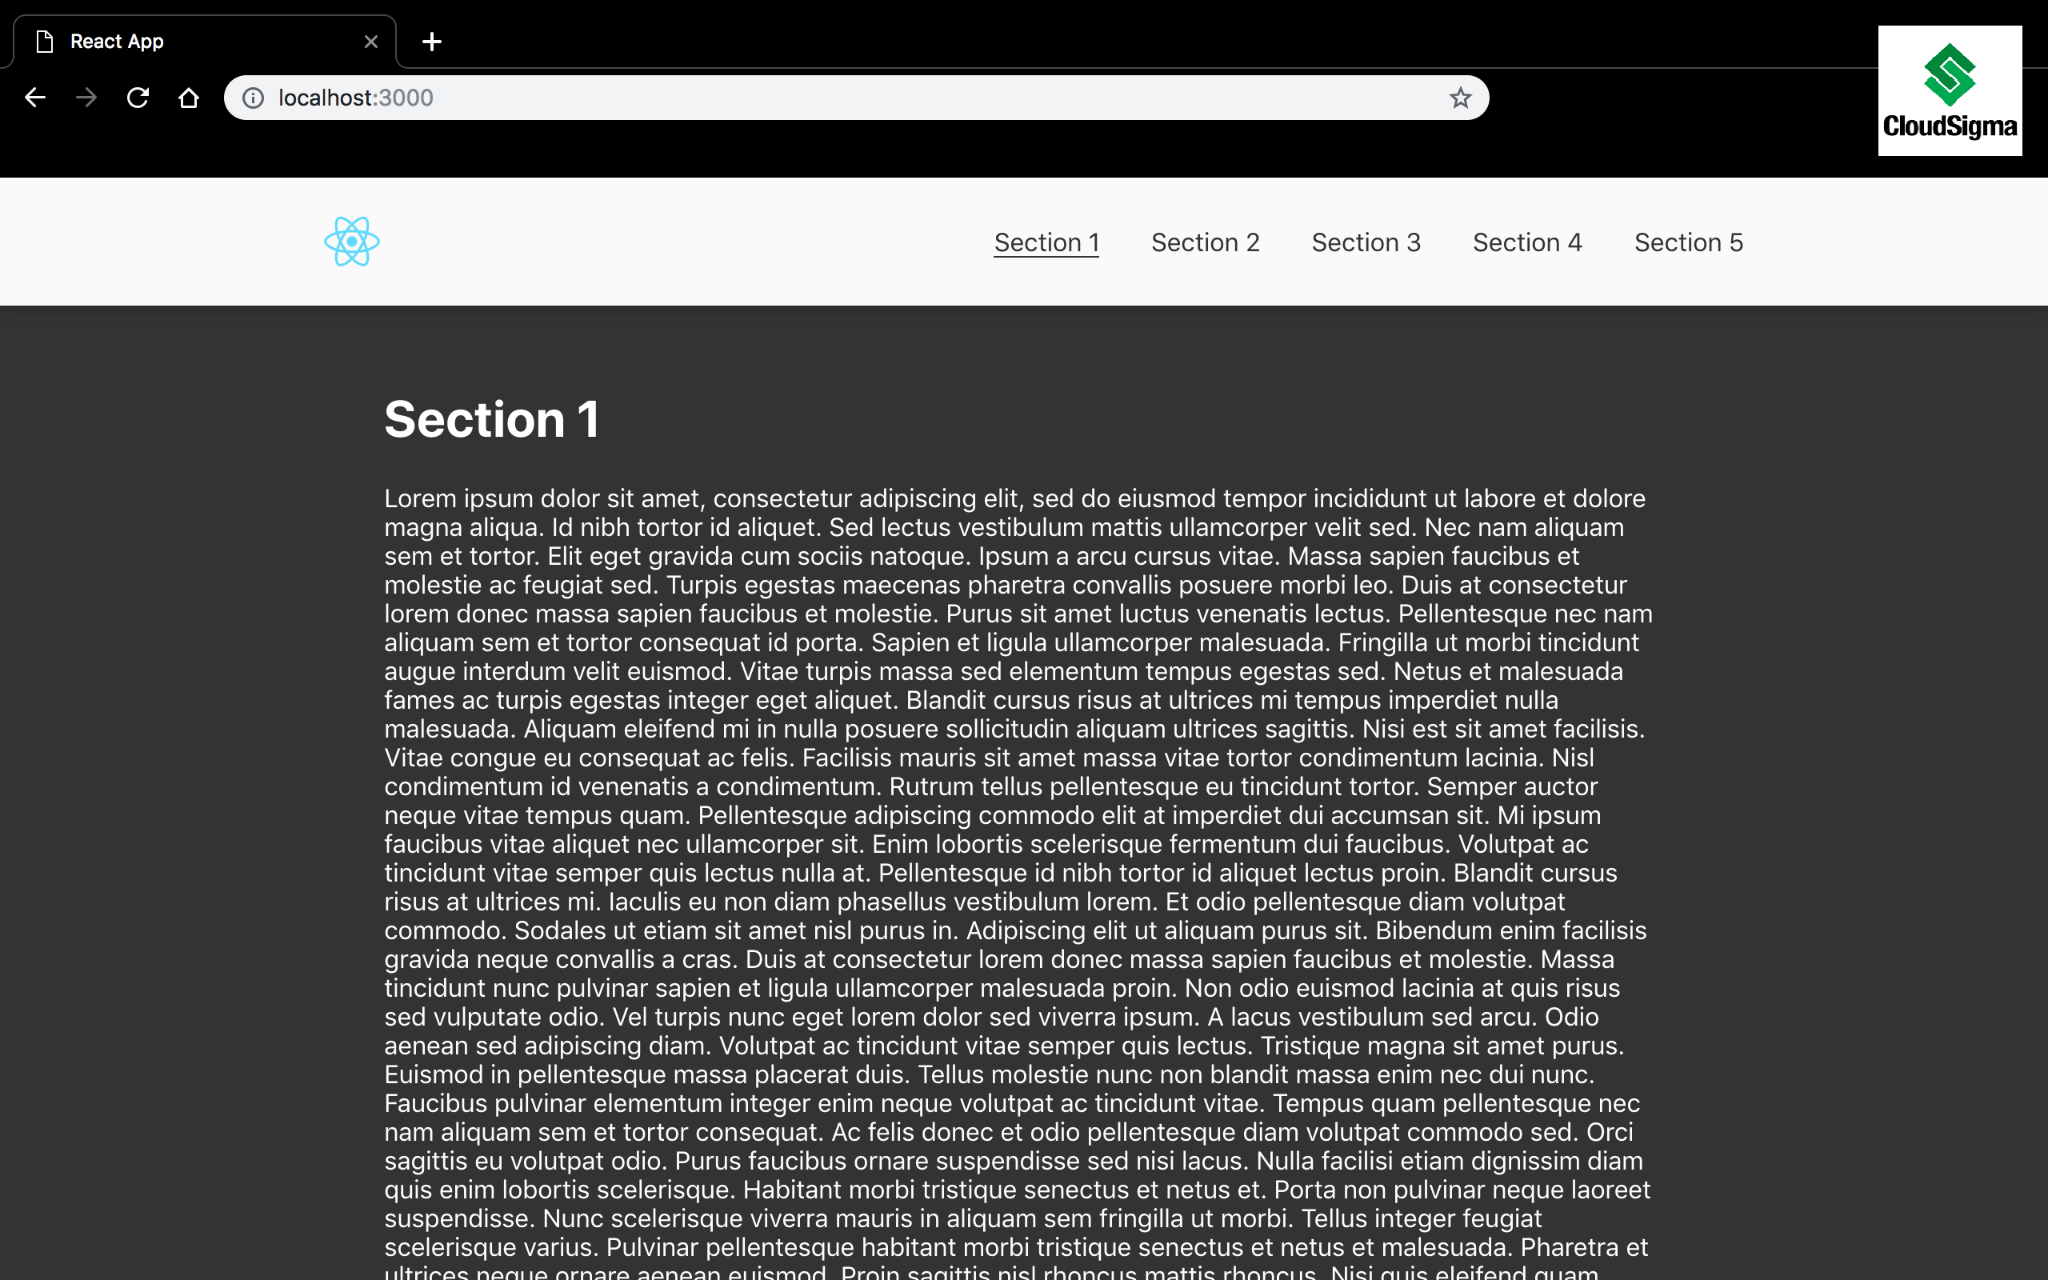
執行 rpm 將在開發模式下啟動您的應用程式。前往 localhost:3000 並驗證應用程式是否在您的系統上運行:

現在我們的應用程式已在運行,讓我們繼續並在下一步中安裝 react-scroll。
步驟 2:安裝與設定 React-Scroll
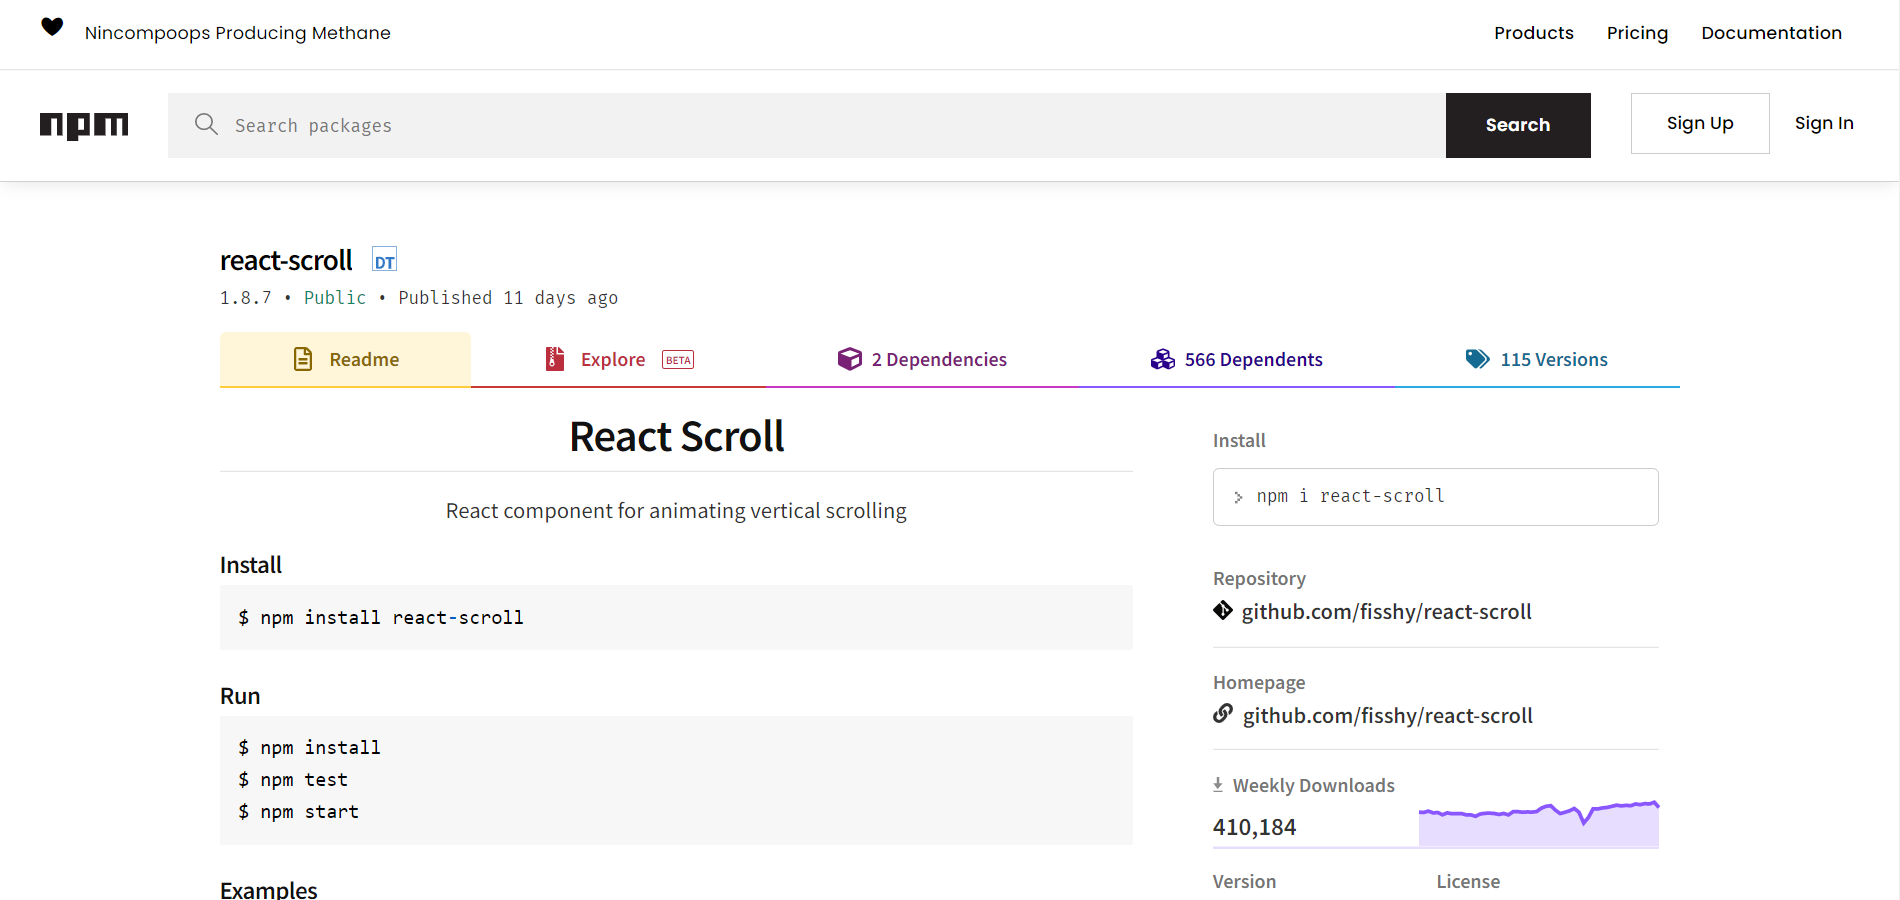
首先,您需要造訪 Node Package Manager 上的套件 以下載 react-scroll。在撰寫本指南時,我們使用的是最新版本的 react-scroll , 1.8.7。如果將來有更新,請確保取得最新版本:
執行 以下指令以安裝 react-scroll:
|
1 |
$ npm install react-scroll |
之後,前往 Navbar.js 檔案,並從 Link 和 animateScroll 匯入 react-scroll。為了簡單且易於使用,讓我們將 animateScroll 保持為 scroll:
|
1 |
import { Link, animateScroll as scroll } from "react-scroll"; |
之後,更新 nav-items 以使用 <Link> 元件。您將會看到許多屬性列在 <Link> 組件,這對我們的教學來說並不重要。不過,您可以透過查看文件頁面.
一些值得您注意的重要屬性:
-
activeClass – 當元素處於作用狀態時使用的類別。
-
to – 通知要滾動到的指定目標。
-
The to 功能至關重要,因為它會指示組件要滾動到哪個元素。
-
-
spy: 指向選取 Link,當滾動位於目標位置時。
-
smooth: 讓滾動具有動畫效果。
-
offset: 額外滾動 px,例如內距(padding)。
-
You can also use offset 來定義滾動到個別 <Section>.
-
-
duration: 動畫滾動時間,可以是數字或函式。
Here is an illustration of the features that can be used for every <Link> 組件的屬性說明。它們之間唯一不同的是 to 屬性,因為它們都指向不同的 <Section>s:
|
1 2 3 4 5 6 7 8 |
<Link activeClass="active" to="section1" spy={true} smooth={true} offset={-70} duration={500} > |
Consider updating all of the nav-項目。成功新增所有項目後,返回瀏覽器即可看到即時的平滑滾動效果。
Step 3: Style Active Links
In this step, we’ll be using CSS 屬性來重新設計我們的程式碼區塊,使其看起來更時尚。 activeClass 功能可讓您定義一個類別,並在 <Link> 組件於 to 元素處於作用狀態時套用。如果您使用的 <Link> 具有在頁面頂部顯示的 to 元素視圖,則會將該 <Link> 視為作用中。點擊 <Link> 或手動向下滾動 <Section> 以觸發 <Link>.
Let’s try testing and check out how it works. Open up the Chrome DevTools 並檢查第五個 <Link>(如下方醒目提示所示)。點擊 <Link> 或手動將 <Section> 滾動到頁面下方,您將會觀察到 active 類別被套用:
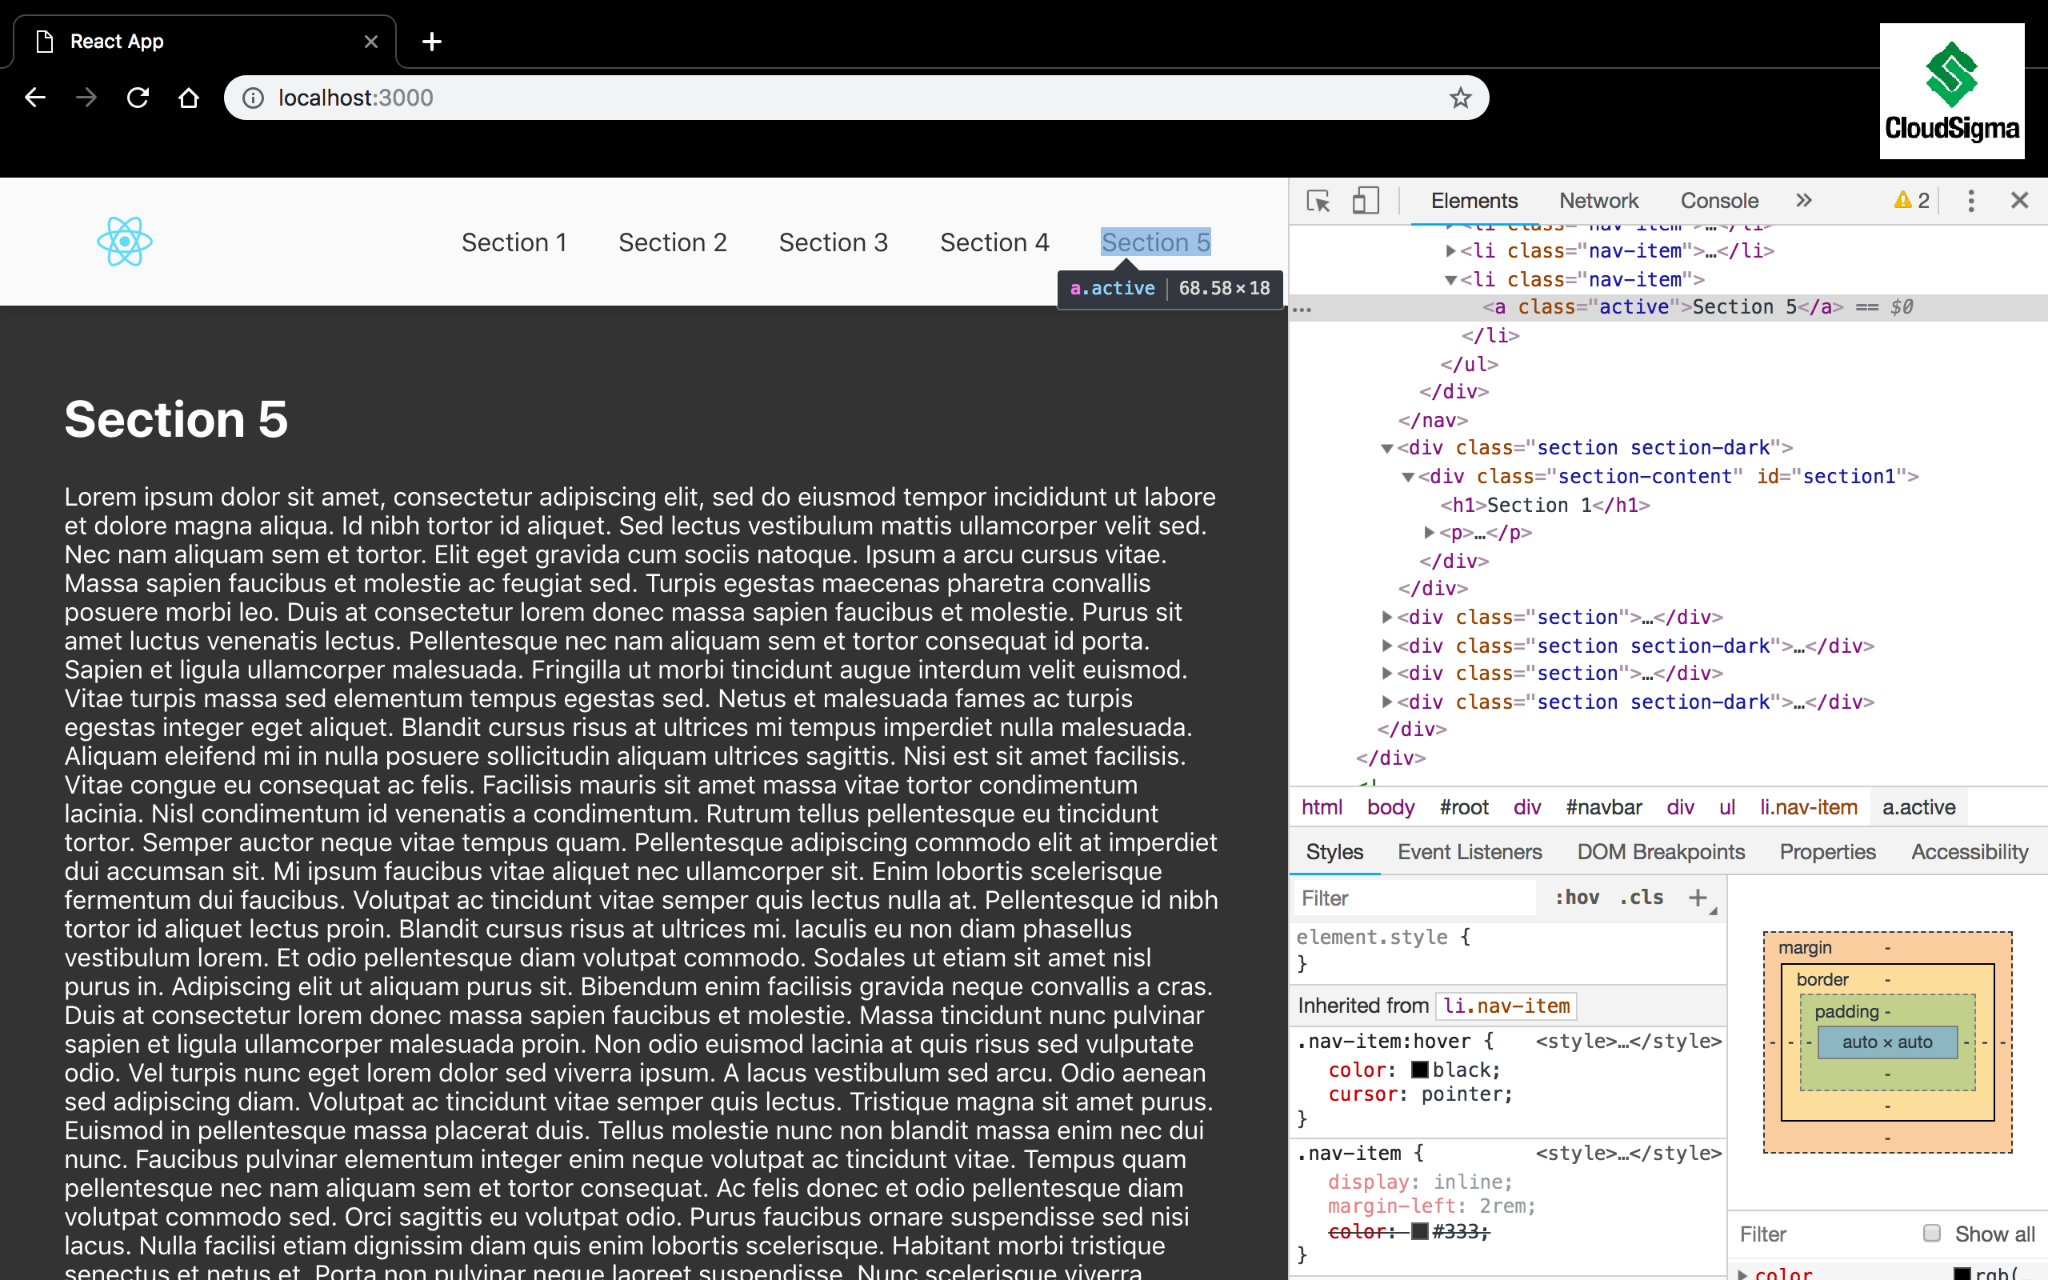
As an additional step, create an active class and underline the link. Then, add this small block of CSS 新增到 App.css 檔案中(位於 src 目錄):
|
1 2 3 |
.nav-item > .active { border-bottom: 1px solid #333; } |
之後,重新整理您的瀏覽器。稍微滾動一下,您會注意到指定的 <Link> 現在加上了底線:
Step 4: Add More Functions
In addition to the properties used above, there are other functionalities like scrollToTop, scrollToBottom 等等。您可以直接呼叫這些函式並明確管理其行為。關於這些功能,很自然地,導覽列中的應用程式標誌(logo)將帶您回到首頁頂部。
Using the scrollToTop 函式,為 nav-logo 新增點擊處理常式,以將使用者滾動回頁面頂部:
|
1 2 3 |
scrollToTop = () => { scroll.scrollToTop(); }; |
Using the scrollToTop 函式,為 nav-logo 新增點擊處理常式,以將使用者滾動到頁面底部:
|
1 2 3 |
scrollToTop = () => { scroll.scrollToBottom(); }; |
回到瀏覽器中,您現在可以向下滾動頁面,點擊導覽列中的標誌,即可返回頁面頂部。
Conclusion
平滑滾動 是能為網頁應用程式增添豐富視覺價值的功用之一。 react-scroll 套件可以讓您輕鬆利用此功能,而不會帶來沉重的負擔。
作為您學習體驗的下一步,不妨看看更多 React 和 JavaScript 教學,您可以在我們的部落格:
祝您電腦使用愉快!
留言
目前尚無留言。成為第一個留言的人吧。