
Introduction
GitLab offers a very convenient way to work with remote repositories on centralized servers. Anyone coming from GitHub or any other tool might consider that there are many other tools offering this service. However, use cases differ from team to team. GitLab’s main advantage is that you get complete control over your repositories and setting permissions.
In this tutorial, we will look at the GitLab interface, configure the environment, manage projects, bring in, and manage users. You will need to have a GitLab login and must be able to log in to the GitLab instance. You can set up GitLab using the Host your own Git Repositories with GitLab guide.
Configuring a User Profile
It is always useful to set up your profile before you begin. It will help you identify your teammates and your team members will be able to locate you. You will also be able to manage and personalize the user interface as per your wishes, connect projects, configure settings, and get assistance.
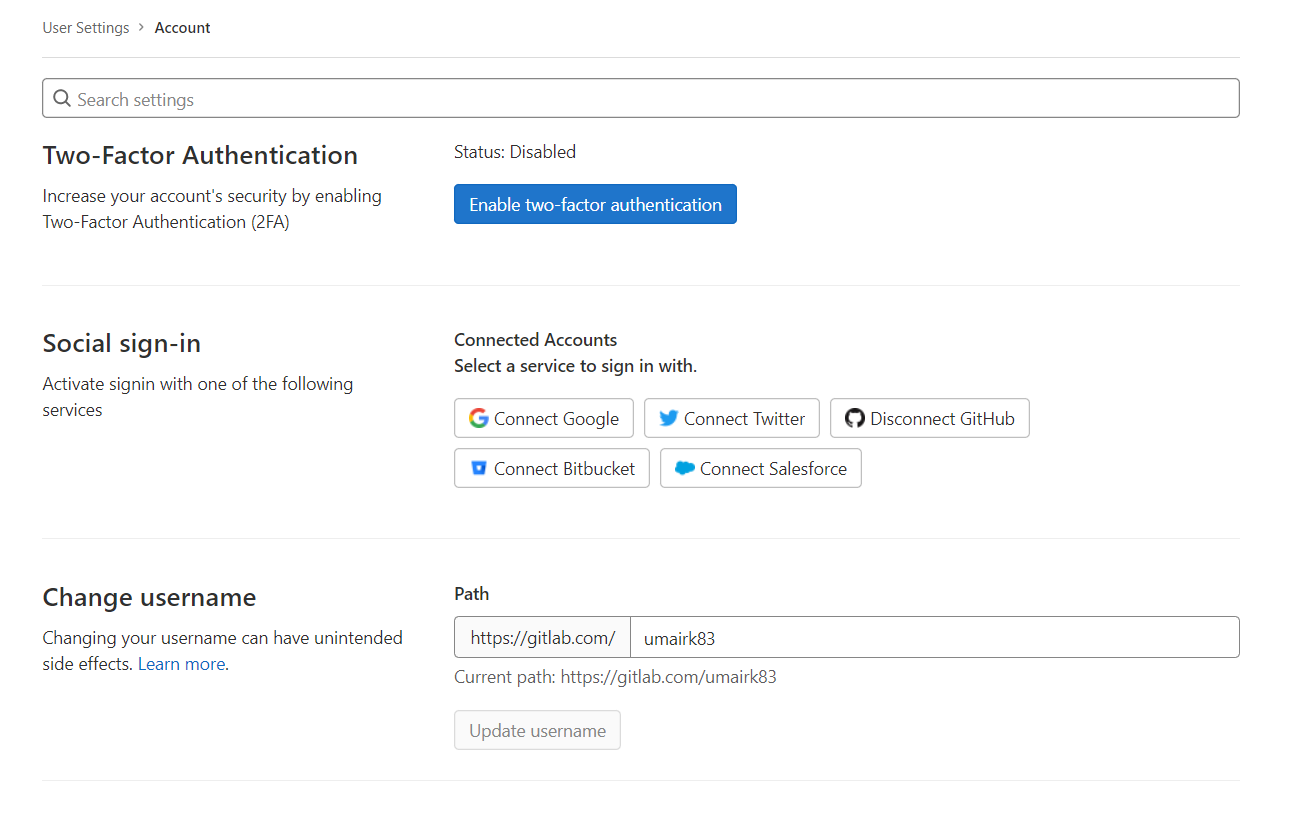
You can open the Profile Settings button on top. Then, click the Edit Profile option:

You will get the option to change the name, email, timezone, and social media URLs such as Linkedin, Skype, Twitter, and so on. Make sure you personalize it the way you want.
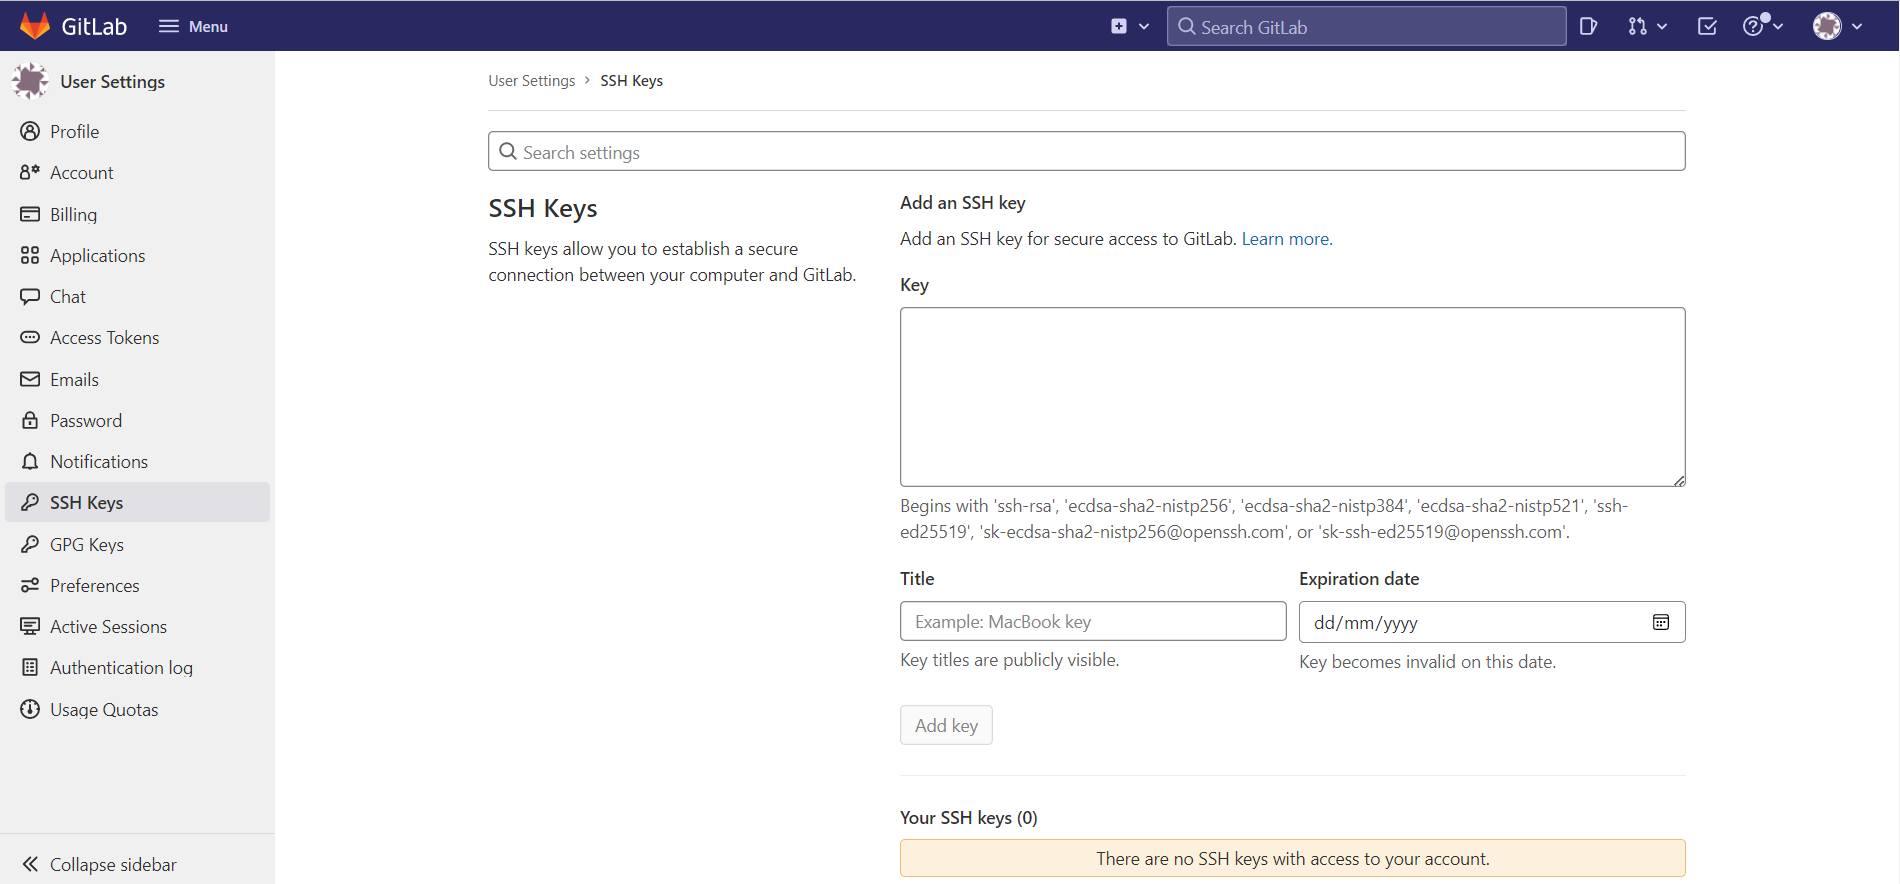
In addition, make sure to configure the SSH keys. On the right-hand side, locate the SSH Keys tab and click it. You can add multiple SSH Keys. For instance, you might want to add the SSH Key for each user.
Fill in the information in the SSH Keys Details and then click Add Key:
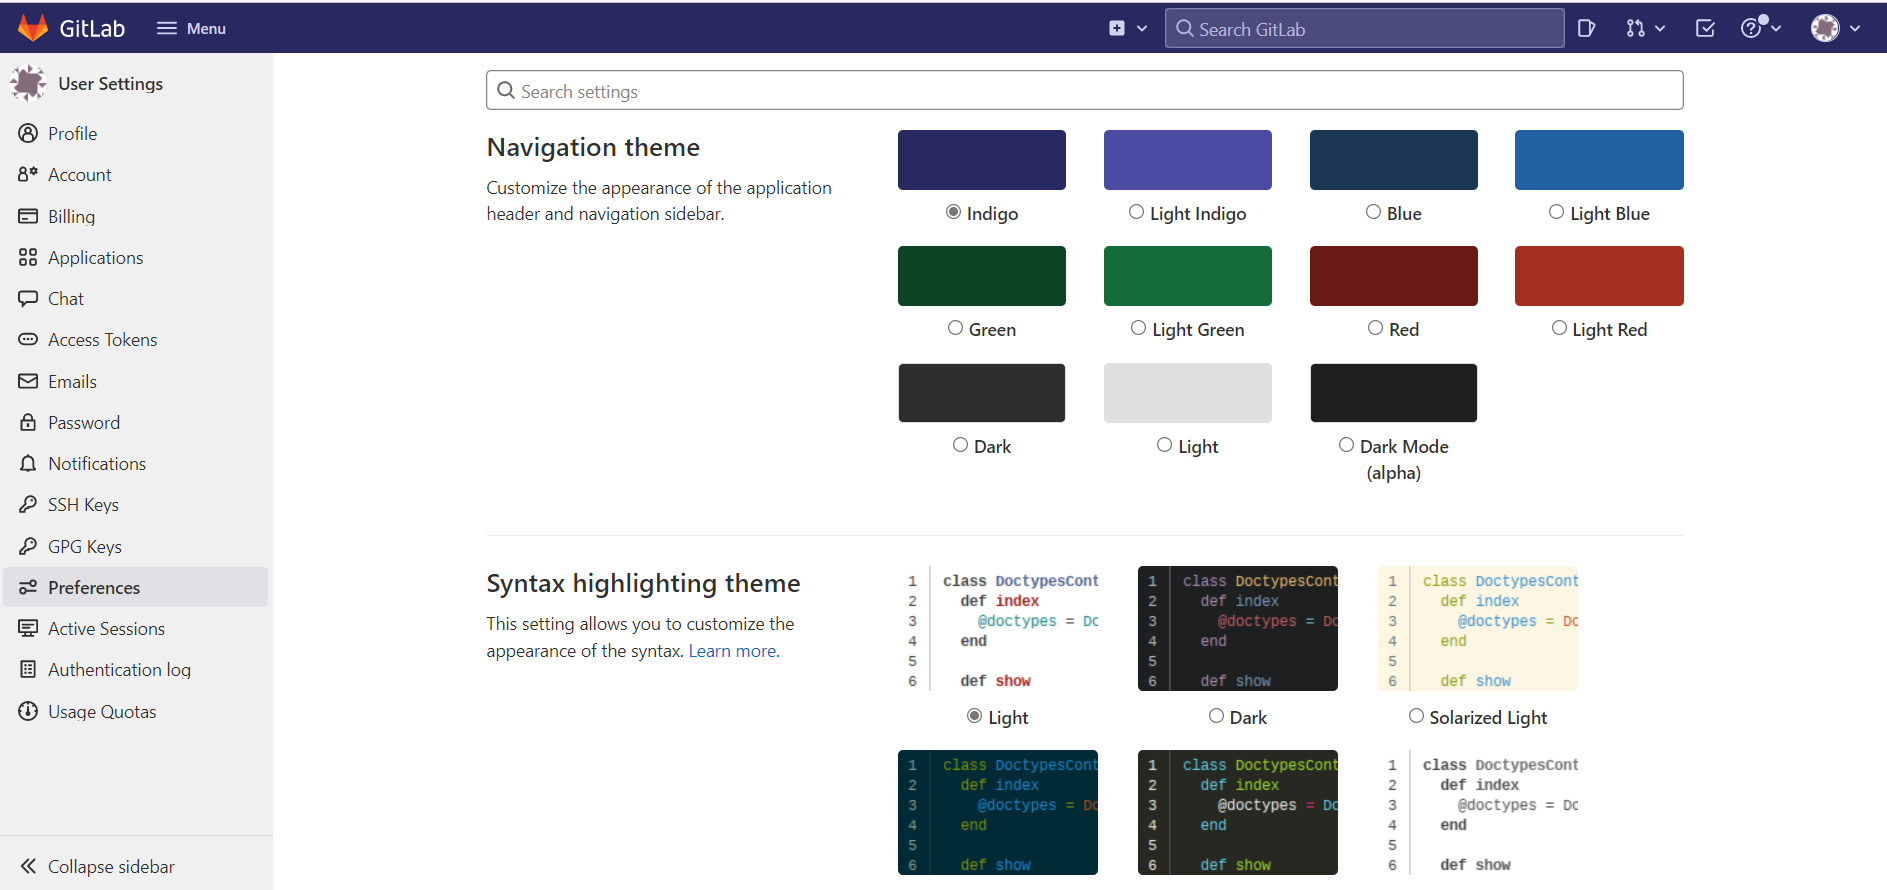
The next thing which developers love is to change the theme and personalize the appearance of their application. You can do all this on GitLab. On the left-hand side, locate the Preferences tab. You will be given a lot of options to choose from:
Managing Users and Groups
GitLab has a lot of features to manage the users and groups in your project. You can do it all from a single screen.
-
Creating a New User
Initially, there will be only one user. You can create more users if you want to. To demonstrate how to do that, we will create a new user so that we can use it later. First, select and click on the New User button. We will need to provide the details for the new user. Click on the Create User button once done:
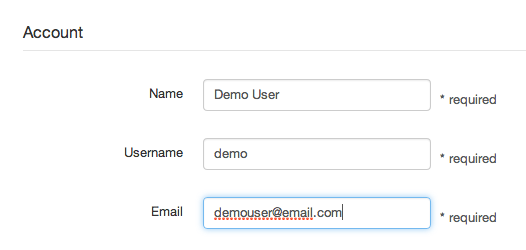
An email will be sent to the user you have created containing a password for their account.
-
Creating a New Group
After creating a new user, now is time to create a group. To create a new group, click on Menu, and then select Groups. Next, select Create Group:
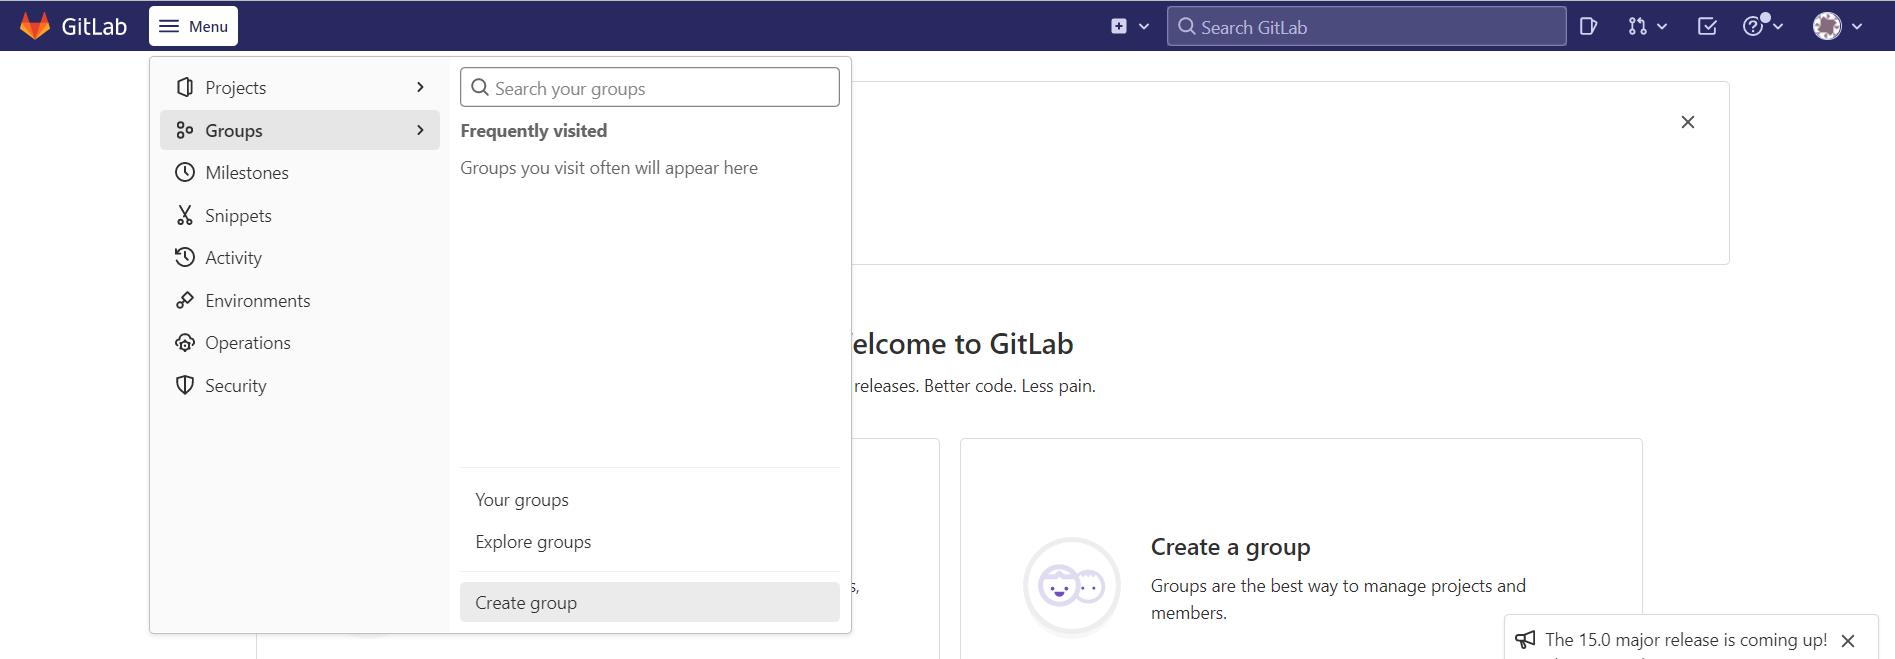
You will see a new group page:
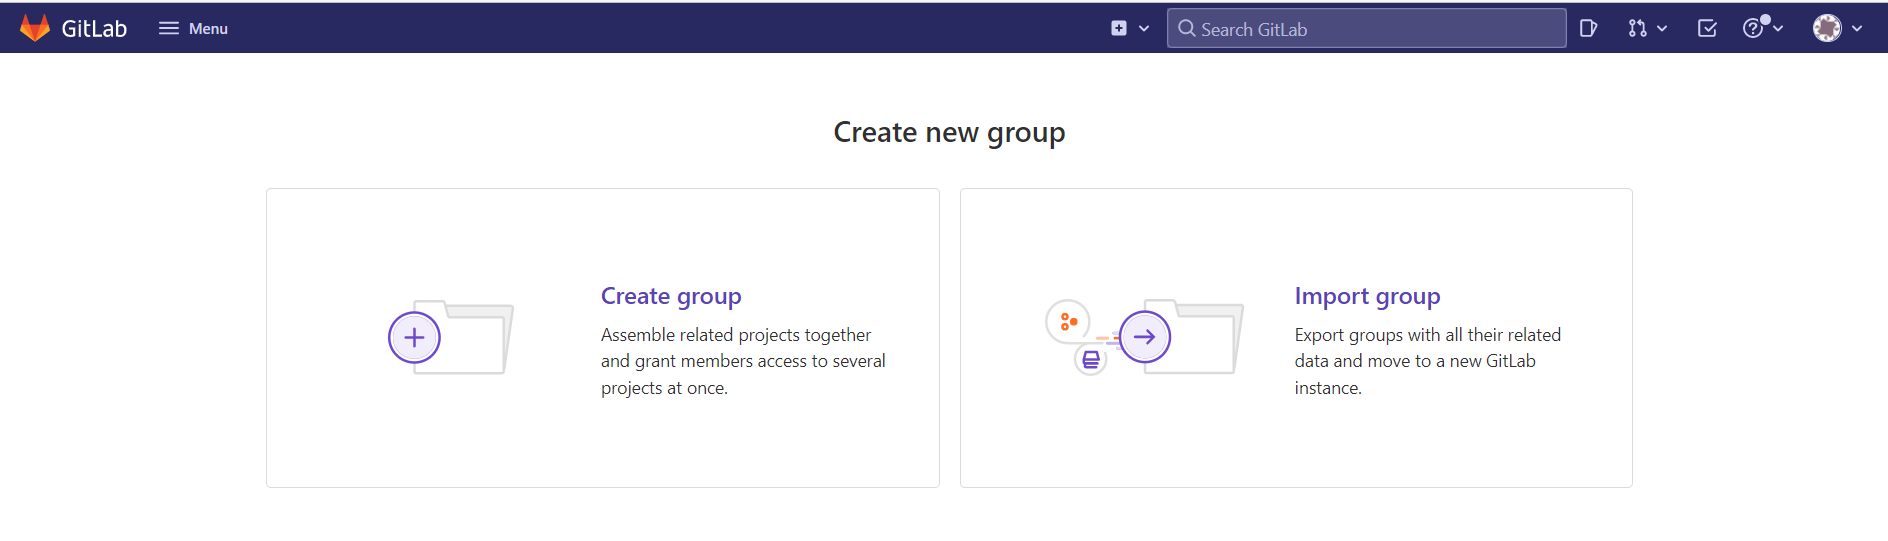
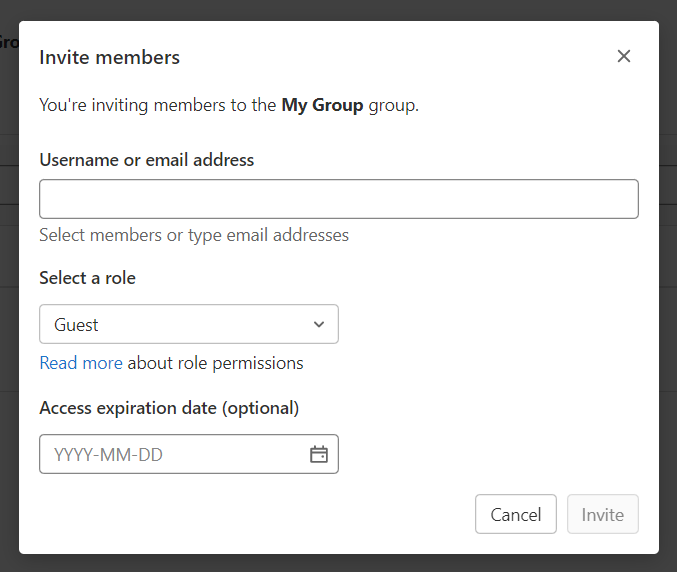
Here, we will not be importing groups. Instead, you need to select Create Group. You will get some options to enter. Fill in the prompted details. Finally, on the bottom of the page click Create Group. Here you will also find an option to invite new users. You can invite users if you wish. When inviting the users, you can select the permission level: Guest, Reporter, Developer, Owner, Maintainer. You can also mention the date at which the access expires. For our purposes, keep the role as it is and leave the expiry date empty:
Initializing the Project
After creating a new user and a new group, we can initialize our project. On your main page click Create a Project. After that, select Create Blank Project:
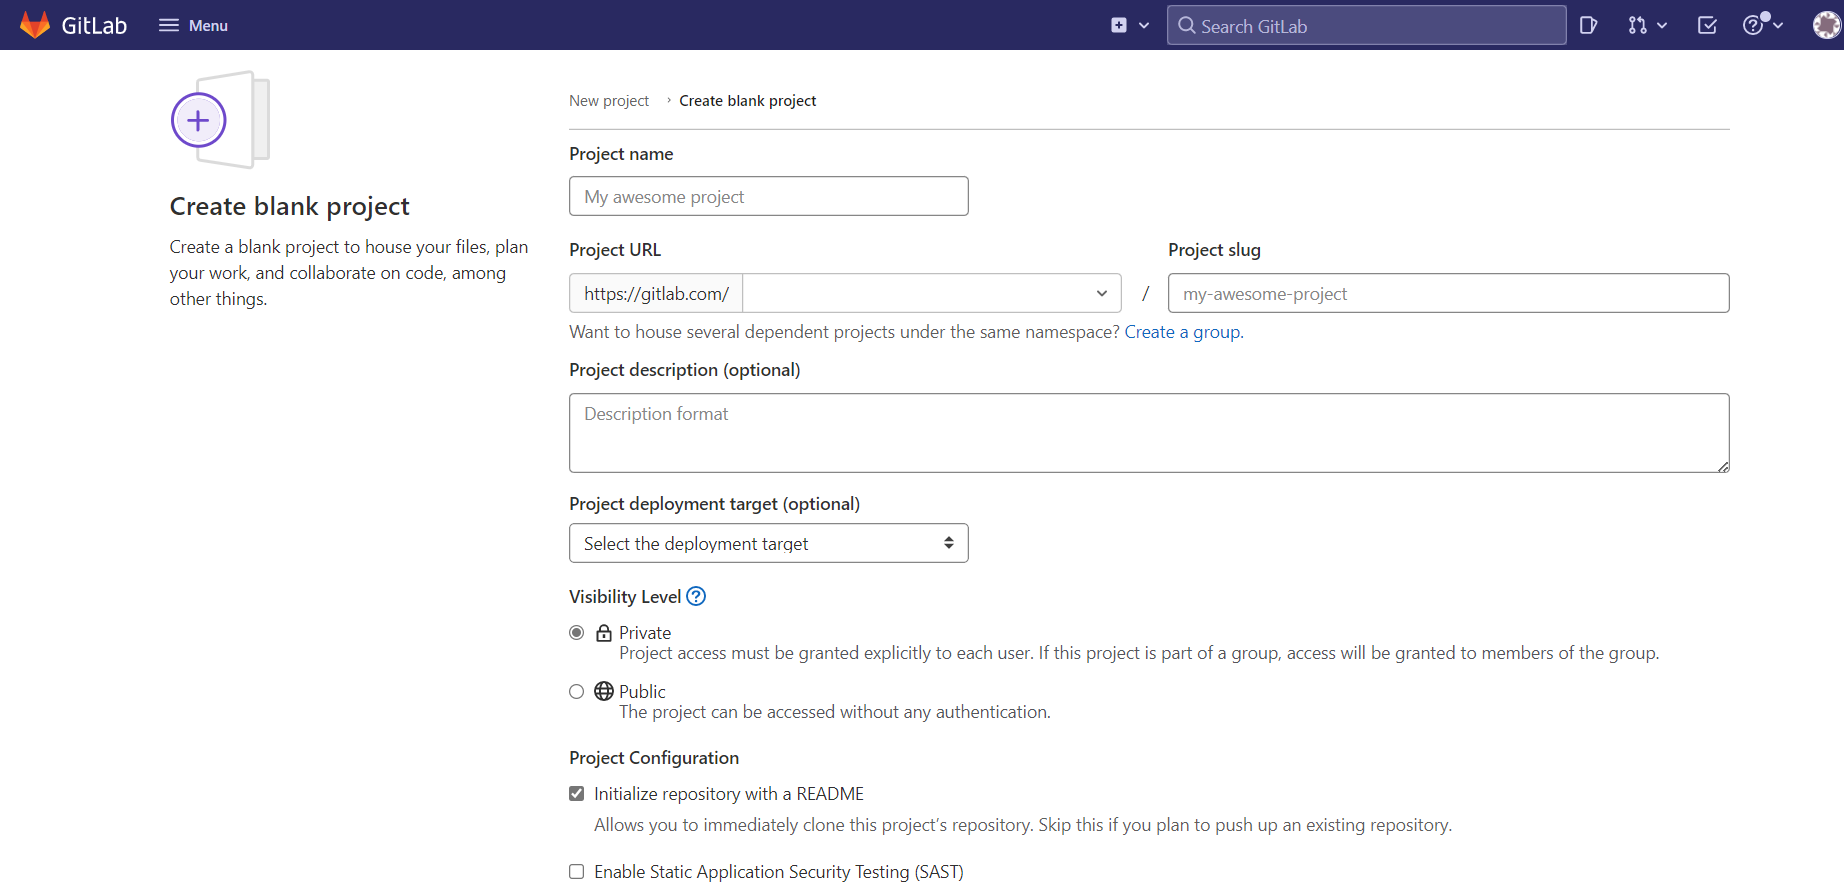
You will need to pick a project name and the namespace for your project. Fill out the description of the project as well. You can also set the visibility of the repository. After you have created the project, you will be moved to another page where you will find the repository URL. You can use this URL to clone this repository to your local machine or share with others:
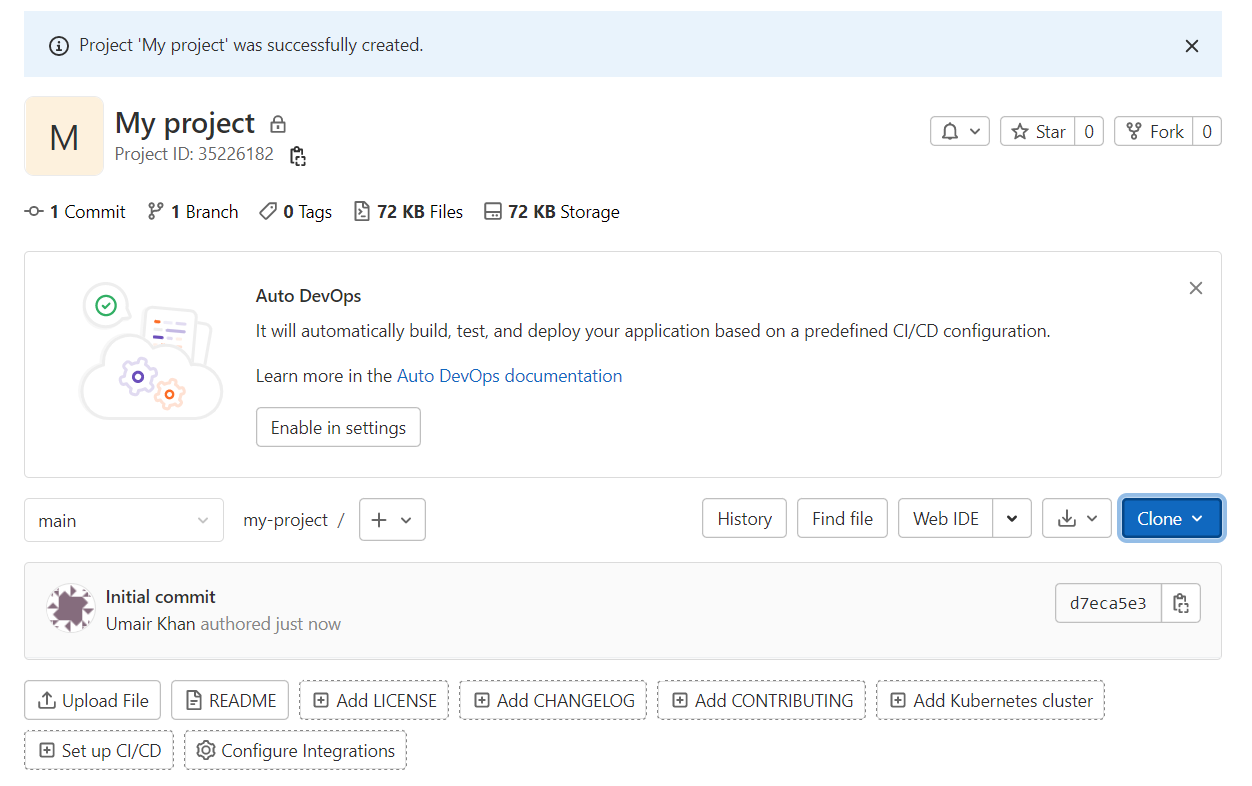
You are all set to start committing to your repository. First, push to the remote repository, or take pulls:

Manage Projects with GitLab
Gitlab is used to maintain the entire code base for a project including the CI/CD pipelines, commits, merges, deployment and releases etc. For the sake of this post, we will use a sample code. We shall commit it in our GitLab repository so that commits and messages start to appear. Click on New Project and import your existing project in it.
-
Looking at the Project Code
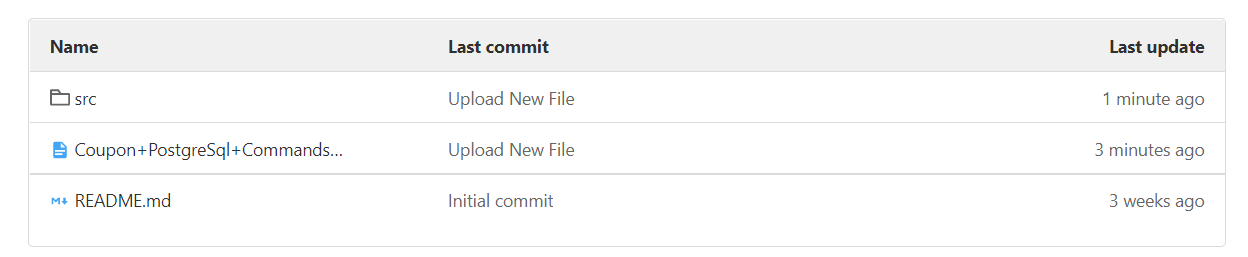
You will see the project’s landing page. Click on the Files tab to see the actual repository files:
Click on any file. You will see that the GitLab automatically highlights the syntax of the known languages:
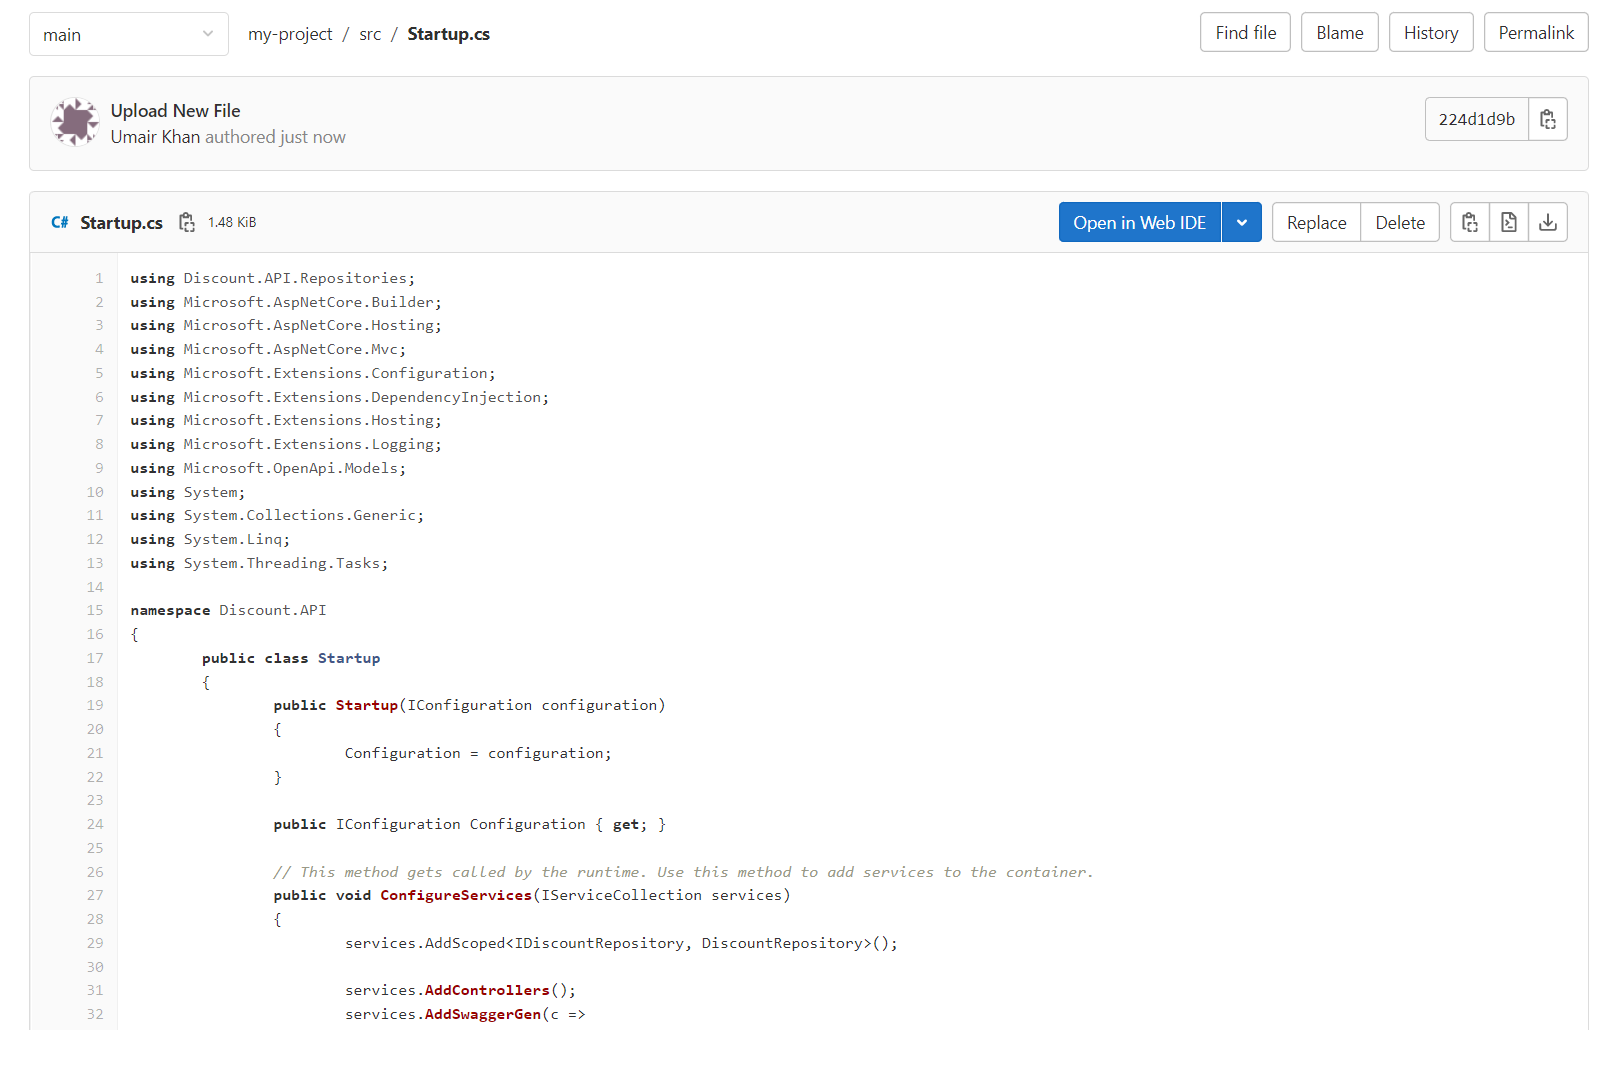
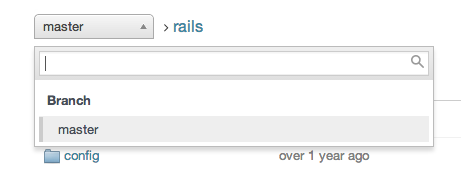
Every project can have more than one branch. If your project has multiple branches you can switch branch from the above:
-
Review Commits
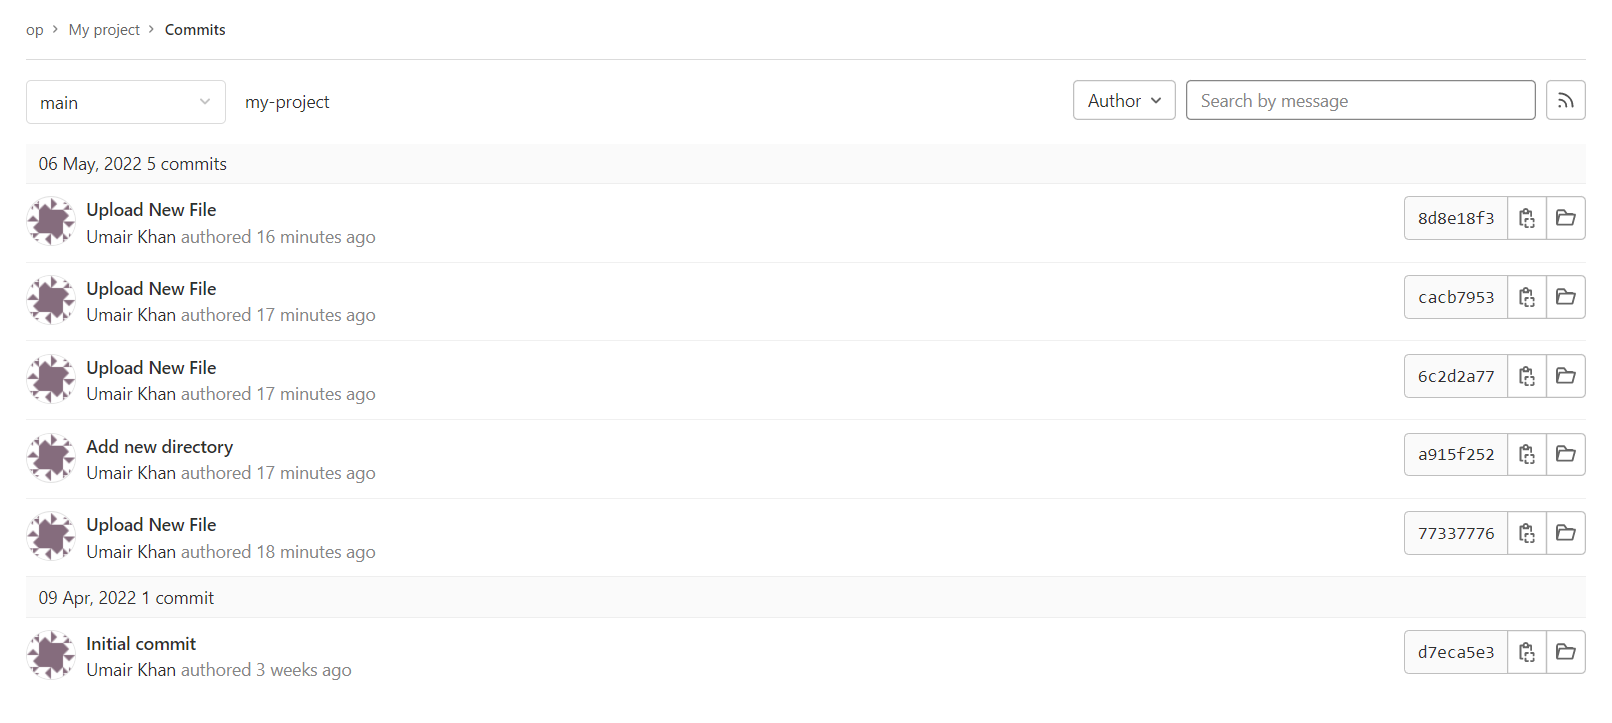
As the project continues and the commits happen, as a team, everyone can view Commits. Below is how Commits look:
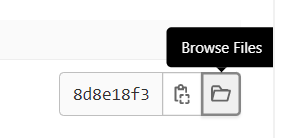
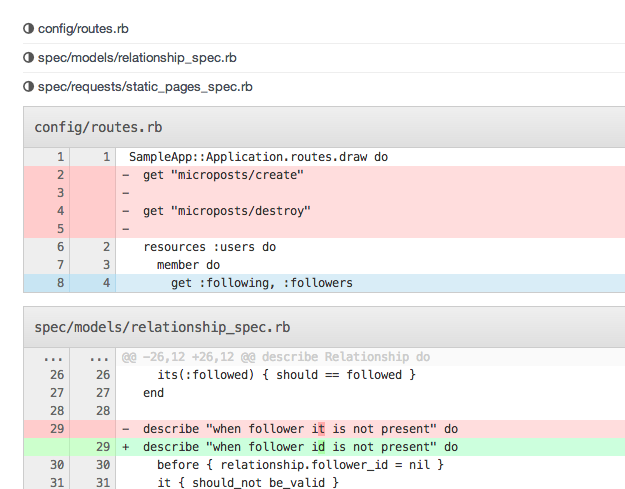
Every commit brings a code change with itself. Thus, to review the commits and see the difference, click on the commit. To review the code at any point in history, click the Browse Code link associated with the commit:
Now it might be required to see the difference between two files. To compare the difference, click the Compare tab at the top. You can type the name of one of the commits in the left-hand box to check the complete diff between the two:
-
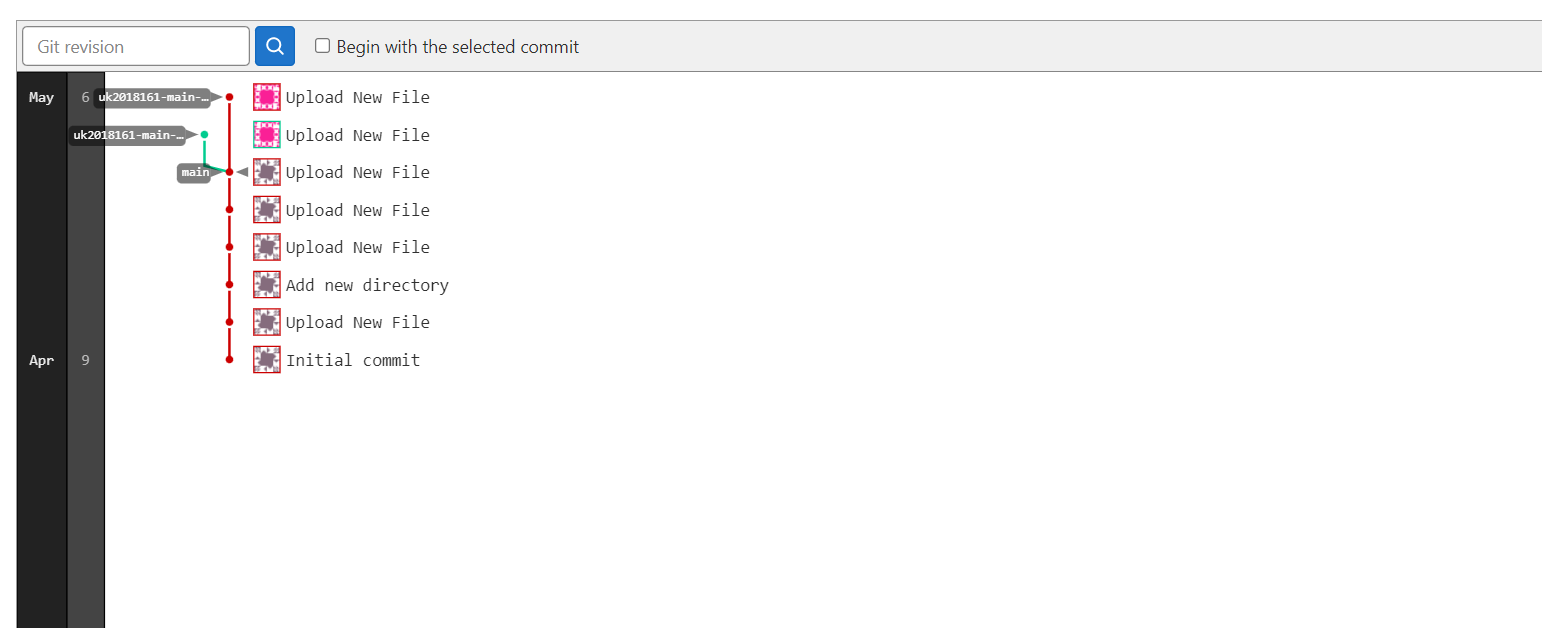
Graphical Representation of Project
When going through the commits, it is always intuitive to visualize the files. GitLab allows you to visualize the files in two different ways. One way is to see the graph of branches. This shows the merges, branches, and commits on each branch. It becomes more clear as the picture of the user is displayed next to the commit:
There is one more way to visualize your project. You can graphically view the commits against the time. Click Contributors on the left hand side to generate the graph:
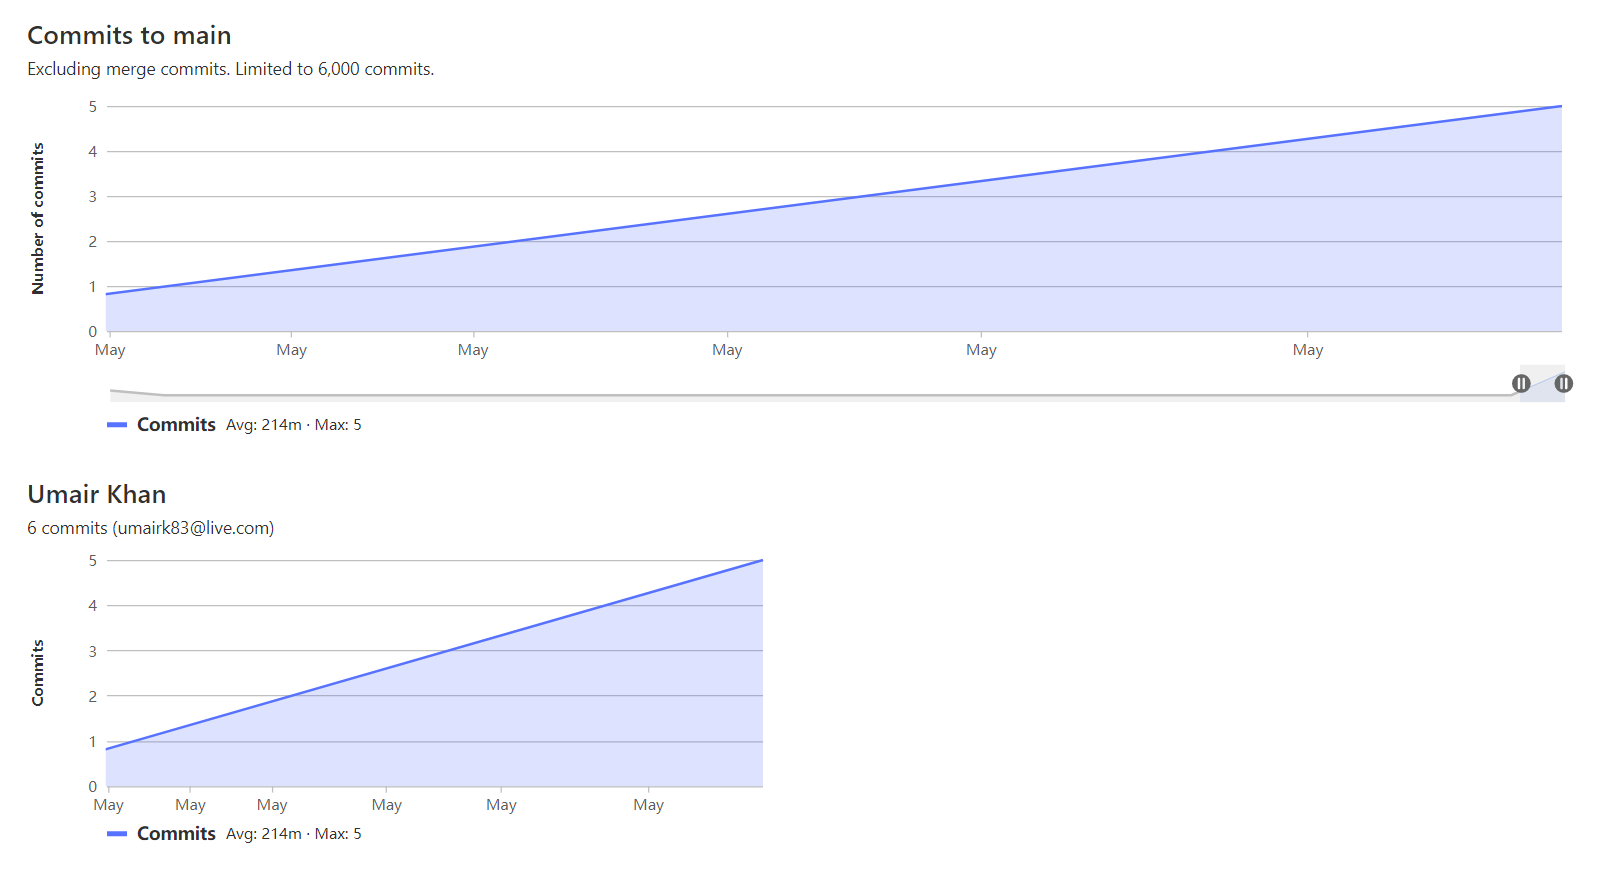
Selecting a portion of the project graph and the user’s graph will change to reflect these changes. If you just want to see the additions and deletions, you can also select that as well instead of committing through a drop-down menu.
Conclusion
In this tutorial, we outlined how to manage your projects using GitLab. Gitlab has a lot of tools that improve the functionality of your existing projects. If you happen to work in a team, you must check out those. You can add issue tracking, merge requests, and even a Wiki for your projects.
You should also explore the GitLab interface for more options and tweaks. For more learning check out the following tutorials:
- How To Set Up GitLab Continuous Integration (CI) Pipelines on Ubuntu
- Host a Docker Image Repository and Build Docker Images with GitLab
Happy Computing!
- How To Set Up GitHub Continuous Integration Pipelines With Self-Hosted Runners on Ubuntu 22.04. - March 20, 2023
- Managing CSV in Node.js using Node-CSV - March 15, 2023
- Containerize A Python App using Docker - March 7, 2023
- Using GitLab for Managing Projects - September 15, 2022
- Creating Drag and Drop Elements with Pure, Vanilla JavaScript - August 4, 2022