

In the world of software development, Git is definitely the most popular version control system. Version control is the practice of keeping track of changes to the code base of an app. It keeps track of every single change to the code base. If any mistake is made, developers can easily switch back to the previous state. Git is a fine example of a DVCS (distributed version control system).
Git is open-source software that’s actively maintained. It came into existence by the hand of Linus Torvalds, famously known as the creator of the Linux operating system kernel. Git works with any programming language and doesn’t require any specific file structure. It is also optimized for performance, security, flexibility, and scalability.
This guide will demonstrate the functionality and usage of Git using a simple, single-branch workflow.
Installing Git Client
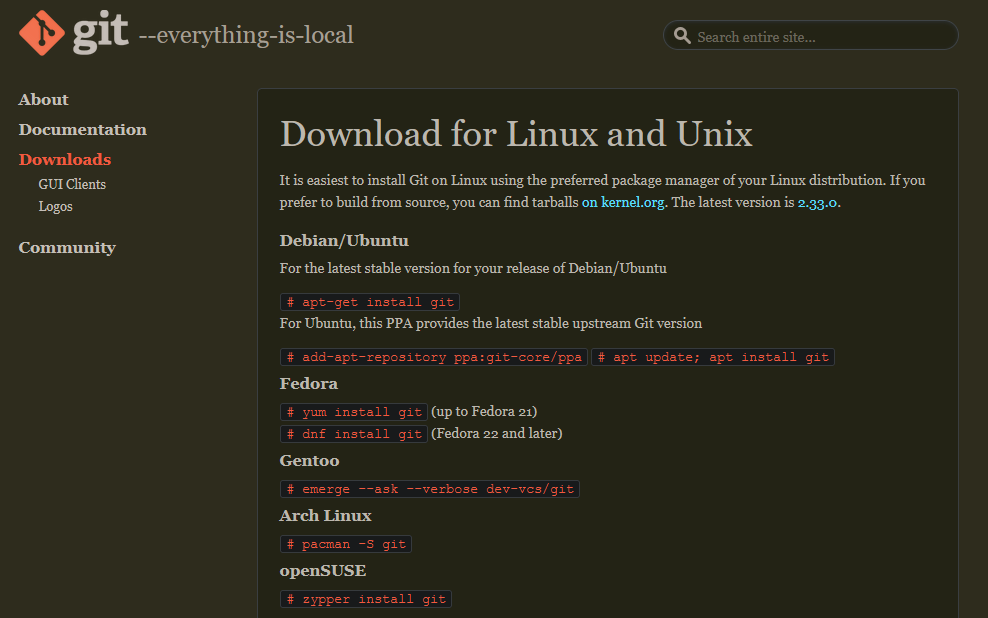
Git is available on all the popular operating systems (Windows, Linux, and macOS). All the major Linux distros offer Git directly from their official package servers. First, if you don’t have Git installed yet, check out our Git installation and configuration guide.
The default Git client is only available in the command-line interface. If you prefer a GUI, then check out the Git GUI clients for Linux.
Generating a Workspace
For working, having a good, clean environment is quintessential, right? The same rule applies to coding, especially if you’re working with multiple projects. It can save a lot of pain and headache by maintaining a clean and separated environment for each of the individual projects.
For demonstration, we’ll have a directory git under the home directory, containing various sub-directories for each project we’d like to contribute to. Let’s create a directory for our demo Git project:
|
1 |
$ mkdir -pv ~/git/demo; cd ~/git/demo |

There are two parts of the command:
- It creates a dedicated directory
gitand the sub-directorydemo(as described by the environment structure suggestion). - It moves the current active directory to the
demoproject base.
Next, move all the project files within the directory. Here, we will be creating a sample shell script printing "hello worl":
|
1 |
$ nano hello-world.sh |

Converting into a Git Workspace
Once all the files are in place, we’re ready to establish the directory as the base of a new Git workspace. The following Git command will initiate a new empty repository in the location:
|
1 |
$ git init |
Although all the files are within the directory, Git is yet to add them to the list of the project. The next Git command will add all of them to the current project:
|
1 |
$ git add . |
Note that just for this particular demo, having no Git output is a good sign. However, Git may not always inform you if something goes wrong. That’s why commit messages are important.
Commit Message
In Git terminology, a commit message is a brief message describing the changes to a project file. It’s mandatory to write a commit message before pushing the code to the project. Proper commit messages are a great way to communicate with co-developers about the changes.
Usually, Git commit messages should be short (one or two sentences) while explaining the changes. For reference, it’s good practice to commit each individual change before performing a push. Git doesn’t limit how many commits you can push. The only requirement is that it must involve at least one file along with a commit message. A push must consist of at least one commit.
Let’s have a quick demonstration of this concept. In our demo project, perform a commit with a commit message. As it’s the first commit of the project, let’s describe it as initial commit:
|
1 |
$ git commit -m "initial commit" -a |

Let’s break down the Git command:
- The flag
-msignifies the commit message. - The flag
-asignifies that the commit message is applied to all the added/modified files in the commit. Normally, you’d want to specify the individual files/directories you want to commit.
To commit specific files, use the following command structure instead:
|
1 |
$ git commit -m "initial commit" <file> |
This will specify the particular file to commit. To add multiple files/directories, list them using space as a delimiter.
Pushing Changes
Up until now, all our changes were performed on the local server. It works perfectly if you want to use Git locally. Local servers are easier to version control. However, if you’re willing to collaborate with multiple developers, then it’s required to push the changes to a remote server.
First, we need to add the URL of the remote server where the remote repo lives. For ease of use, we’ll assign an alias to the server (primary, in this case). Run the following command to add a remote repository:
|
1 |
$ git remote add <repo_alias> <repo_url> |

We can refer to the remote repo using the repo alias instead of the full URL. Note that if you’re using a GitHub repo, then you must configure proper SSH keys and repo token to access full functionality.
The next command will list all the remotes. It’s possible to configure more than one remote repo:
|
1 |
$ git remote -v |

Once a remote repo is configured, we can push the changes:
|
1 |
$ git push <repo_alias> master |
Let’s break down this command:
- We’re telling Git to perform a
push. It contains all the commits done so far. - The
repo_aliasdetermines which remote repo it will be pushed to. - Here,
masterrefers to the first branch of a Git repo. The official documentation on Git branching explains everything in detail.
In the future, if you want to push to the same repo, you can simply use the following Git command. If no remote repo is described, Git will assume the last repo to push to:
|
1 |
$ git push |
Final Thoughts
This guide demonstrates how to use Git effectively as a version control system. It showcases its fundamental functionalities and how to execute them properly. These simple yet effective principles are at the core of all the projects that use Git for version control. GitHub, GitLab, etc. are some of the top platforms that offer Git repo hosting.
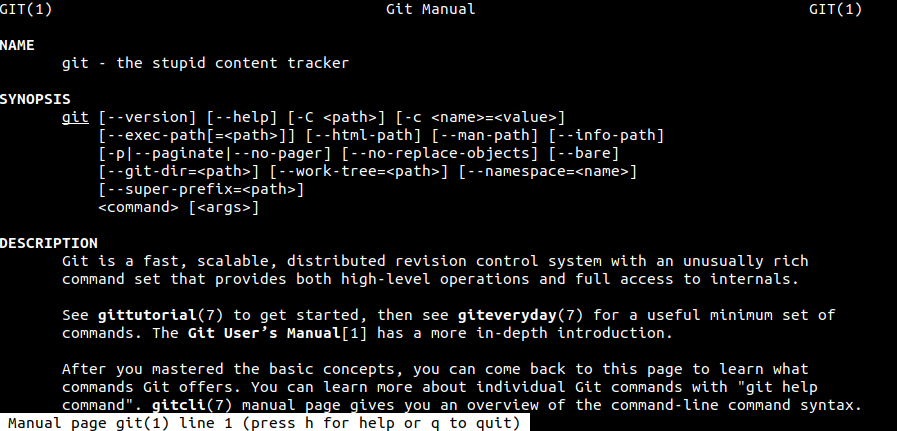
The Git tool comes with tons of additional features. The man page lists and explains all of them:
|
1 |
$ man git |
In addition, you can take a look at further resources that dive into Git repo hosting:
- Creating a Pull Request on GitHub
- Host your own Git Repositories with GitLab
- How To Set Up GitLab Continuous Integration (CI) Pipelines on Ubuntu 20.04
Happy Computing!
- How To Enable, Create and Use the .htaccess File: A Tutorial - March 8, 2023
- An Overview of Queries in MySQL - October 28, 2022
- Introduction to Cookies: Understanding and Working with JavaScript Cookies - October 25, 2022
- An Overview of Data Types in Ruby - October 24, 2022
- The Architecture of Iptables and Netfilter - October 10, 2022