

React is an open-source JavaScript library used for building futuristic website designs and improving user interfaces. Due to its robustness, flexibility, and efficiency, it has outperformed its competing front-end libraries and frameworks. React provides excellent features and stand-out functionalities that facilitate customization and dynamic animation.
In the list of animation collections, smooth scrolling in React helps in increasing web app interactiveness and streamlining animation. Smooth scrolling is a feature that allows users to go to different sections of the page using a navigation bar. That means, rather than pressing on a button and being promptly drawn to a different section of a similar page, the user is directed to a target through a scroll animation.
In this guide, we’ll walk you through the steps of implementing smooth scrolling using React.
Let’s Start!
Prerequisites
To follow along with this tutorial, you’ll need the following:
-
Git installed on your system.
-
Follow along to install and configure Git on Ubuntu 18.04
-
-
The latest version of Node.js must be set up.
-
Use this tutorial to install Node.js on Ubuntu 18.04
-
The Basic Setup: Install react-scroll
In this beginner-friendly guide, we’ll design a simple application using react-scroll. If you are comfortable with the React basics and looking forward to uplevel your knowledge on react-scroll functions, refer to these summarised steps.
First, install react-scroll using the following command:
|
1 |
npm npm i -S react-scroll |
Next, import the react-scroll package:
|
1 |
import { Link, animateScroll as scroll } from "react-scroll"; |
After that, insert the <Link /> component that will target a specific section of the app:
|
1 |
<Link to="section1"> |
Let’s move forward and design a React application with smooth scrolling.
Step 1: Clone and Run the React App
In our guide, we’ll be using the starter React project that includes a navigation bar at the top. There you will see five unique <sections> arranged sequentially.
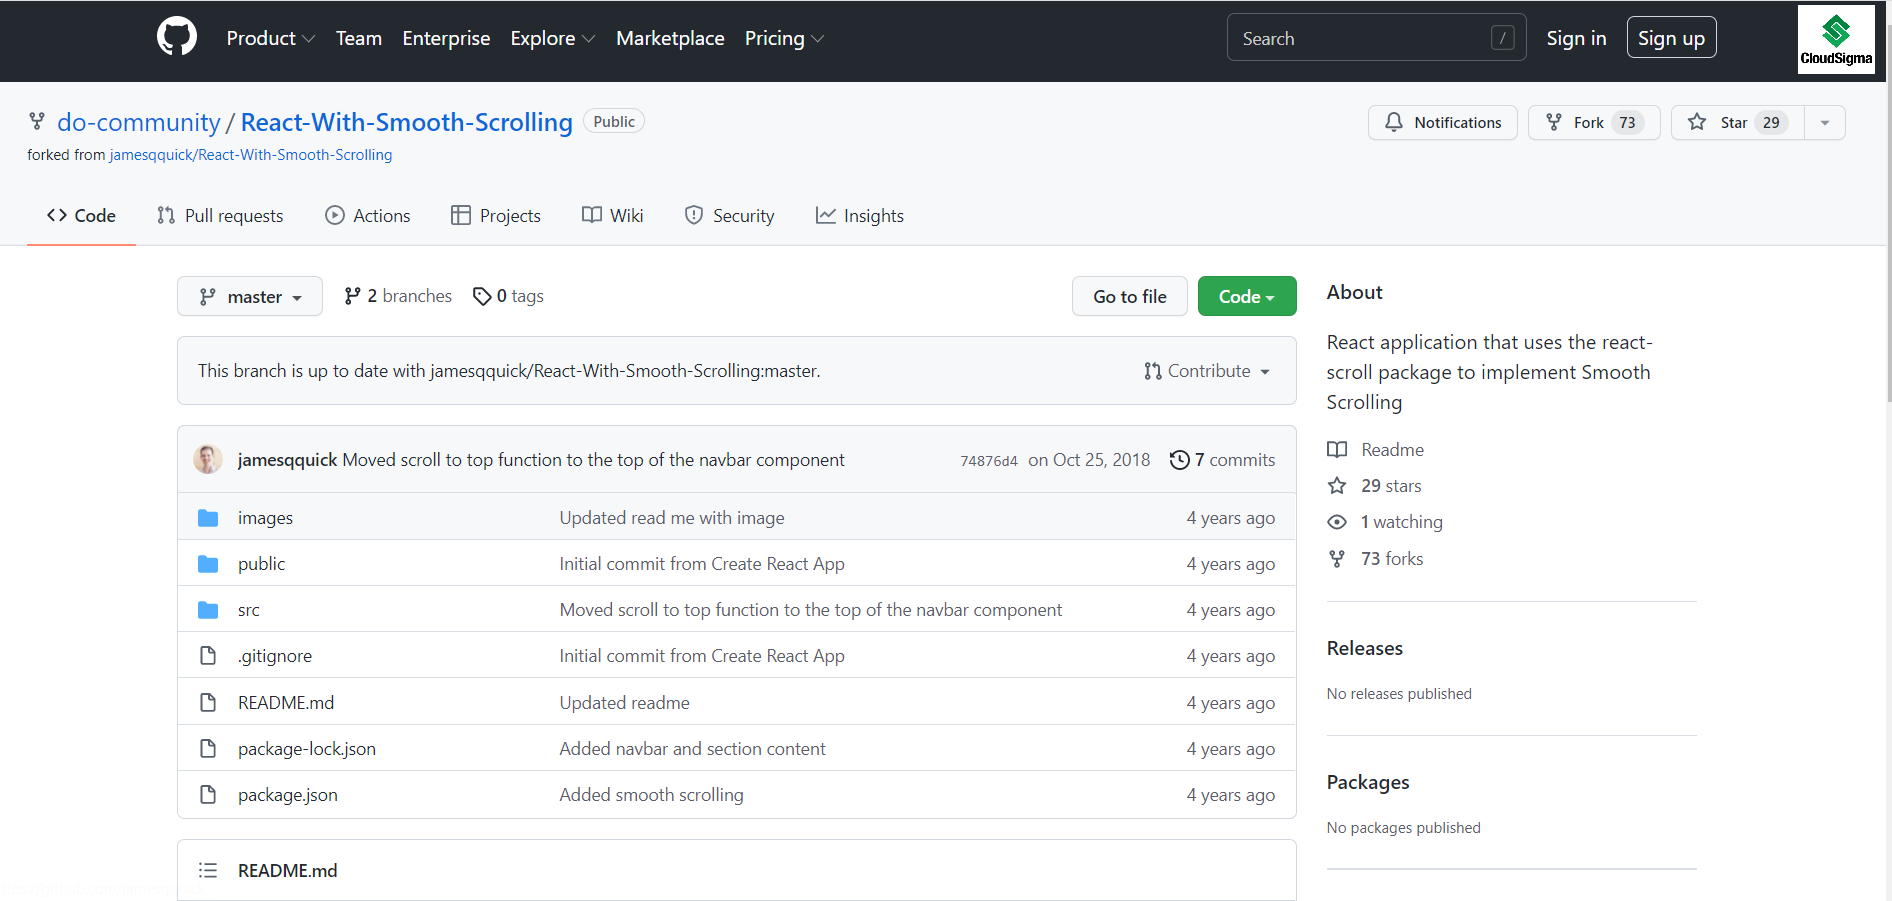
Currently, the links in the navigation bar are anchor tags. However, we will need to update them shortly to enable smooth scrolling. Follow the React With Smooth Scrolling page to navigate to the project repository. It is important to note that the link is for the start branch. The master branch includes all the completed alterations. On opening the url, you’ll see the repository:
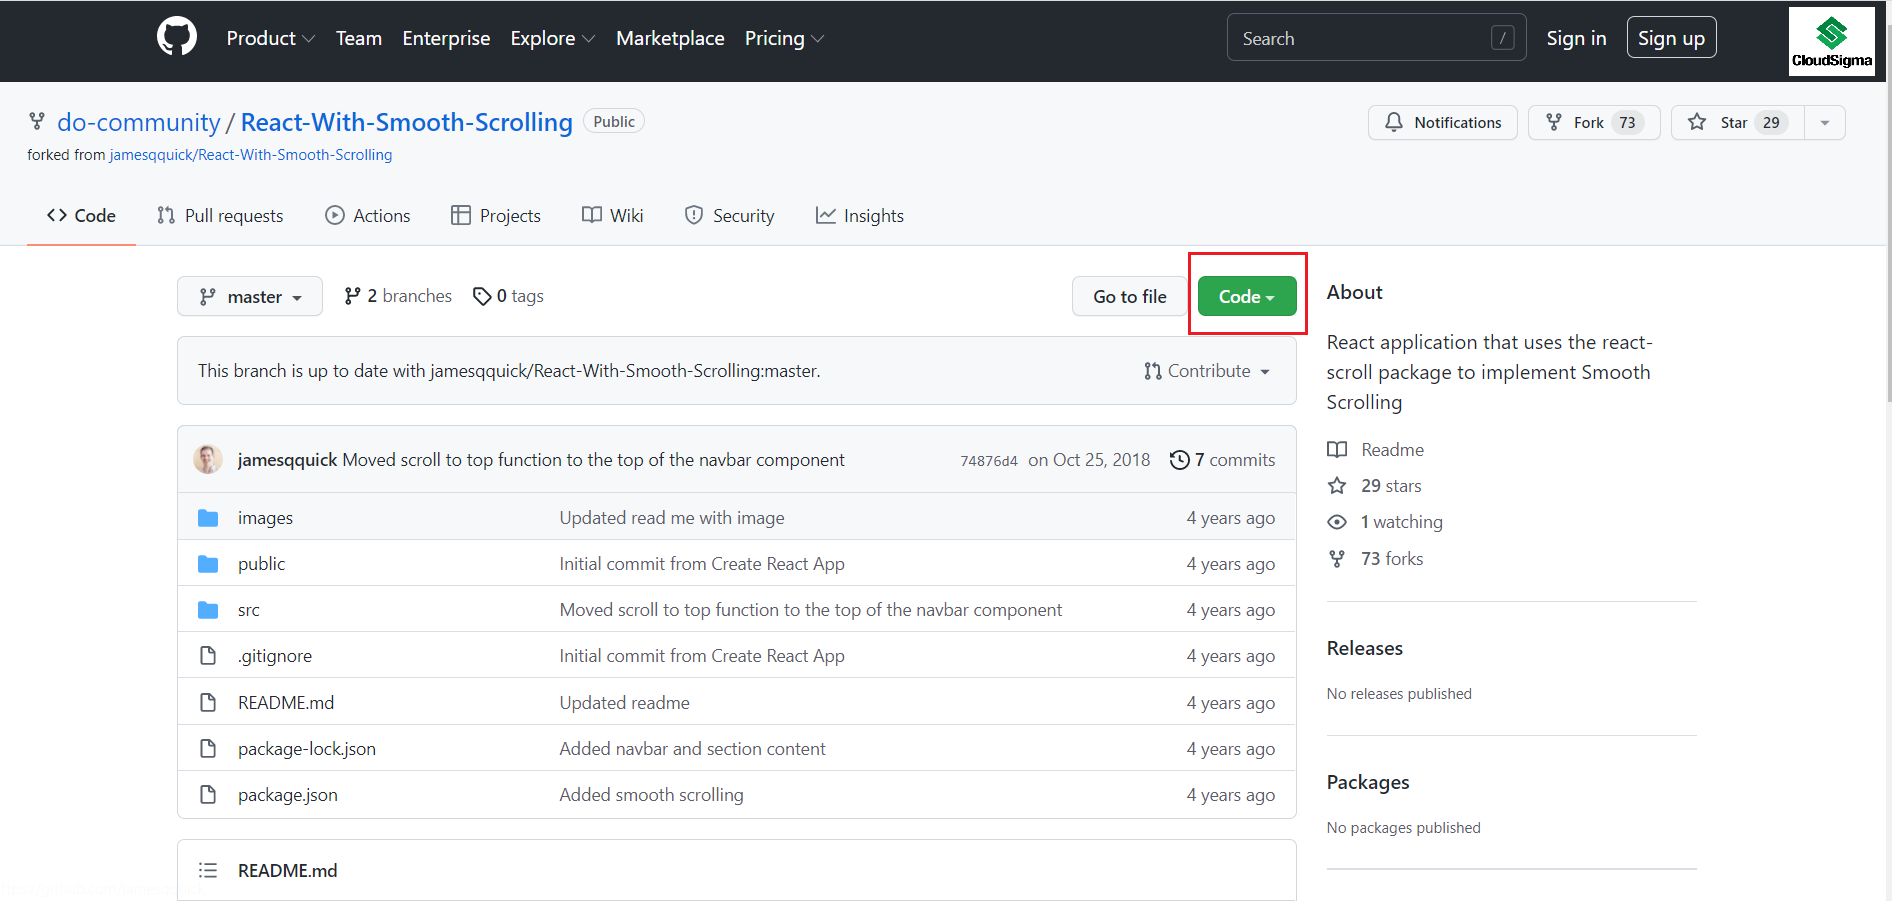
On the repository page, you will see the Code button in green. PRESS the dropdown arrow:
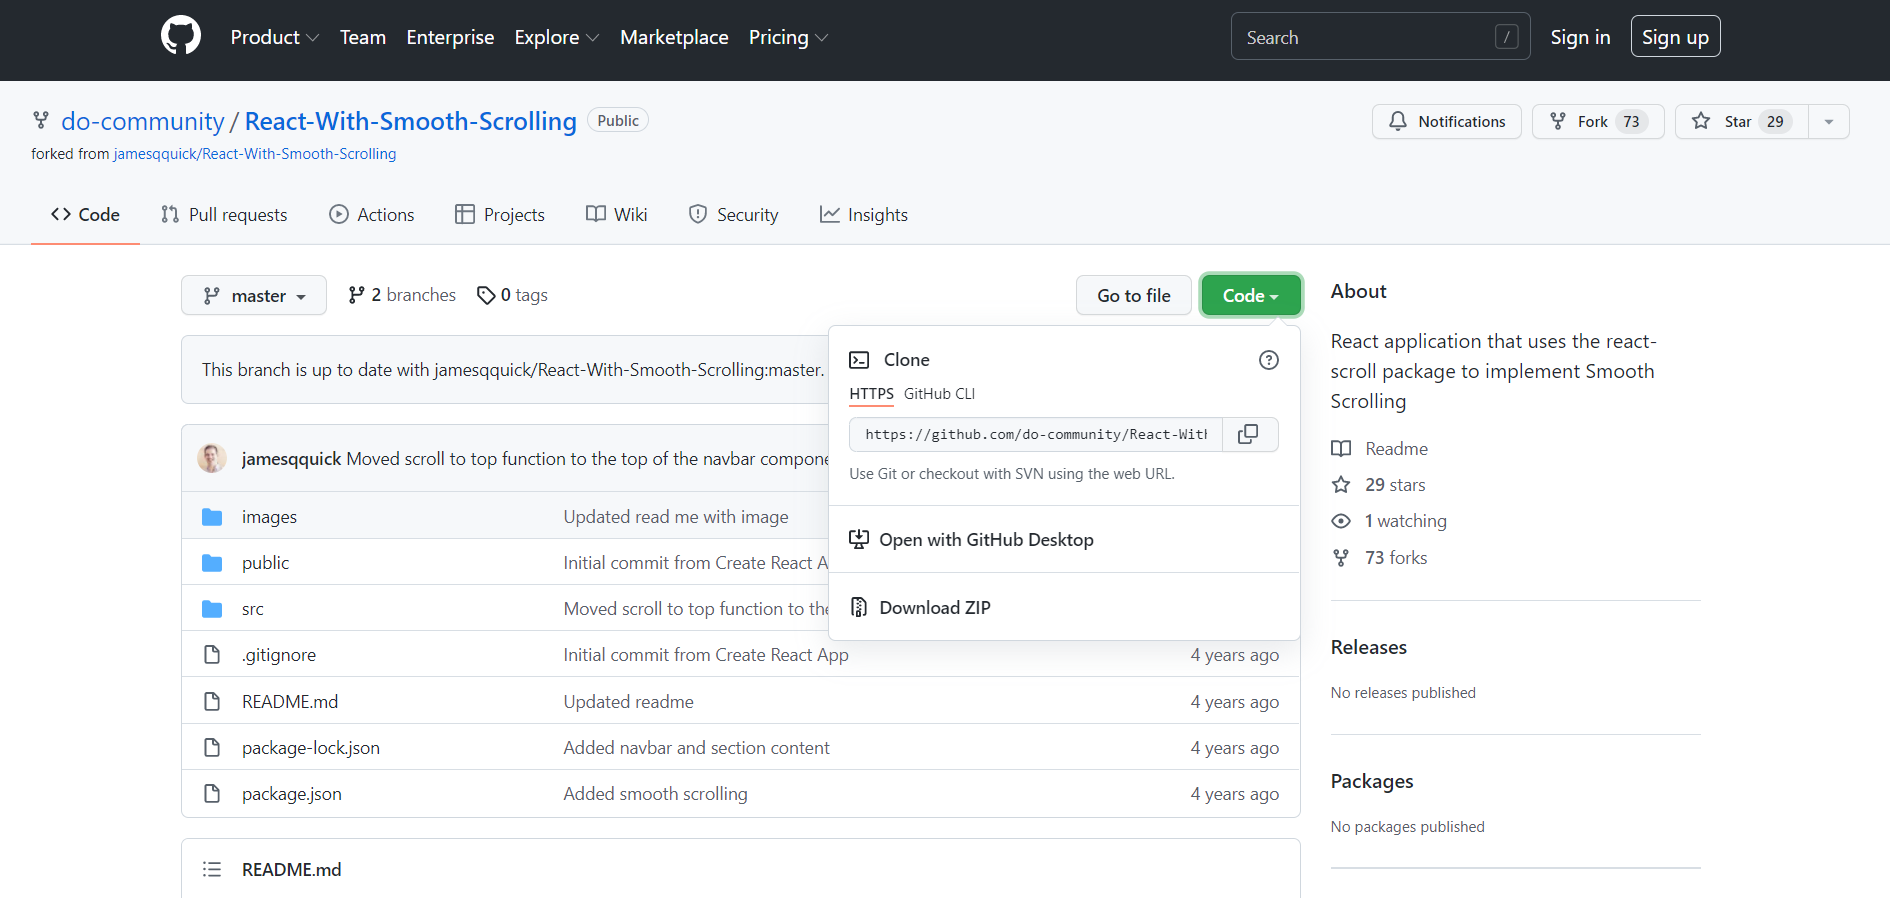
On clicking the arrow, you’ll see the HTTP link:
Now go to your git terminal, and use the following command to clone the project in your local machine:
|
1 |
$ git clone https://github.com/do-community/React-With-Smooth-Scrolling.git |
In the src/Components directory, you will find a Navbar.js file that includes the <Navbar> with nav-items corresponding to five five unique <Section>s arranged sequentially:
|
1 2 3 4 5 6 7 8 9 10 11 12 13 14 15 16 17 18 19 20 21 22 23 24 25 26 |
import React, { Component } from "react"; import logo from "../logo.svg"; export default class Navbar extends Component { render() { return ( <nav className="nav" id="navbar"> <div className="nav-content"> <img src={logo} className="nav-logo" alt="Logo." onClick={this.scrollToTop} /> <ul className="nav-items"> <li className="nav-item">Section 1</li> <li className="nav-item">Section 2</li> <li className="nav-item">Section 3</li> <li className="nav-item">Section 4</li> <li className="nav-item">Section 5</li> </ul> </div> </nav> ); } } |
Next, navigate to the App.js file in the src directory. There, you will see that the <Navbar> is placed along with the five <Section>s:
|
1 2 3 4 5 6 7 8 9 10 11 12 13 14 15 16 17 18 19 20 21 22 23 24 25 26 27 28 29 30 31 32 33 34 35 36 37 38 39 40 41 42 43 44 45 46 47 48 49 50 51 52 |
import React, { Component } from "react"; import logo from "./logo.svg"; import "./App.css"; import Navbar from "./Components/Navbar"; import Section from "./Components/Section"; import dummyText from "./DummyText"; class App extends Component { render() { return ( <div className="App"> <Navbar /> <Section title="Section 1" subtitle={dummyText} dark={true} id="section1" /> <Section title="Section 2" subtitle={dummyText} dark={false} id="section2" /> <Section title="Section 3" subtitle={dummyText} dark={true} id="section3" /> <Section title="Section 4" subtitle={dummyText} dark={false} id="section4" /> <Section title="Section 5" subtitle={dummyText} dark={true} id="section5" /> </div> ); } } export default App; |
By default, every <Section> component will include a title and subtitle.
-
DRY Principle in Action
As we are using dummy text for our tutorial, let’s add a dummyText.js file to save time and reduce repetition. Use the newly created JavaScript file to pass into every <Section> element.
-
Install React
Use the following command to RUN the app:
|
1 2 3 |
cd React-With-Smooth-Scrolling npm install npm start |
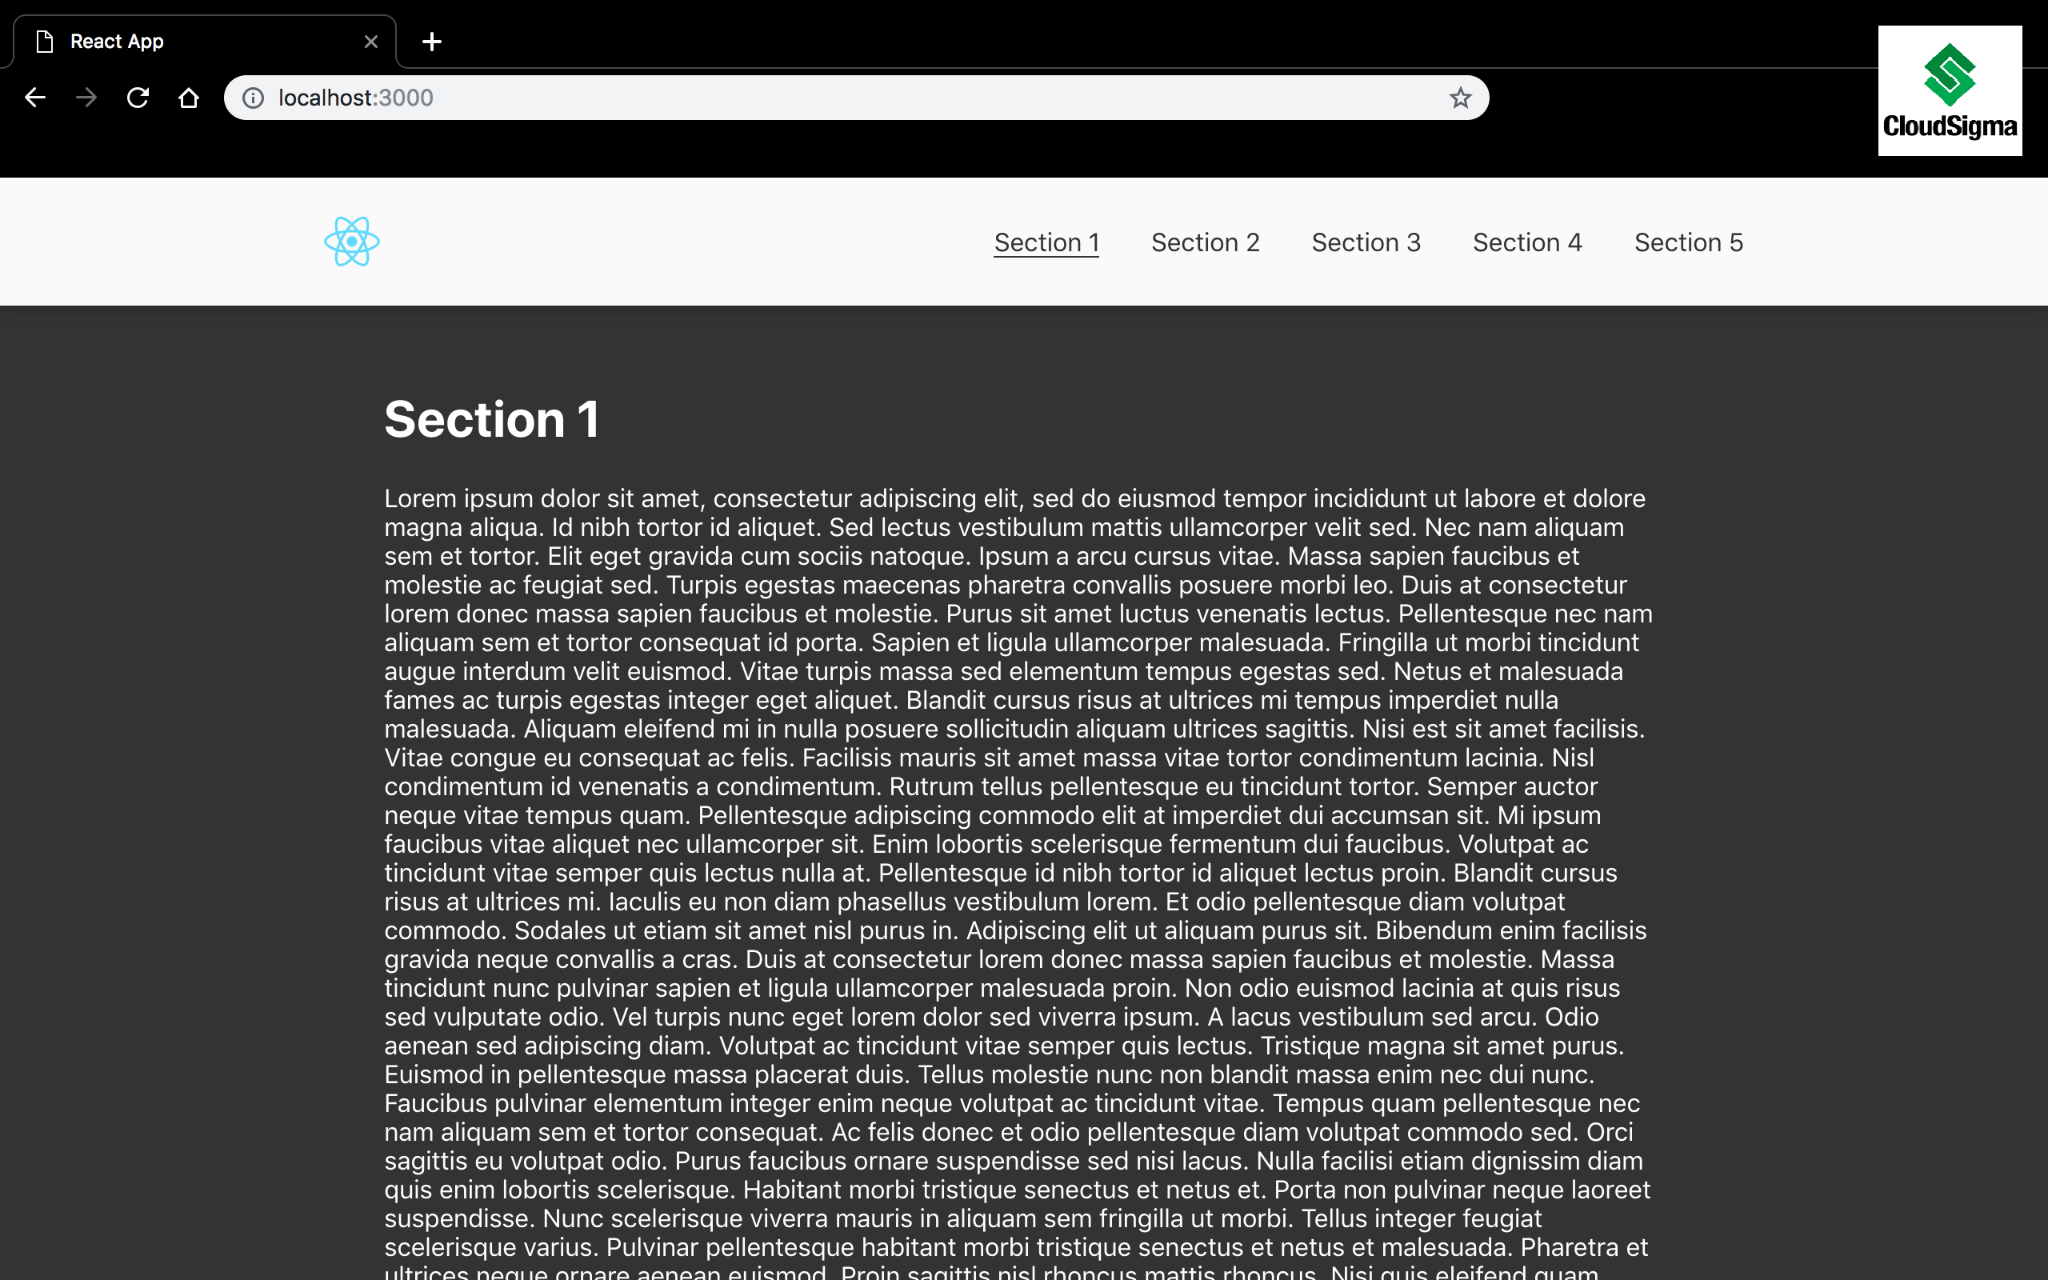
Running the rpm will start your application in development mode. Go to localhost:3000 and verify the app running on your system:

Now that our app is running, let’s move ahead and install react-scroll in the next step.
Step 2: Install and Configure React-Scroll
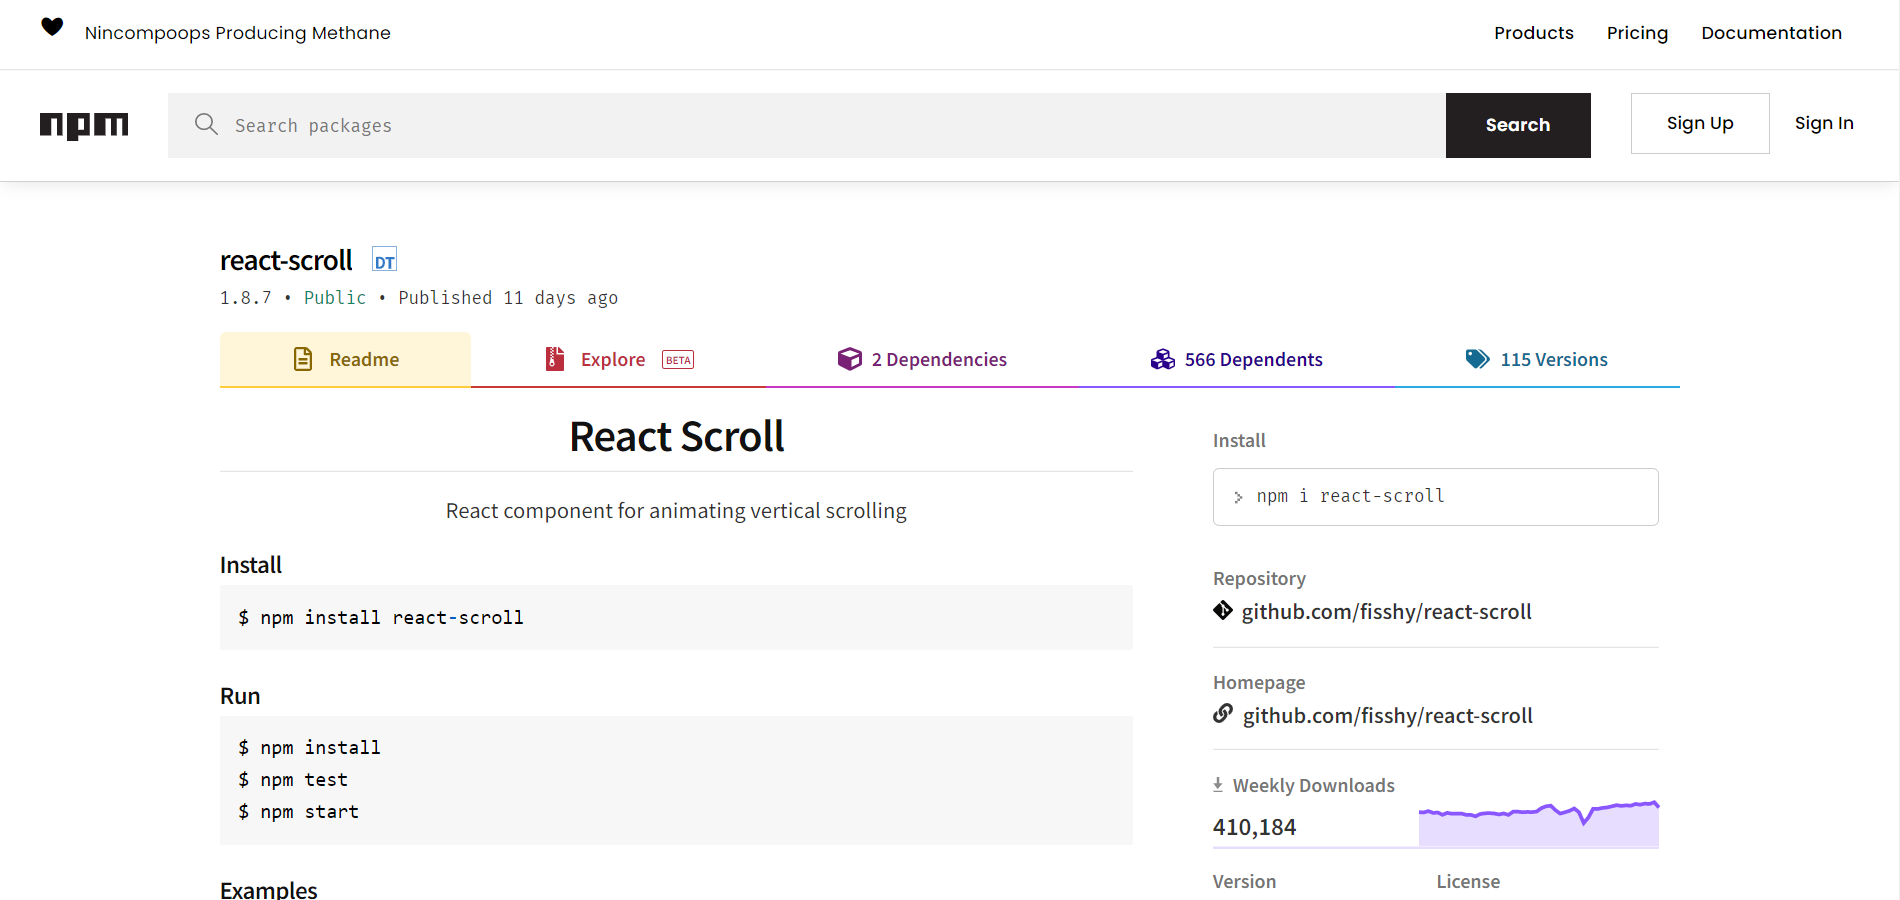
First, you need to visit the package on Node Package Manager to download react-scroll . At the time of writing this guide, we are using the most recent release of react-scroll , 1.8.7. Make sure to get the latest version, if there is an update in the future:
RUN the following command to install react-scroll:
|
1 |
$ npm install react-scroll |
After that, go to the Navbar.js file, and import Link and animateScroll from react-scroll. For simplicity and ease of use, let’s keep animateScroll as scroll:
|
1 |
import { Link, animateScroll as scroll } from "react-scroll"; |
After that, update the nav-items to use the <Link> component. You will see a lot of properties listed in the <Link> component which is trivial to our tutorial. However, you can explore these properties by checking the documentation page.
Some essential properties that deserve your attention:
-
activeClass – The class in use when an element is active.
-
to – Informs the specified target to scroll to.
-
The to feature is crucial because it directs the component which element to scroll.
-
-
spy: Points to select the Link when the scroll is at the target position.
-
smooth: Animates the scrolling.
-
offset: Scrolls additional px like padding, for instance.
-
You can also use offset to define an extra amount of scrolling to get to an individual <Section>.
-
-
duration: Animation scroll time that can be a number or a function.
Here is an illustration of the features that can be used for every <Link> component. The only distinctive thing among them will be the to feature as they all point to different <Section>s:
|
1 2 3 4 5 6 7 8 |
<Link activeClass="active" to="section1" spy={true} smooth={true} offset={-70} duration={500} > |
Consider updating all of the nav-items. After all the items are successfully added, return to the browser and see the live smooth scrolling.
Step 3: Style Active Links
In this step, we’ll be using CSS properties to redesign our code block and make it look stylish. The activeClass feature enables you to outline a class and apply the <Link> component when the to element is active. If the <Link> you are using has the to element view at the top of the page, consider the <Link> as active. Click the <Link> or scroll down the <Section> manually to trigger the <Link>.
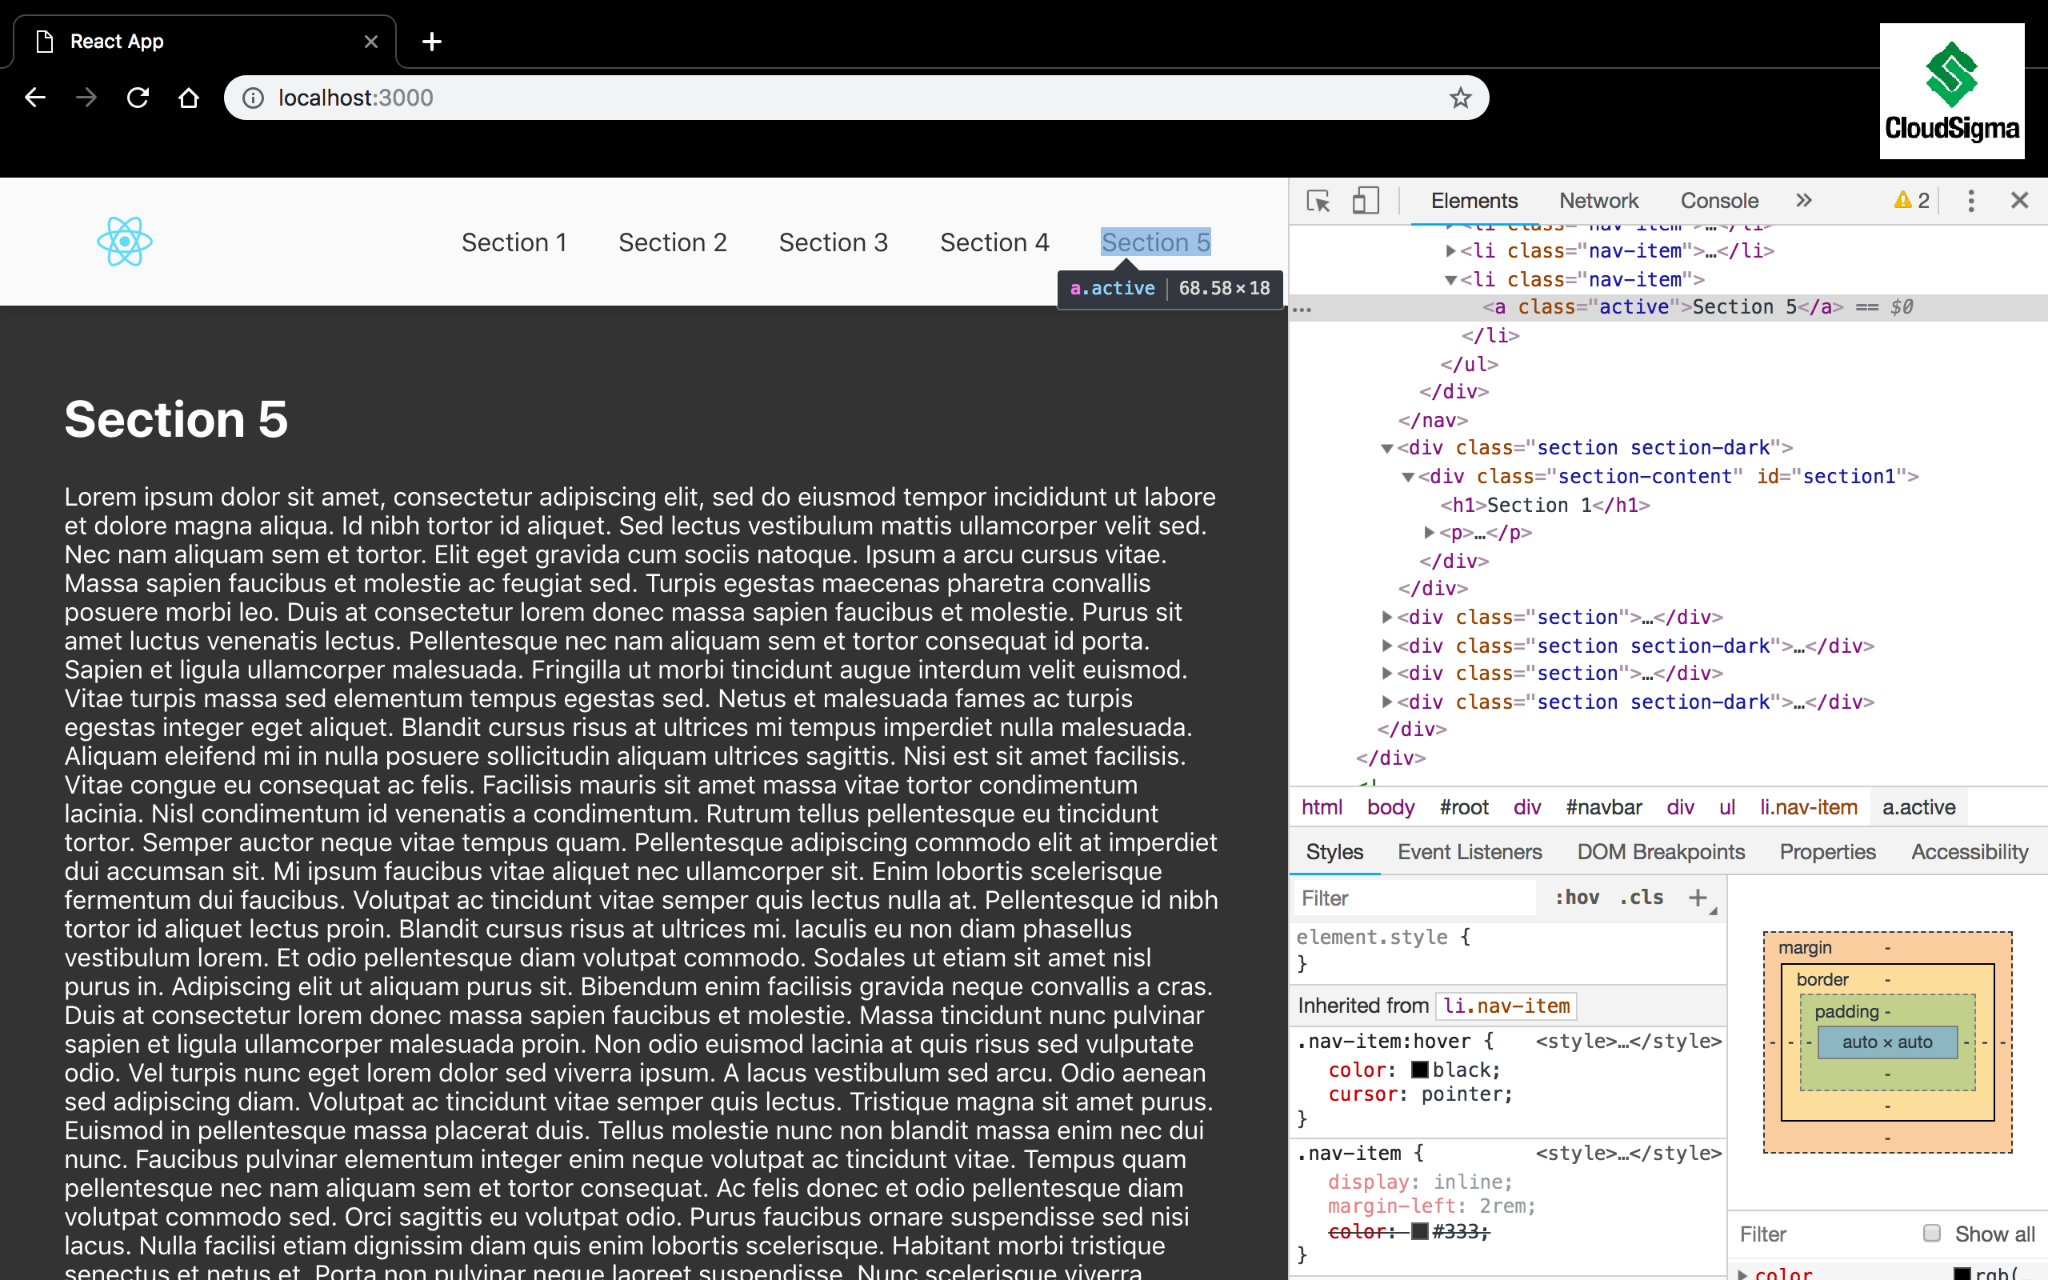
Let’s try testing and check out how it works. Open up the Chrome DevTools and inspect the fifth <Link> as highlighted below. Click on the <Link> or manually scroll the <Section> to the lower part of the page, and you will observe the active class getting applied:
As an additional step, create an active class and underline the link. Then, add this small block of CSS in the App.css file in the src directory:
|
1 2 3 |
.nav-item > .active { border-bottom: 1px solid #333; } |
After that, refresh your browser. Scroll around a bit and you will notice the specified <Link> is now underlined:
Step 4: Add More Functions
In addition to the properties used above, there are other functionalities like scrollToTop, scrollToBottom, to name a few, that you can use. You can call these functions directly and manage their actions explicitly. With respect to these functionalities, naturally, the app logo in a navigation bar will take you to the top of the home page.
Using the scrollToTop function, add a click handler to the nav-logo for scrolling the user back to the top of the page:
|
1 2 3 |
scrollToTop = () => { scroll.scrollToTop(); }; |
Using the scrollToTop function, add a click handler to the nav-logo for scrolling the user at the bottom of the page:
|
1 2 3 |
scrollToTop = () => { scroll.scrollToBottom(); }; |
Back in the browser, you can now scroll down on the page, click the logo in the navigation bar, and be returned to the upper part of the page.
Conclusion
Smooth scrolling is among those functionalities that can add plenty of visual value to a web app. The react-scroll package can enable you to leverage this feature without the momentous overhead.
As the next step in your learning experience, take a look at more React and JavaScript tutorials that you can find on our blog:
- Setting Up a React Project with Create React App
- Using Http Client Axios in a React Application: A Tutorial
- Installing Node.js on Centos 8: A Complete Guide
Happy Computing!
- How To Enable, Create and Use the .htaccess File: A Tutorial - March 8, 2023
- An Overview of Queries in MySQL - October 28, 2022
- Introduction to Cookies: Understanding and Working with JavaScript Cookies - October 25, 2022
- An Overview of Data Types in Ruby - October 24, 2022
- The Architecture of Iptables and Netfilter - October 10, 2022