

Among all the available database engines, PostgreSQL is one of the most popular ones. It’s a well-known open-source database system known for its reliability, robust features, and performance. Because PostgreSQL is a popular choice, it’s supported by almost all major web frameworks. Similar to its competitors MySQL and SQLite, PostgreSQL also has its strong and weak points.
Ruby on Rails is a popular web framework written in Ruby. It’s a database-agnostic framework, meaning it can work with a wide variety of databases. By default, Rails assume SQL for database functionalities. However, it also supports PostgreSQL integration.
This tutorial will guide you through the process of configuring PostgreSQL for your Ruby on Rails application.
Ruby on Rails and PostgreSQL
Both PostgreSQL and Ruby on Rails are available on any UNIX/Linux distribution. They should be available from the default package servers.
An alternative method is using RVM (Ruby Version Manager). It’s a dedicated tool to manage Ruby on Rails installations. The benefit of this approach is that RVM will create a local installation of Ruby on Rails. It can also manage multiple versions of Ruby and switch seamlessly between them. Here is a tutorial that details the steps of Installing Ruby on Rails with RVM on Ubuntu.
As for PostgreSQL, take a look at this quick guide on installing and configuring PostgreSQL on Ubuntu.
-
Installing RVM
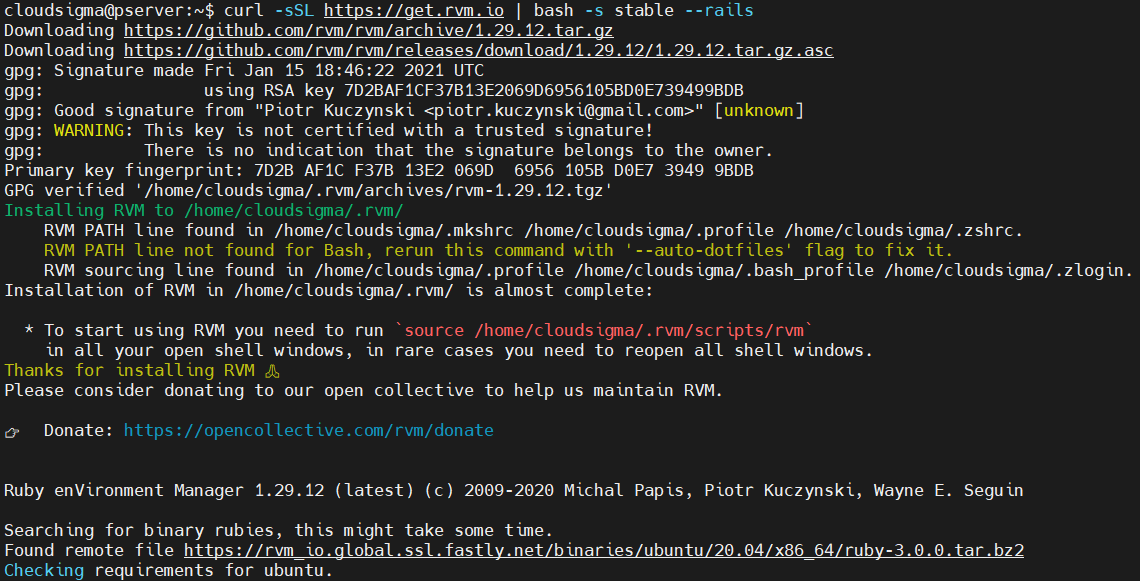
The installation process of RVM is pretty straightforward, thanks to the installation script RVM offers. The script is designed to auto-detect the Linux system, then download and install all necessary packages. We need the RVM GPG keys to verify packages. It ensures that the packages received aren’t spoofed. First, add the RVM GPG keys:
|
1 |
gpg2 --recv-keys 409B6B1796C275462A1703113804BB82D39DC0E3 7D2BAF1CF37B13E2069D6956105BD0E739499BDB |

Then, run the RVM installation script:
|
1 |
curl -sSL https://get.rvm.io | bash -s stable --rails |
Finally, verify the installation:
|
1 |
type rvm | head -n 1 |

-
Installing Rails
We can now use RVM to install additional components. Install the Rails framework using RVM:
|
1 |
gem install rails |

-
Installing PostgreSQL
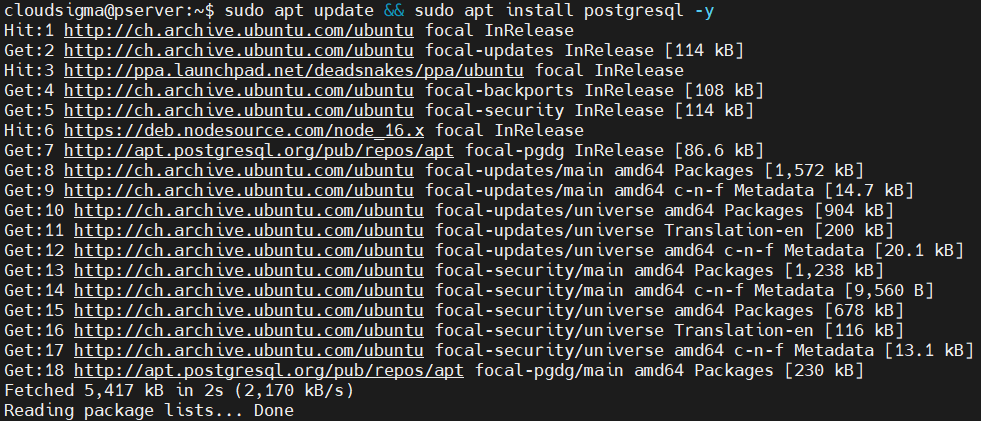
The next step requires having PostgreSQL pre-installed on the system. By default, the easiest way to install PostgreSQL is using the default package manager. It’s available for all the major Linux distros. Check out the PostgreSQL download page for all the available installation methods. On Ubuntu, the following commands will configure the PostgreSQL repo, and install it right away:
|
1 |
sudo sh -c 'echo "deb http://apt.postgresql.org/pub/repos/apt $(lsb_release -cs)-pgdg main" > /etc/apt/sources.list.d/pgdg.list' |

|
1 |
wget --quiet -O - https://www.postgresql.org/media/keys/ACCC4CF8.asc | sudo apt-key add - |

|
1 |
sudo apt update && sudo apt install postgresql -y |
To enable PostgreSQL support, we need to install the pg gem. It enables interfacing with PostgreSQL from Ruby code:
|
1 |
gem install pg |

-
Configuring PostgreSQL
After the installation, we will configure the tools we will need to use for our projects. First, switch to the PostgreSQL user:
|
1 |
su - postgres |
Access the PostgreSQL shell:
|
1 |
psql |

In the context of PostgreSQL, we will now create a new role (classically known as user). PostgreSQL has its own format of roles and permissions. Don’t forget to use an appropriate username and a strong password:
|
1 |
create role <username> with createdb login password 'password123'; |

Creating a Rails App
Tell Rails to create a new Rails app configured to use PostgreSQL for the database:
|
1 |
rails new <app_name> --database=postgresql |
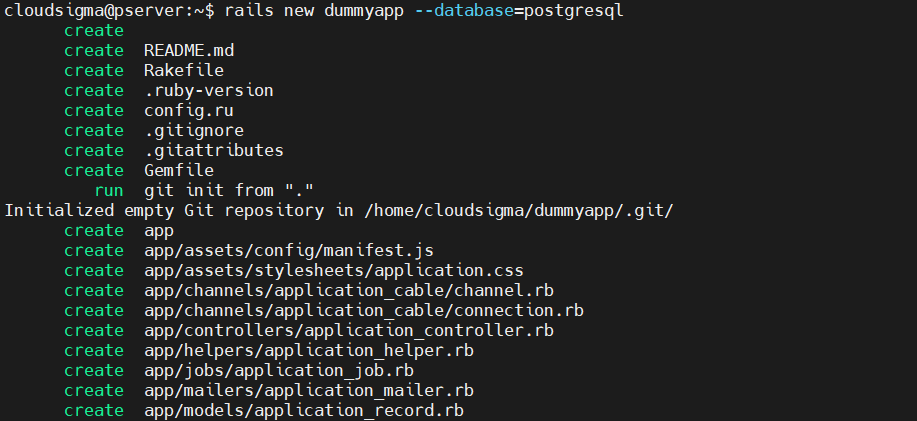
This will create a new directory with the app username. Rails generally expect the username of the database and the app name to be the same. The next step is to configure the Rails database configuration. The configuration file is located at the following location:
|
1 |
RAILS_ROOT/config/database.yml |
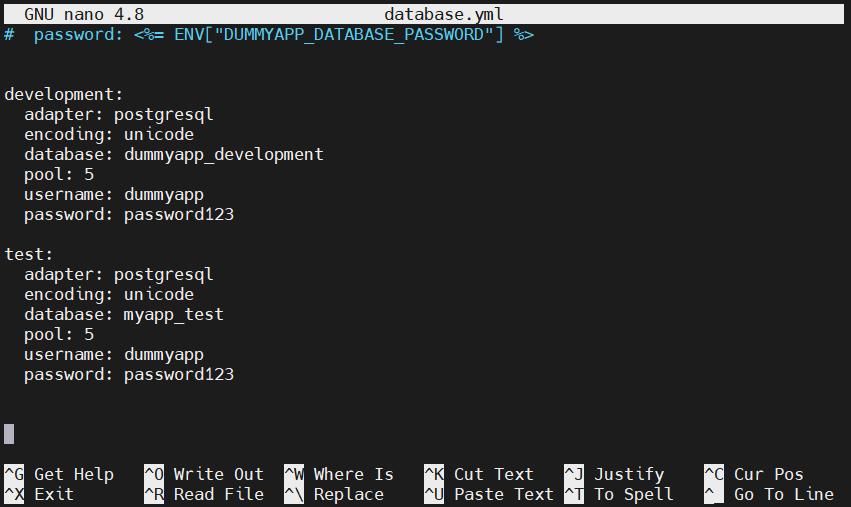
The file database.yml contains the data describing the appropriate database for the current Rails environment. As the filename suggests, it uses YAML. YAML is a human-friendly data serialization standard for all programming languages.
By default, Rails expects different databases for different environments, for example, development, test, and production. It’s useful in various situations, for example, Rails will empty and rebuild the test database every time a Rails test is run.
Here’s a sample database.yml that contains the development and test databases:
|
1 2 3 4 5 6 7 8 9 10 11 12 13 14 15 |
development: adapter: postgresql encoding: unicode database: dummyapp_development pool: 5 username: dummyapp password: password123 test: adapter: postgresql encoding: unicode database: myapp_test pool: 5 username: dummyapp password: password123 |
It is now time to take the changes into effect. The following command will prepare the necessary databases described in database.yml. Each database will have its own users and have schema_migrations tables. The table is necessary for data and schema migration:
|
1 |
rake db:setup |
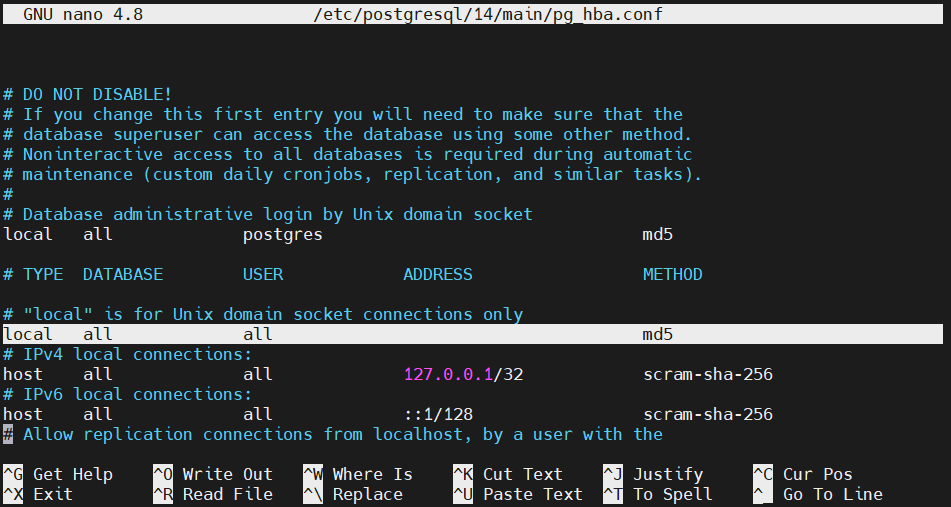
This step will fail if the PostgreSQL configuration file pg_hba.conf contains improper configurations. The file is located at the following location:
|
1 |
sudo cat /etc/postgresql/13/main/pg_hba.conf |
The following line is the target. Instead of peer, the authentication method should be md5:
|
1 |
local all all peer |
Change the line:
|
1 |
local all all md5 |
To take the changes into effect, you have to restart the PostgreSQL service:
|
1 |
sudo systemctl restart postgresql |
Then, re-run the database setup:
|
1 |
rake db:setup |

Running Rails
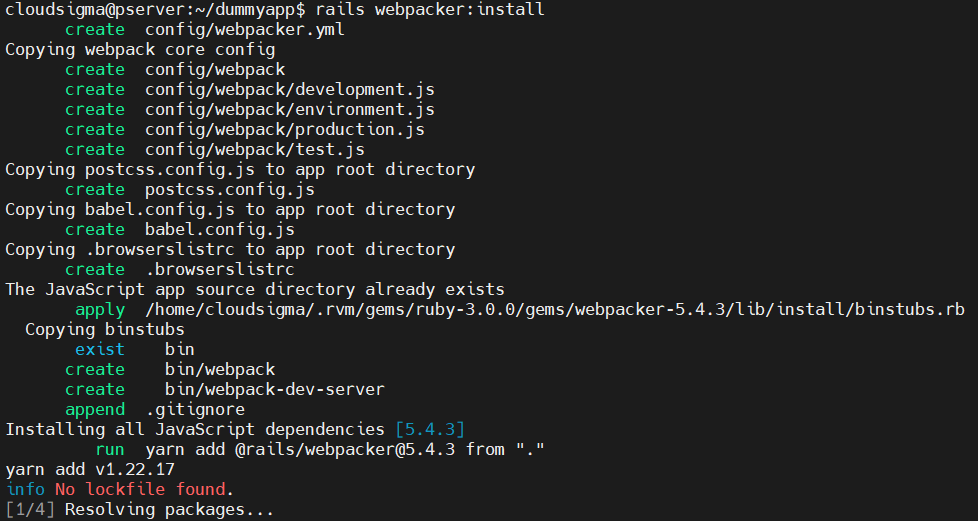
Running the Rails server requires the following additional component. Note that for this, you need Node.js installed (with yarn):
|
1 |
rails webpacker:install |
The Rails app should now be ready to launch. Start the Rails server:
|
1 |
rails server |
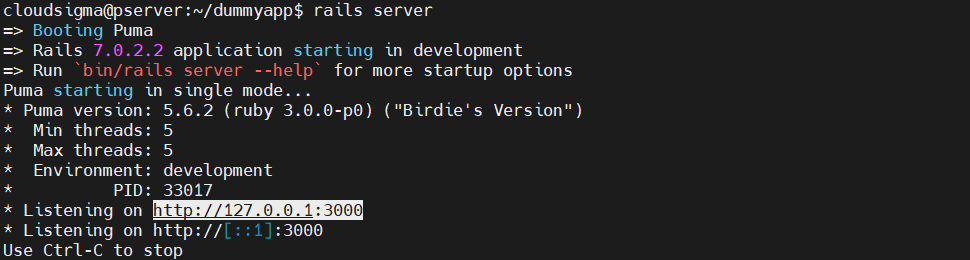
The server should be accessible from the following URL. It will land on the Rails landing page:
|
1 |
http://localhost:3000 |
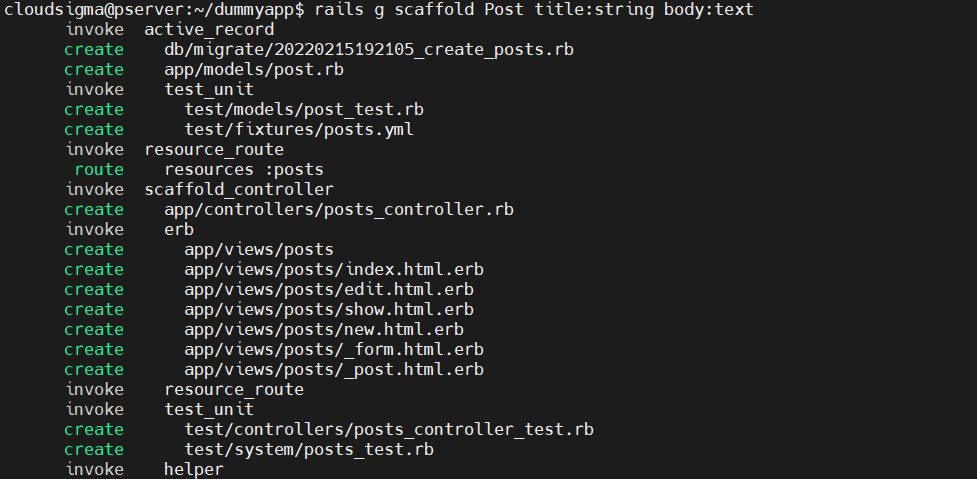
To make the landing page more exciting, create a scaffold:
|
1 |
rails g scaffold Post title:string body:text |
|
1 |
rake db:migrate |

Finally, start the server and navigate to the URL again. We can now manage posts (creating, editing, and deleting posts).
Final Thoughts
This is a basic setup of Ruby on Rails with PostgreSQL. There’s an official getting started guide that will help you further utilize Rails. The sample app we created uses PostgreSQL. This way, you can create any app that uses PostgreSQL for its functionalities.
Happy computing!
- How to Deploy WordPress with Persistent Volume on Kubernetes Cluster - March 17, 2023
- Deploying Applications on Kubernetes Using Argo CD and GitOps - October 26, 2022
- Using Node.js Modules with npm and package.json: A Tutorial - October 6, 2022
- Using Ansible to Install and Configure WordPress with LAMP on Ubuntu - September 23, 2022
- Creating Views in the Django Web Application Framework - September 22, 2022