

Ghost is a fully open source adaptable platform for building and running modern online publications. With Ghost, setting up a blog is a child’s play. It gets easier with CloudSigma’s already prepared base library OS images.
Introduction
To start with, I am creating a machine on CloudSigma with 5 GHz CPU and 8 GB RAM. I am naming it “Ghost-Blog” and optimizing it for ‘Linux VM’. I am attaching the image Ubuntu 16.04 LTS from the library and resizing it to 100 GB. First, one of the most important aspects is to assign a static IP so that if we need to restart our machine, we won’t have to go through the extra trouble of DNS Management.
Then, once the server is up, we move towards preparing it for Ghost installation.
After that, for production environments, Ghost officially recommends the following stack:
- Ubuntu 16.04
- MySQL
- NGINX (minimum of 1.9.5 for SSL)
- Systemd
- Node v6 installed via NodeSource
- At least 1GB memory (swap can be used)
- A non-root user for running
ghostcommands
On the server, we will first upgrade the package list and then upgrade the already installed packages. This would help us get updated versions of any package/software.
|
1 |
sudo apt-get update && sudo apt-get upgrade |
After making sure that all the software packages would be latest, we can start proceed with the installation.
NGINX Installation
First, we install NGINX. According to NGINX Wiki, “NGINX is a free, open-source, high-performance HTTP server and reverse proxy, as well as an IMAP/POP3 proxy server. NGINX is known for its high performance, stability, rich feature set, simple configuration, and low resource consumption.”
This is the component which allows our data to be publicly available by casting it to some port from where users can access it.
|
1 |
sudo apt-get install nginx |
After NGINX is installed, we are going to install MySQL server. MySQL is an open-source relational database management system. This component would store the data of our blog.
|
1 |
sudo apt-get install mysql-server |
Make sure to set a password for the MySQL server. This is important as Ghost does not support password-less authentication mechanism.
Next, we install Node. Node.js is an open-source, cross-platform JavaScript run-time environment that executes JavaScript code server-side.
To Install Node v6, we first need to add NodeSource repo to our machine.
|
1 |
curl -sL https://deb.nodesource.com/setup_6.x | sudo -E bash |
Once we add the repo, we will be able to install Node with this command.
|
1 |
sudo apt-get install -y nodejs |
Then, when our machine is ready, we can install Ghost.
|
1 |
sudo npm i -g ghost-cli |
After installing Ghost CLI, I am creating a directory ‘ghost’ in /var/www/ where I can set up the blog.
|
1 |
sudo mkdir -p /var/www/ghost |
Next, I am going to give ownership of the directory to my user ‘cloudsigma’.
|
1 |
sudo chown cloudsigma:cloudsigma /var/www/ghost |
The following command would change the permissions of the directory as recommended.
|
1 |
sudo chmod 775 /var/www/ghost |
Ghost Installation
Finally, we can set up the blog. The wait is over!
|
1 2 |
cd /var/www/ghost ghost install |
When we enter ghost install command, following would be the output with various prompts written in Bold here.
|
1 2 3 4 5 6 7 8 9 10 11 12 13 14 15 16 17 18 19 20 21 22 23 24 25 26 27 28 29 30 31 32 33 34 35 36 37 38 39 40 41 42 43 44 45 46 47 48 49 50 51 52 53 54 55 56 57 58 59 60 61 62 63 64 65 66 |
cloudsigma@Ghost-Blog:/var/www/ghost$ ghost install Checking system Node.js version Checking logged in user Checking current folder permissions Checking operating system compatibility Checking for a MySQL installation Checking memory availability Checking for latest Ghost version Setting up install directory Downloading and installing Ghost v1.24.7 Finishing install process Enter the following details here: ? Enter your blog URL: <strong> [[IP-ADDRESS - Static IP]]</strong> ? Enter your MySQL hostname: <strong>localhost</strong> ? Enter your MySQL username: <strong>root</strong> ? Enter your MySQL password: <strong>[hidden]</strong> ? Enter your Ghost database name: <strong>ghost_prod</strong> Configuring Ghost Setting up instance Running sudo command: useradd --system --user-group ghost Running sudo command: chown -R ghost:ghost /var/www/ghost/content Setting up "ghost" system user ? Do you wish to set up "ghost" mysql user? <strong>Yes</strong> Setting up "ghost" mysql user ? Do you wish to set up Nginx? <strong>Yes</strong> Creating nginx config file at /var/www/ghost/system/files/[IP].conf Running sudo command: ln -sf /var/www/ghost/system/files/[IP].conf /etc/nginx/sites-available/[IP].conf Running sudo command: ln -sf /etc/nginx/sites-available/[IP].conf /etc/nginx/sites-enabled/213.189.61.63.conf Running sudo command: nginx -s reload Setting up Nginx ? Do you wish to set up SSL? <strong>Yes</strong> SSL certs cannot be generated for IP addresses, skipping Setting up SSL [skipped] ? Do you wish to set up Systemd? <strong>Yes</strong> Creating systemd service file at /var/www/ghost/system/files/ghost_[IP].service Running sudo command: ln -sf /var/www/ghost/system/files/ghost_[IP].service /lib/systemd/system/ghost_[IP].service Running sudo command: systemctl daemon-reload Setting up Systemd Running sudo command: /var/www/ghost/current/node_modules/.bin/knex-migrator-migrate --init --mgpath /var/www/ghost/current Running database migrations ? Do you want to start Ghost? <strong>Yes</strong> Running sudo command: systemctl is-active ghost_[IP] Ensuring user is not logged in as ghost user Checking if logged in user is directory owner Checking current folder permissions Running sudo command: systemctl is-active ghost_[IP] Validating config Checking folder permissions Checking file permissions Checking content folder ownership Checking memory availability Running sudo command: systemctl start ghost_[IP] Starting Ghost Running sudo command: systemctl is-enabled ghost_[IP] Running sudo command: systemctl enable ghost_[IP] --quiet Starting Ghost You can access your publication at [[IP]] Next, go to to your admin interface at [[IP]]/ghost/ to complete the setup of your publication Ghost uses direct mail by default To set up an alternative email method read our docs at https://docs.ghost.org/docs/mail-config |
Now that we set up Ghost, we can access it on the IP we had mentioned during the setup. Say, if I had used, 192.168.0.22, anyone can access the blog at http://192.168.0.22
Further, we need to set up the Blog admin UI at http://192.168.0.22/ghost. Open this link as soon as you finish the above steps from your local machine’s web browser. Ghost Admin page would open up and would look like this:

Ghost Welcome Screen
It will prompt you to create an account. Click on the button to move to this screen where you need to create an account for the first time to access the UI. After that, fill all the details and move to the next page.

Ghost Account Creation
On the next screen, you can invite your team who will be penning down the stories with you. They will receive an email invitation.

Ghost Invite Your Team
After that, you will be logged in to the panel which looks like this:
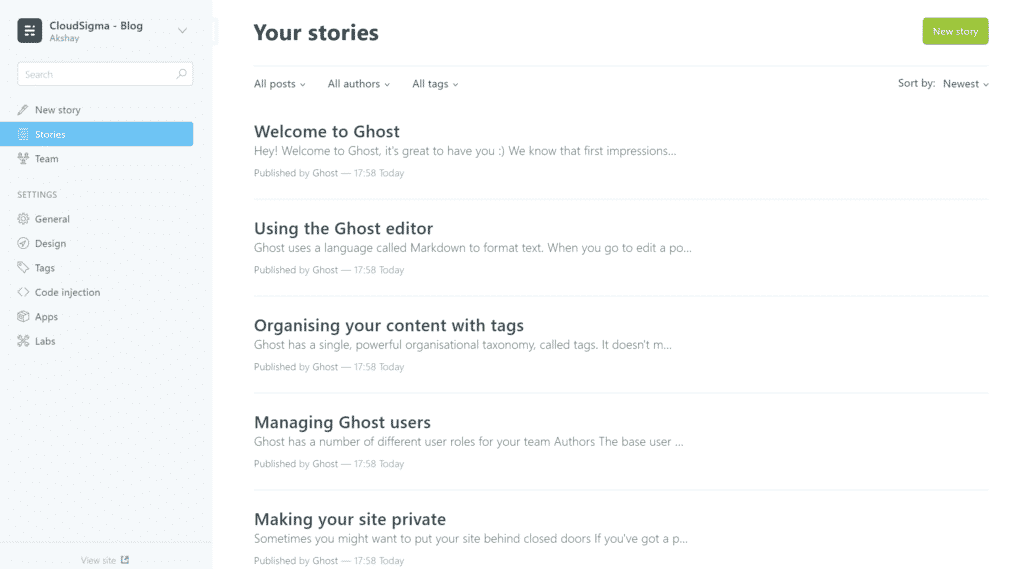
Ghost Your Stories
You have various settings to personalize it further in the Settings. For example – General, Design, etc tabs.
Finally, to write a new story, you can click on New Story on the left panel.
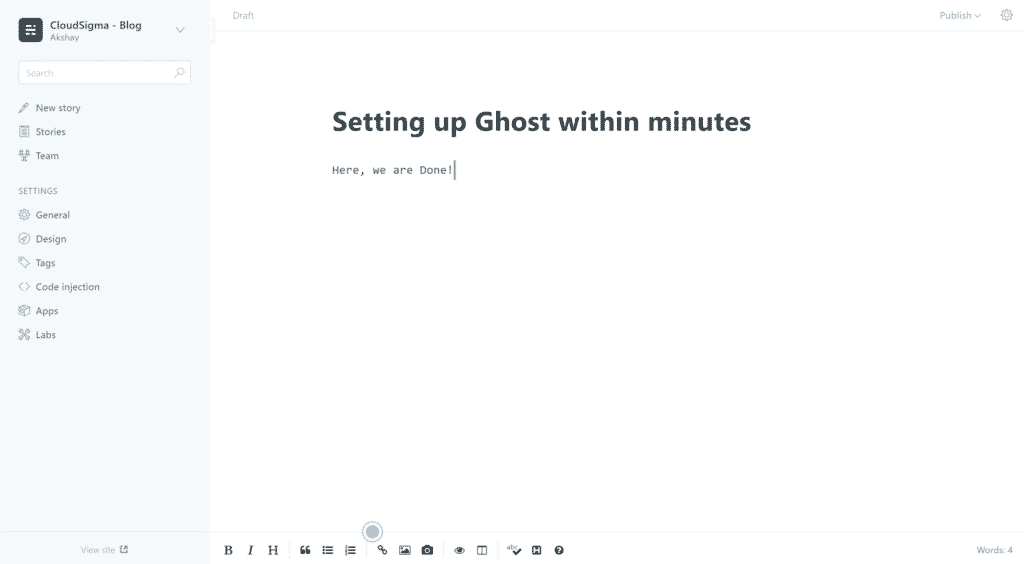
Ghost Quick Setup
That’s all. I wish you lots of success with your new blog projects!
Share this Post
- Removing Spaces in Python - March 24, 2023
- Is Kubernetes Right for Me? Choosing the Best Deployment Platform for your Business - March 10, 2023
- Cloud Provider of tomorrow - March 6, 2023
- SOLID: The First 5 Principles of Object-Oriented Design? - March 3, 2023
- Setting Up CSS and HTML for Your Website: A Tutorial - October 28, 2022