

CDH is Cloudera’s 100% open source platform distribution, including Apache Hadoop and built specifically to meet enterprise demands. CDH delivers everything you need for enterprise use right out of the box. By integrating Hadoop with more than a dozen other critical open source projects, Cloudera has created a functionally advanced system that helps you perform end-to-end Big Data workflows. (Source). Today, I am presenting a tutorial on how to create a three node cluster using Cloudera CDH on CloudSigma. To start with, I need three nodes which I can create within minutes with a preinstalled OS from the CloudSigma drive library.
Setting up Nodes
To start off the Cloudera tutorial, log on to the CloudSigma WebApp and go to ‘Compute’. Click on ‘Create’ and name your machine under ‘Properties’. I’ve chosen to name my machine ‘machine1’. Using the sliders, provide the RAM and CPU parameters you require. A good configuration would be 16 GB RAM and 20 GHz CPU. In addition, you can select ‘Optimize for Linux VM’ and it’ll take care of the advanced settings:

Go to the ‘Drives’ tab and select ‘Drive From Library’ from the ‘Attach Drive’ dropdown. For this installation I have cloned Ubuntu 16.04 LTS. For SSH set up, you can use PuTTY Key Generator software to generate a public-private key pair. After you have generated the keys, go to ‘SSH Keys’ tab on the WebApp and click on ‘Add’. Then, give a name to the key and copy paste the public key from Key Generator. Finally, click on the ‘save’ button on the top to create this machine.
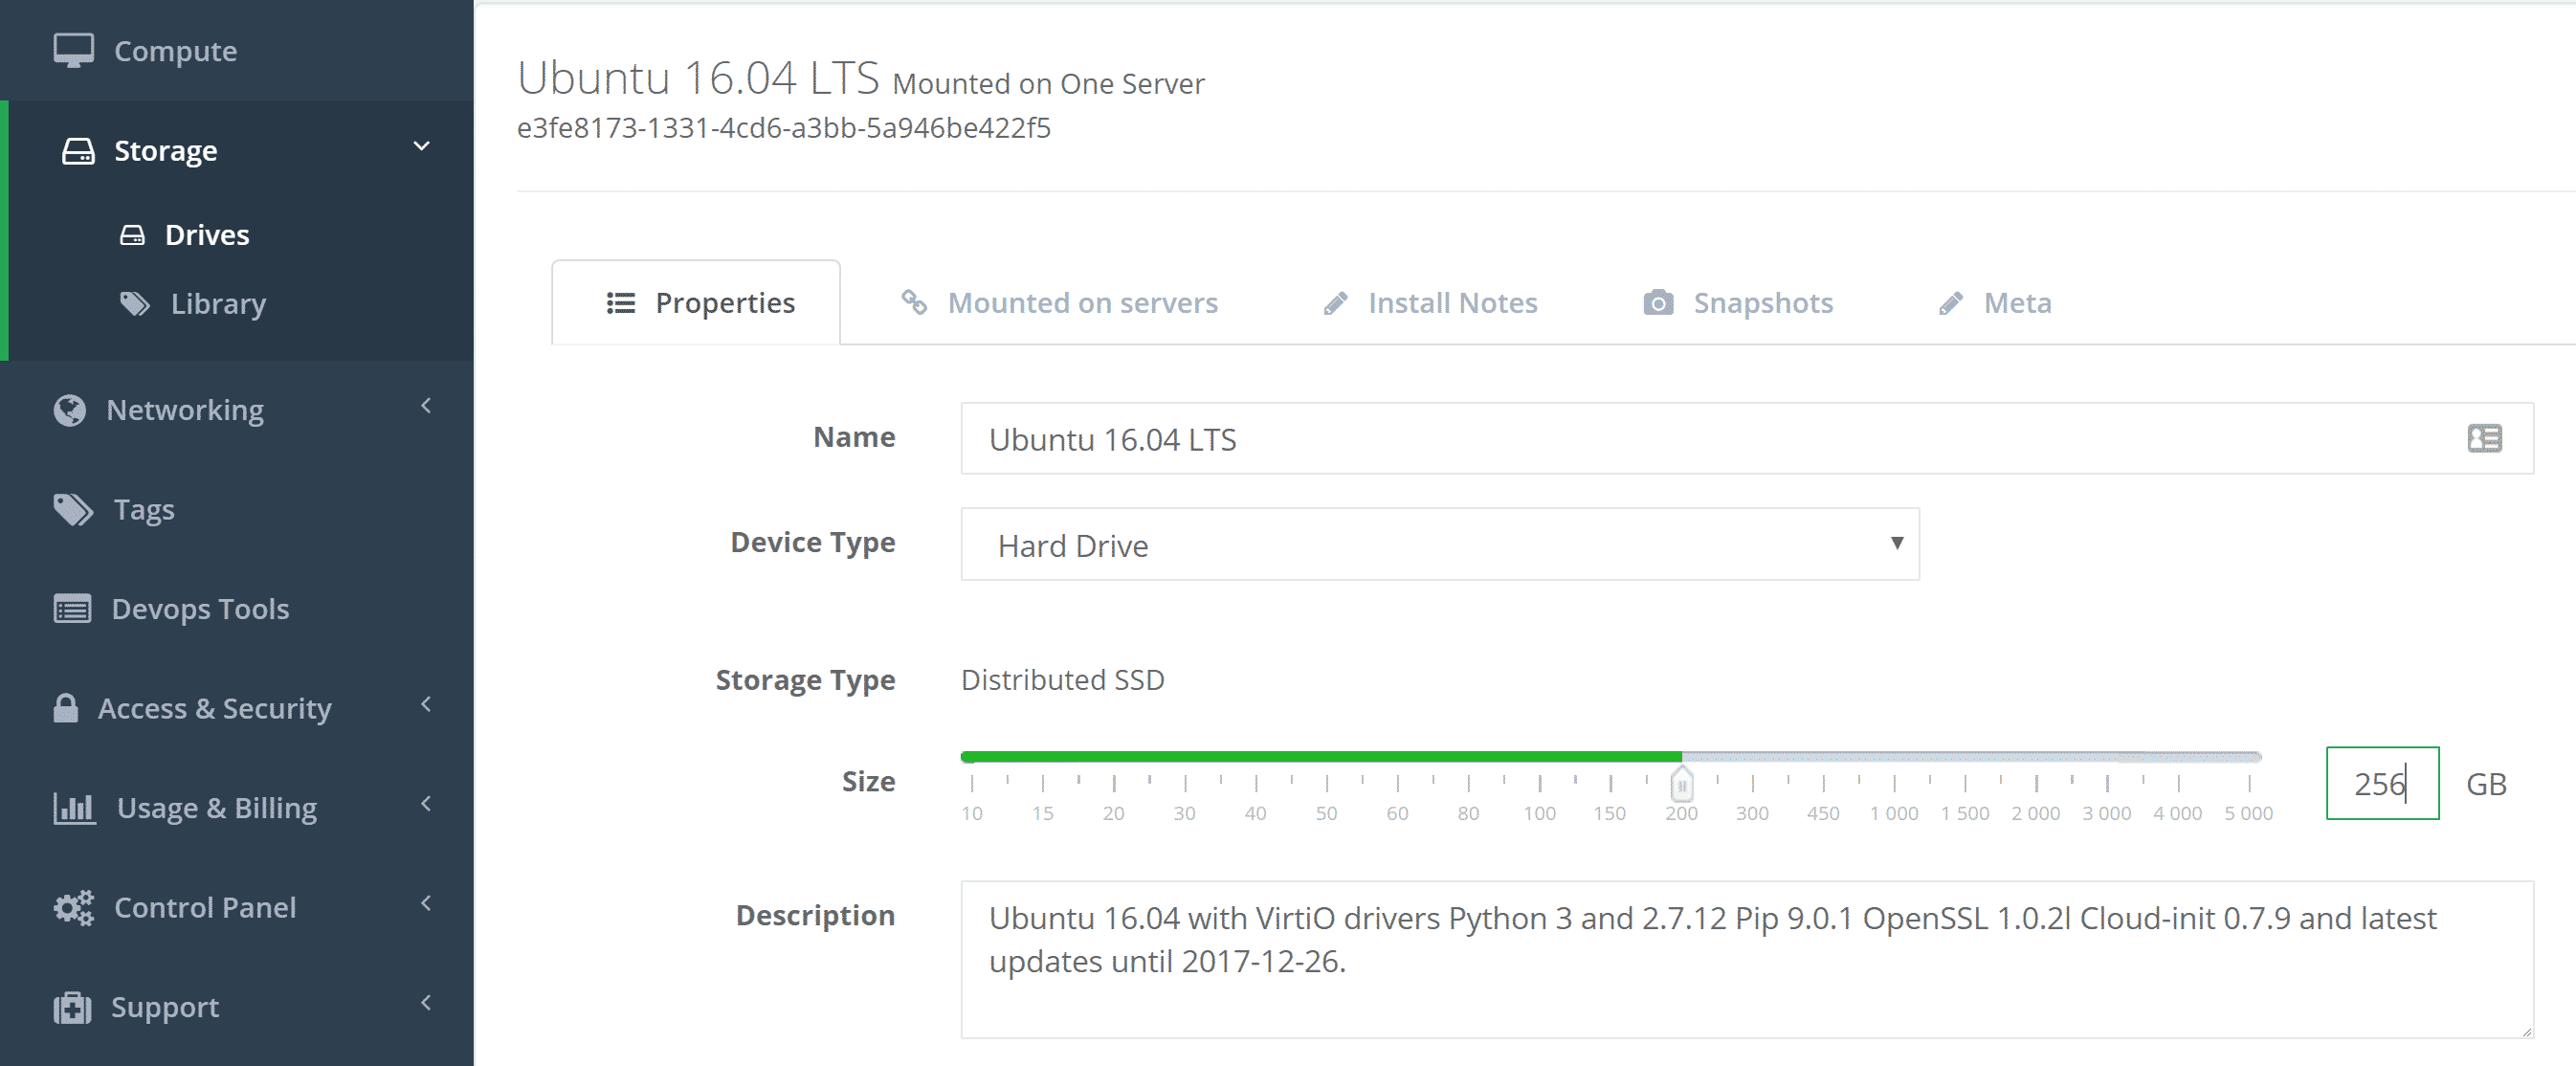
Next, go to Storage tab on the left. From there you can increase the storage capacity of the machine. I am increasing it to 256 GB for this installation:
In order to create other nodes, you can clone machine1 and rename the clones as per your preferences, you do this from the compute section. Therefore, I will clone machine1 two times and give the names machine2 and machine3 to the new VMs.
Next, it’s time to start the machines. Just click on the ‘run’ button on the top for each machine and all machines will be up and running.
Add SSH Key
Then, log-in to each machine using PuTTY with the ssh key we created and username ‘cloudsigma’. Create a sudoer user on each machine, for example ‘cdh’. For this step you can use the following commands:
> sudo adduser cdh
> sudo usermod -aG sudo cdh
Go to Machine1 and enter the following command: > sudo vi /etc/hosts. Press i to enter insert mode and add the IPs of each of the machine this file:
- IP_ADDRESS_1 machine1.cloudsigma.cdh machine1
- IP_ADDRESS_2 machine2.cloudsigma.cdh machine2
- IP_ADDRESS_3 machine3.cloudsigma.cdh machine3
Save the file using command wq!. Then, repeat this step for all the machines.
Note: You can use Nano if you prefer a more visual text editor. In that case the command is sudo nano /etc/hosts .
Installation of Cloudera Manager and Services
Getting CDH Manager
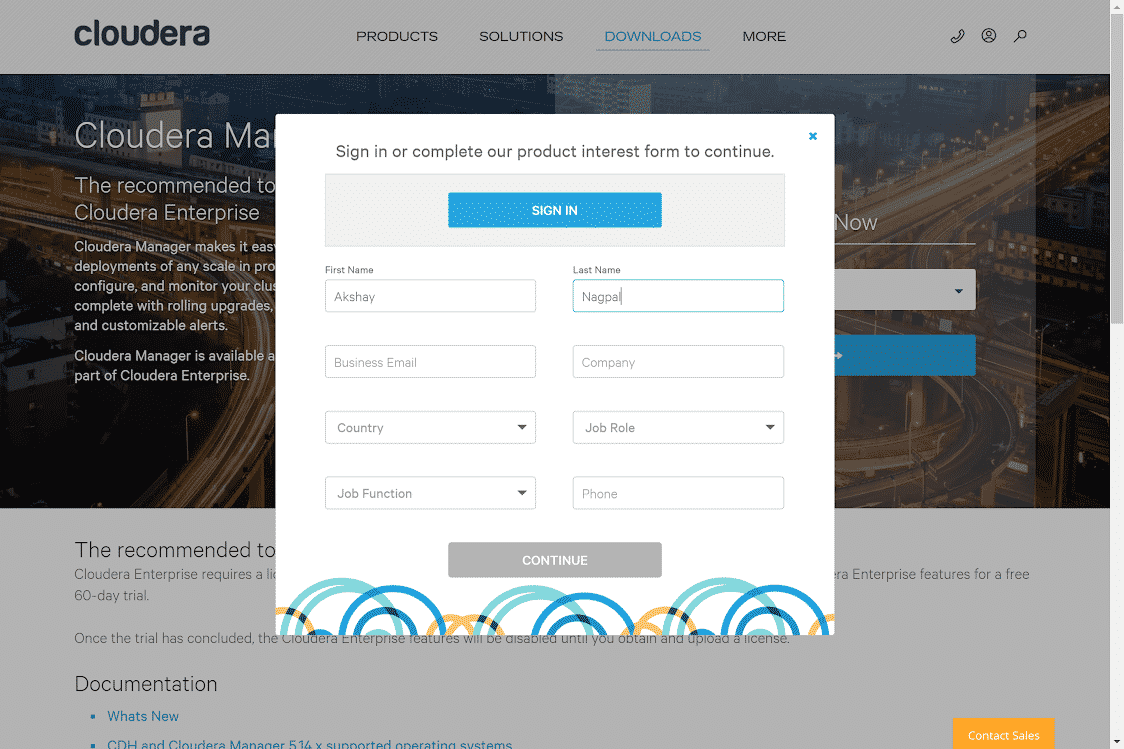
First, you need to go to https://www.cloudera.com/downloads/manager.html and select the desired version. In this case, I am selecting the latest version, which as of today is 5.14.1. Click on ‘GET IT NOW’. After that, fill in your details and accept the terms and conditions.
Now that we have the links, let’s run these on the host:
> wget http://archive.cloudera.com/cm5/installer/5.14.1/cloudera-manager-installer.bin
> chmod u+x cloudera-manager-installer.bin
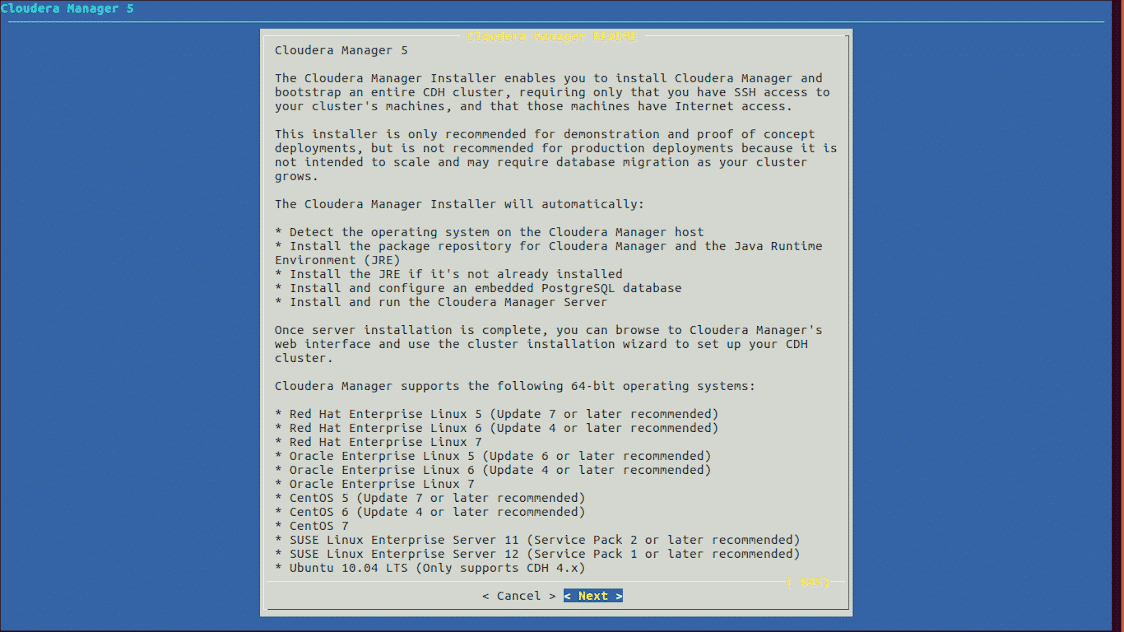
> sudo ./cloudera-manager-installer.bin
A setup is going to open. Accept all the agreements and it’s going to install Cloudera Manager on your host.
Setting up the Cluster using Cloudera Manager
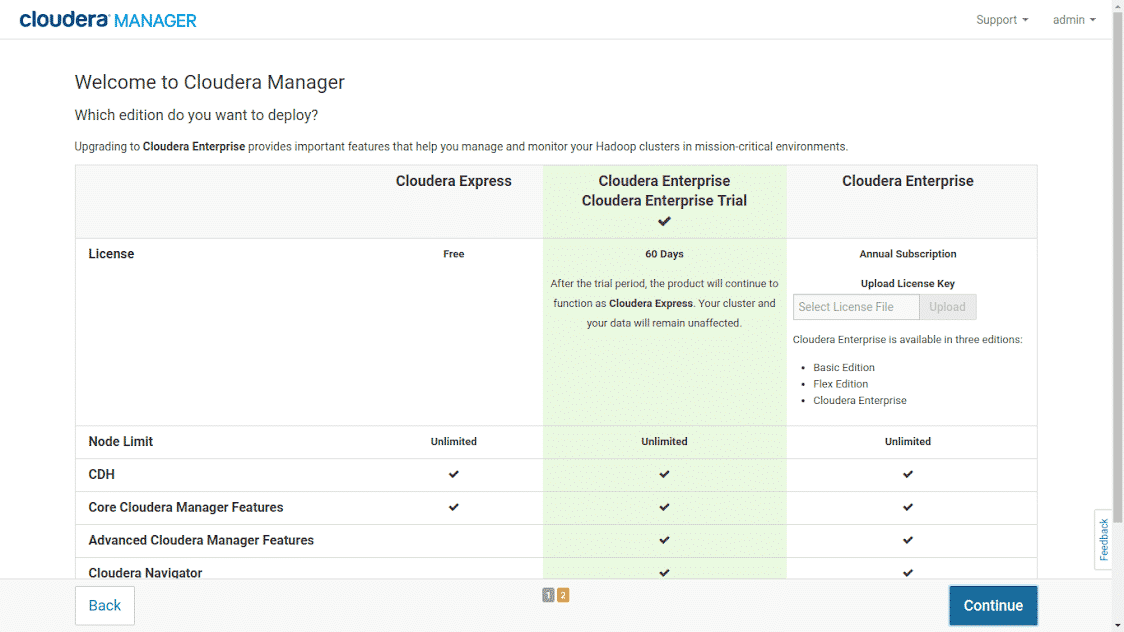
Now that we have Cloudera Manager installed, from any of your machines go to the following URL: http://IP_ADDRESS_1:7180. This URL is going to open the Cloudera Manager. Log into this manager using the username as ‘admin’ and password as ‘admin’ for the first time. You should change these credentials to be secure. After that, accept the agreements and choose the package you want on the next page. For this setup, I am going to choose ‘Cloudera Enterprise Cloudera Enterprise Trial’:
On ‘Specify hosts page’ I am entering machine[1-3].CloudSigma.cdh. It’s going to automatically search all the host machines. Select them and click on ‘Continue’. On the following repository page, just keep the defaults.
As a next step, I am going to select Install JDK (Java Development Kit) so that the installer will install the JDK on each of the machines. I am going to keep multi-user mode. This will allow the creation of separate users like hdfs, hbase, etc.
On the Login Credentials page, enter username as ‘cdh’ and password as whatever you have set it as. It will give you the following error on the installation page:
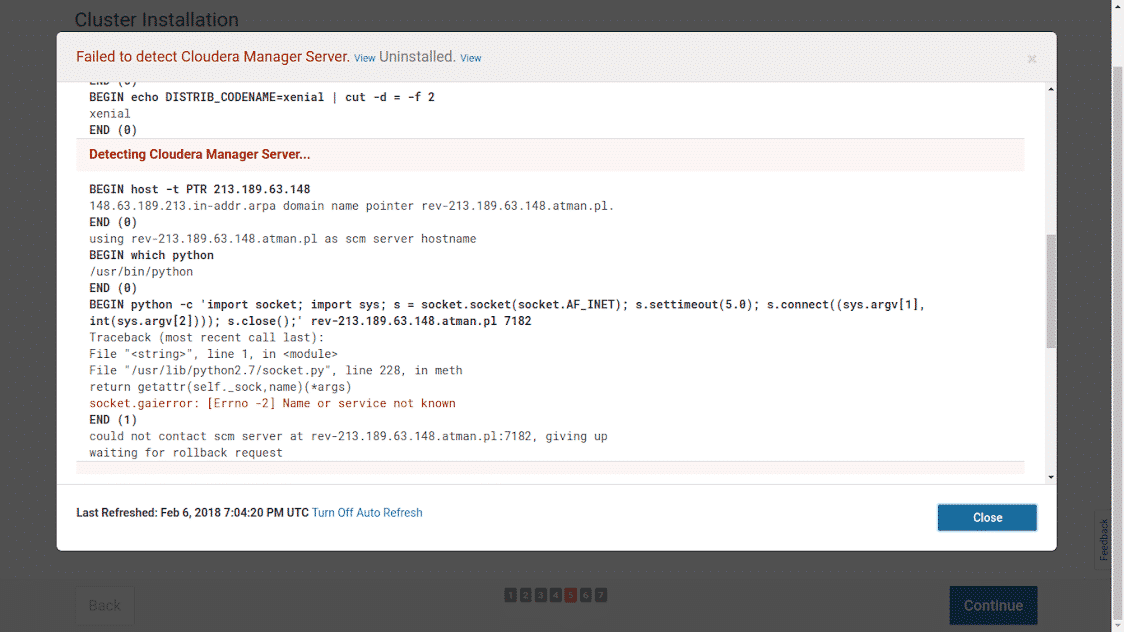
To fix this, you need to edit the /etc/hosts file on all the host machines and add this line there:
IP_ADDRESS_1 rev-213.189.61.172-static.atman.pl. Just remove the following line from the /etc/hosts file: 127.0.0.1 localhost.
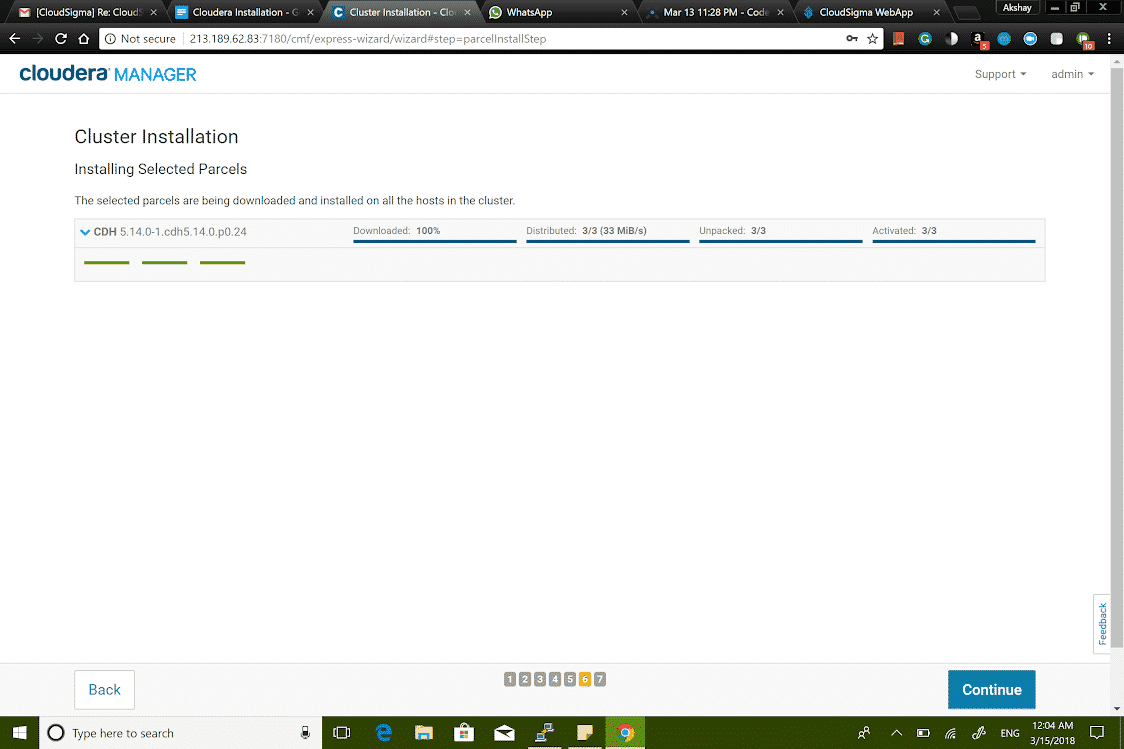
On the next page it will download, distribute, unpack and activate CDH 5.14.0-1.cdh5.14.0.p0.24 on the cluster:
Note: During the installation your IPs might get blackholed as it takes lots of traffic. Blackholing is an important policy by CloudSigma to avoid DDoS attacks on your machines. In order to avoid this, it is advisable to contact you personal account manager or CloudSigma’s 24/7 Live Chat Support. Also, static IPs help a lot for such set ups.
Finally, it’ll just inspect the hosts to check the correctness. When that’s done, click on ‘Finish’.
Installing Services
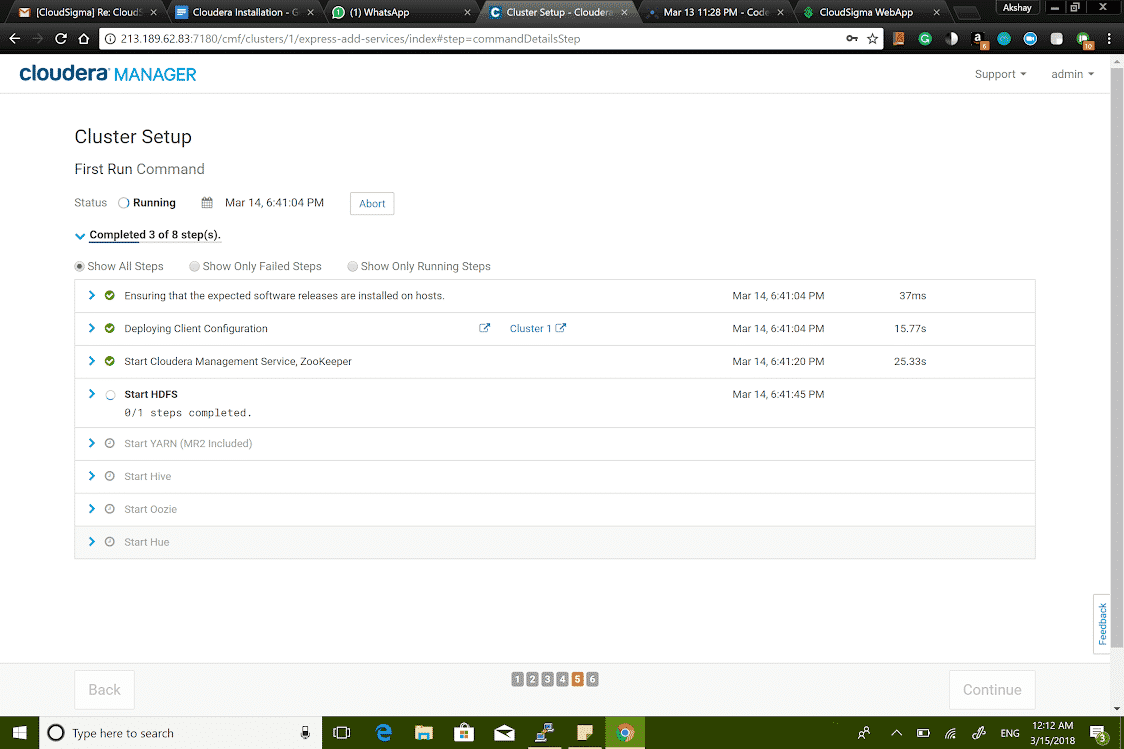
After setting up the cluster, it’s time to install the service. It’ll ask you to select the package of services you want it to install. I am selecting ‘Core Hadoop’ which comes with HDFS, YARN (MapReduce 2 Included), ZooKeeper, Oozie, Hive, and Hue. On the next page, it’ll suggest an installation host for each of the service. You can leave it as it is or change it according to your requirements.
As the next step, it’ll ask you to set up the databases. I am using ‘Embedded’ but custom databases can also be added. Click on ‘Test Connections’ and then on ‘Continue’.
Next, you need to review details like HDFS block size, data node and namenode directory, etc. After, click on ‘Continue’ and it’ll set up the services for you:
Then, you will get this message on the next page: “The services are installed, configured, and running on your cluster.”
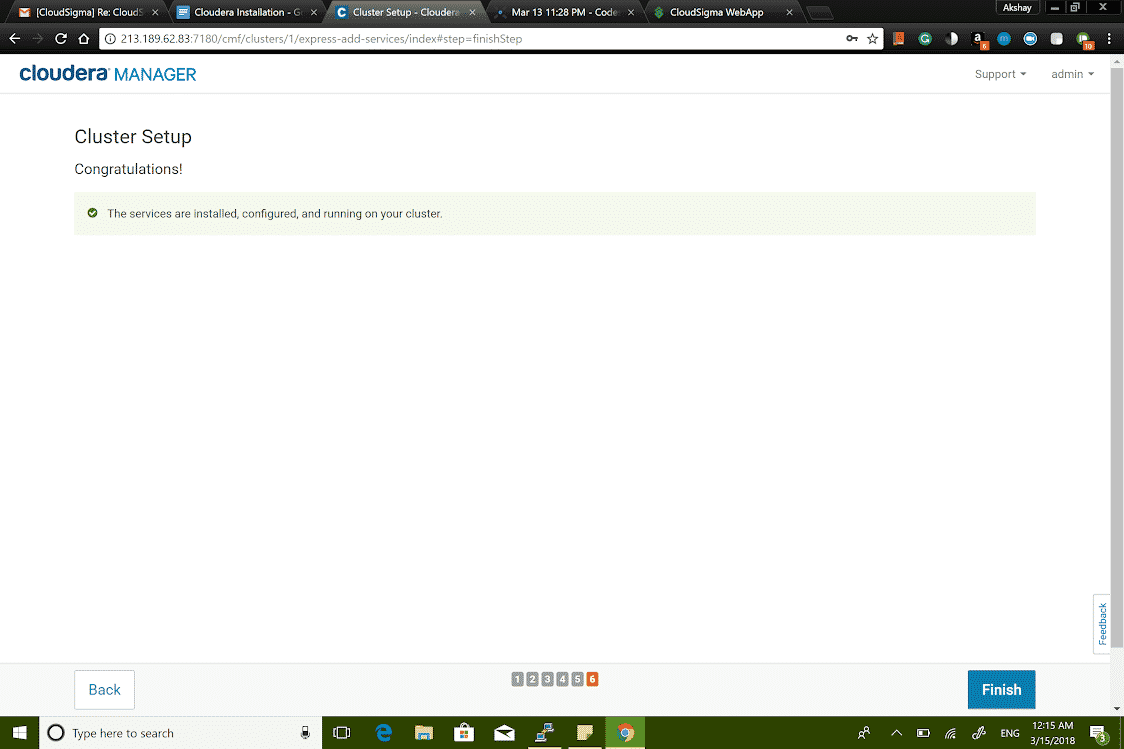
Finally, click ‘Finish’ to have your cluster up and running.
Installing Additional Services
Now, you have your cluster up and running. Thus, if you want to install any additional service, just follow these steps:
- Click on the drop-down menu button next to the cluster. Select “Add Service”. It will show you a list of services which we can add.
- I am selecting ‘Spark’ from the list for this installation. Click on ‘Continue’ and assign roles for the spark like history server, etc.
- Then, review changes as asked and click on ‘Continue’.
- Now, the service would be set up. Finally, to finish off the Cloudera tutorial, click on ‘Continue’ and you are ready to work with your next service.
Final note: It is advisable to restart any dependency service so everything works perfectly.
- Removing Spaces in Python - March 24, 2023
- Is Kubernetes Right for Me? Choosing the Best Deployment Platform for your Business - March 10, 2023
- Cloud Provider of tomorrow - March 6, 2023
- SOLID: The First 5 Principles of Object-Oriented Design? - March 3, 2023
- Setting Up CSS and HTML for Your Website: A Tutorial - October 28, 2022