

A If you are coming from a development background, you are probably aware of the Package Manager term. Package Managers allow you to install dependencies, upgrade and downgrade versions, and so on. In this tutorial, we will look at a very popular package manager for Kubernetes, called Helm.
Helm assists in managing Kubernetes applications. With Helm, you can define a Kubernetes application, specifying the application metadata, dependencies, and configurations. Helm can also install applications on Kubernetes, as well as upgrade and downgrade the applications. Finally, you can share your application with others using the Helm file. In this tutorial, we are going to show you how to install Helm 3, as well as set up, upgrade, rollback, and manage charts and releases on Windows OS.
Let’s begin!
Prerequisites
Before we start the tutorial, you need to make sure that you have the following installations first:
-
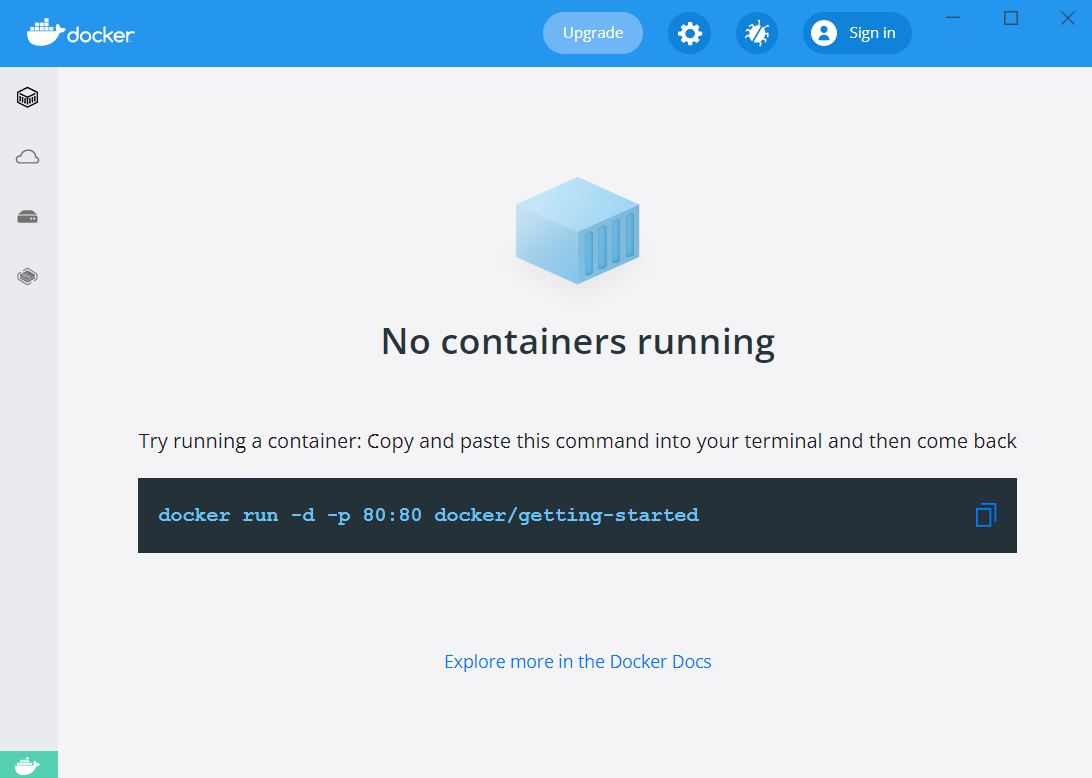
If you are not set up with Kubernetes on Windows, the easiest way is to get started with Docker Desktop. Go to https://www.docker.com/products/docker-desktop. Download and install Docker Desktop. In this tutorial, we are going to work with Windows. Therefore, we will need to install WSL 2 Backend. This is a Linux subsystem for Windows and enables support for Docker:
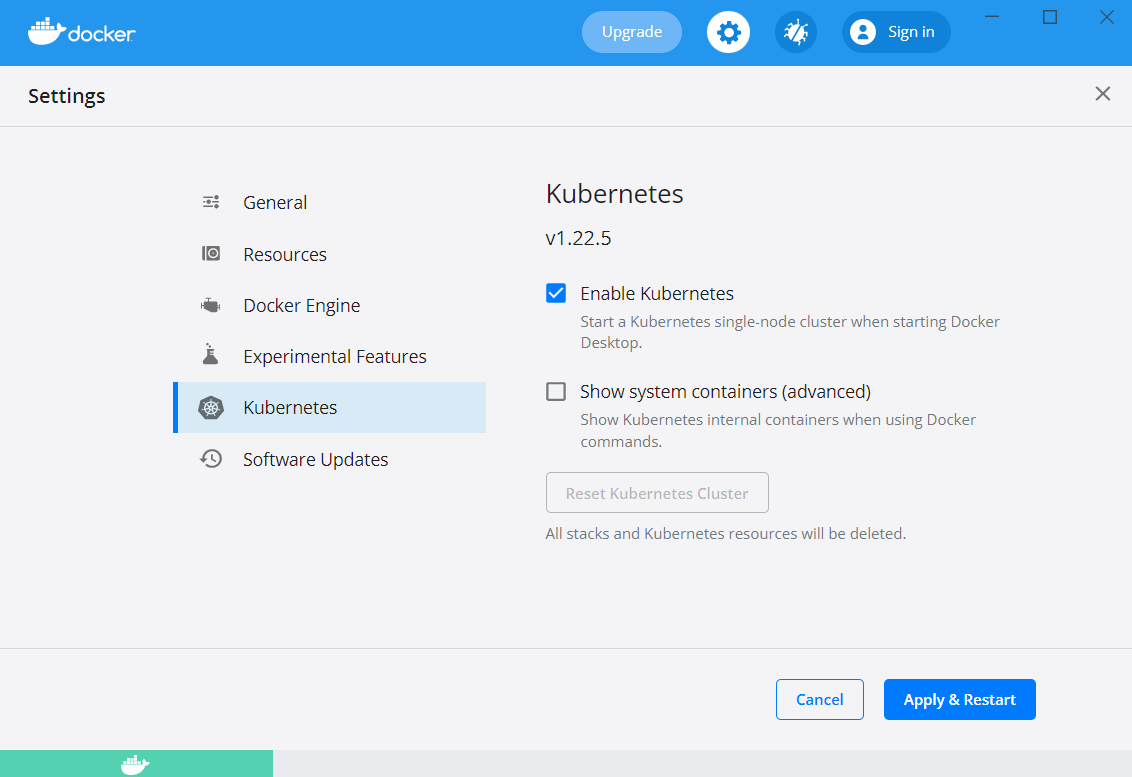
Once the Docker Desktop is ready, go to Settings -> Kubernetes, and check the option that says Enable Kubernetes:

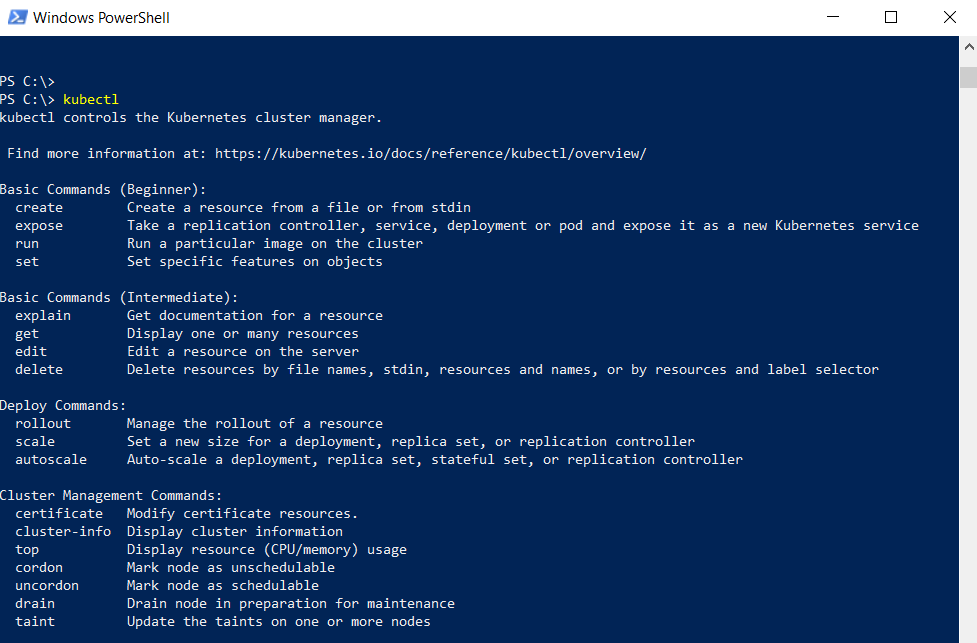
To check if everything is working fine, go to terminal/powershell whichever system you are using and type the below command:
|
1 |
kubectl |
If you see the below output, you are good to go:
Alternatively, if you decide to work on Ubuntu you can follow our detailed guide: How to Install and Use Kubernetes on Ubuntu 20.04.
In addition, before we start with the installation process, let’s look at some key terms that are associated with Helm.
-
Charts
Kubernetes YAML files are packaged in the Helm charts.
-
Helm Repositories
Helm provides support for repositories. A Helm repository is a location that houses Helm charts so that others can use them. Helm allows you to create your repositories as well as support third-party repositories.
-
Tiller
Tiller is the server component of Helm. It needs to be installed on the Kubernetes cluster. It takes the Helm Chart and configures the cluster accordingly.
You can also take a look at our blog post that gives a detailed overview of Helm and explains Helm’s methods of simplifying application deployment to Kubernetes.
Now, we are ready to start!
Step 1: Install Helm 3
Installing Helm 3 is a straightforward process. The releases are available on the Helm GitHub page. You can download the release you will use based on your OS of choice. In this tutorial we are going to use the Windows OS, so for Windows follow the below steps:
-
On the GitHub page, download Helm binaries for Windows.
-
Once the download has been finished, you will find the zipped archive in your Downloads folders or wherever you have downloaded it.
-
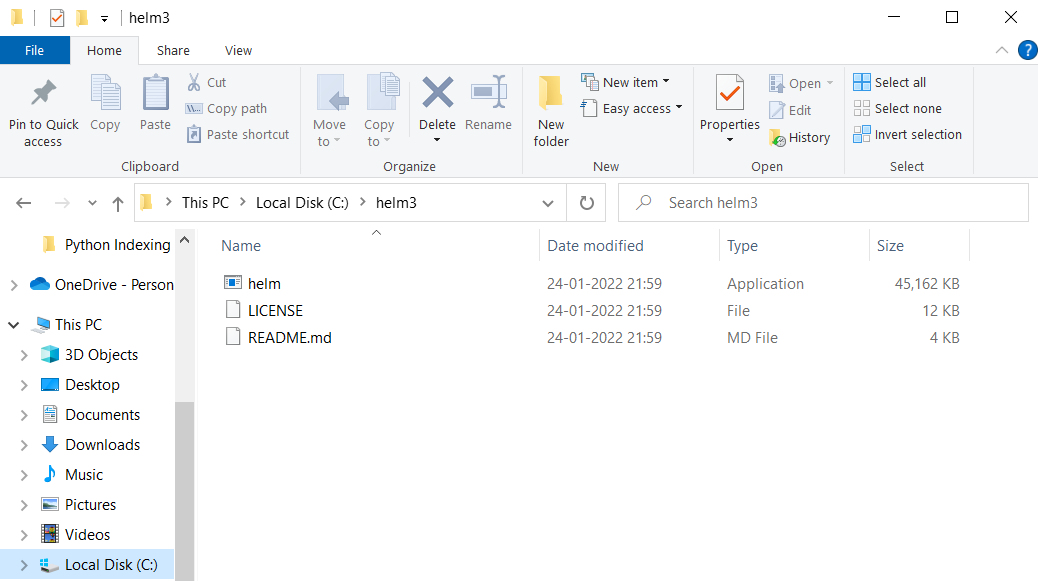
Next, move this archive to a convenient location and unzip the archive. You should find the helm.exe file in the unzipped contents:

-
Copy the folder location and add it to the PATH variable in your system’s environment variables.
-
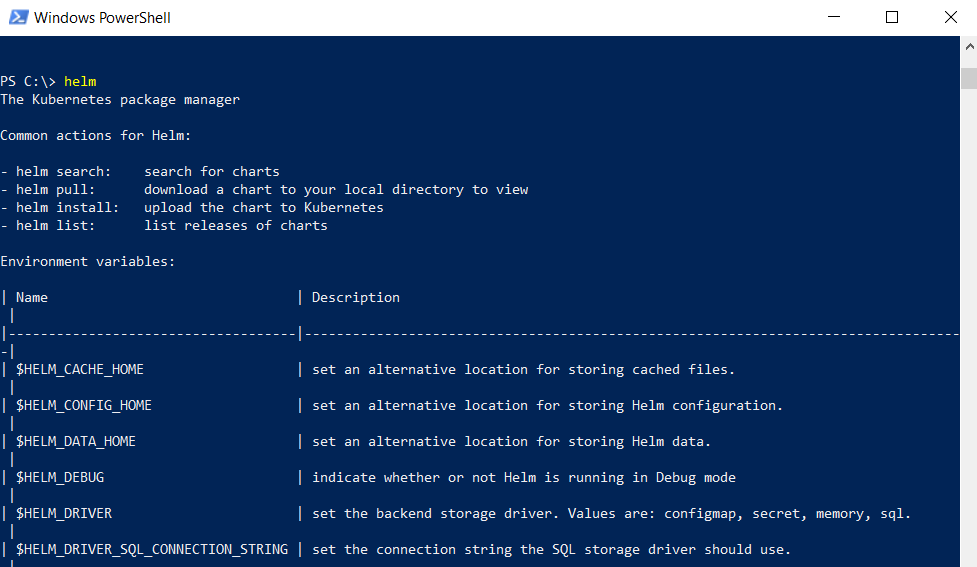
Once you finish, open up the terminal and type the below command:
|
1 |
helm |
If you see the below output, you are all set with the Helm installation. You can then move on to the next steps:
Step 2: Set up Repositories and Install a Helm Chart
Helm supports access and management of repositories. Repositories are where Helm Charts are stored. Initially, Helm does not have its own repository. Rather, Helm encourages managers and DevOps specialists to produce their repositories. This means that if you want to have MongoDB on your Kubernetes cluster you will need to add it to the Helm Repository yourself. To help you find the repositories, you can use Artifact.io. It’s an open-source catalog for all the Helm charts, managed by the CNCF.
Below we will show you how to set up a repository and download and install the software. We will take the MongoDB installation as an example. Suppose you were to install MongoDB on your Kubernetes cluster. Follow the below steps for the installation:
-
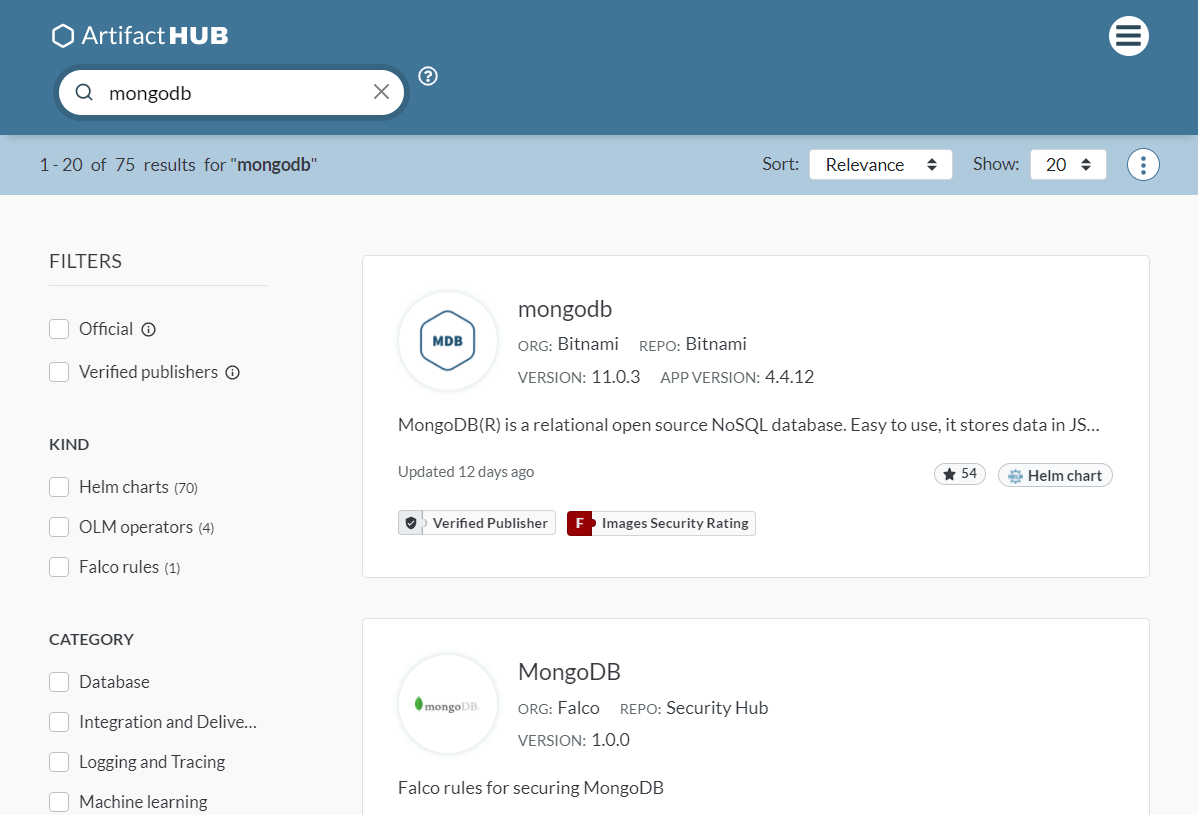
First, go to https://artifacthub.io.
-
Next, search for MongoDB. Once you search, you will see that there are many options available. The one we are interested in is MongoDB by Bitnami:

-
When the search ends you will see different options. Against each chart, you can see the publisher, version, and other relevant information. Once you locate the chart you desire, you need to select it. Here we are clicking on MongoDB by Bitnami:

-
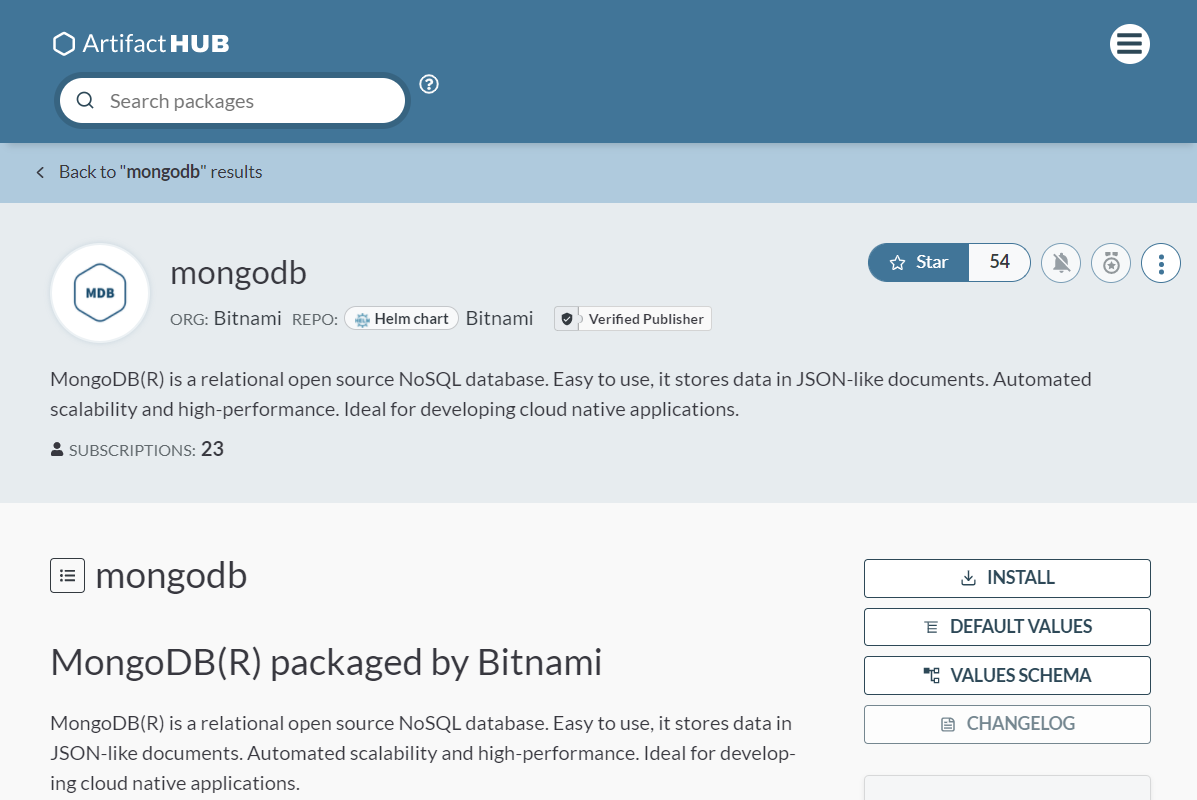
Now the technical part can actually start. If you look at the overall description you will see that a good guide is present for anyone who wishes to install any of the services. You can check out different options, configurations, parameters, how to delete the chart, and anything else that you might need information about. Find the Install button and click it:

-
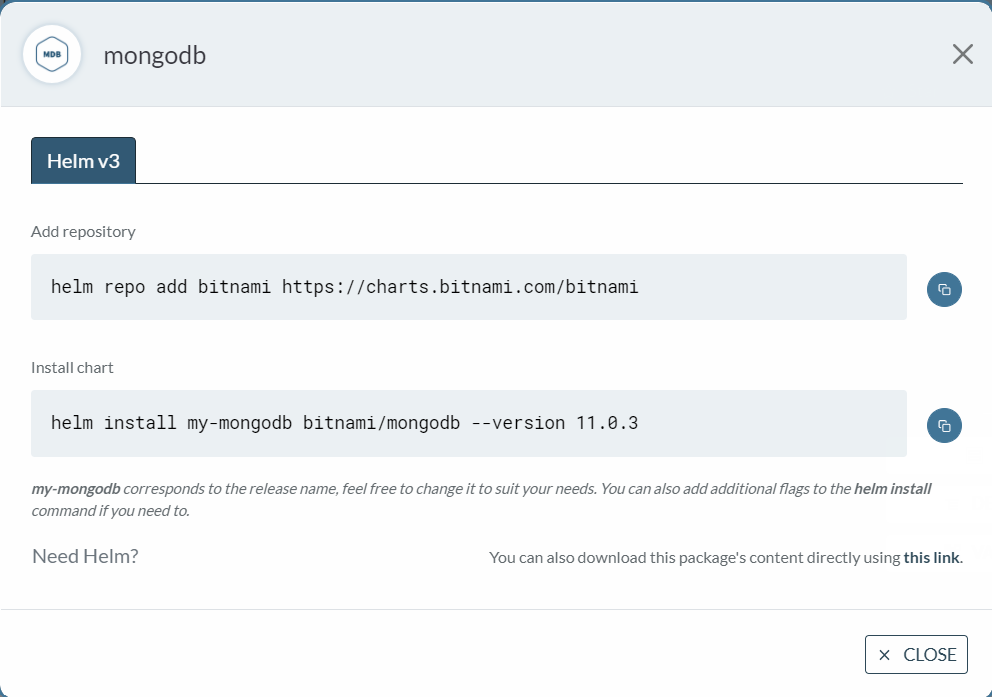
Here is everything you need to install MongoDB. First, you need to add the repository and then install the chart. To add the repository, open the terminal and type in the command:
|
1 |
helm repo add bitnami https://charts.bitnami.com/bitnami |
You will find the below output:

Now that you have the repository set up, you need to install the chart. Copy the command from the dialog and then run it:
|
1 |
helm install my-mongodb bitnami/mongodb --version 10.23.10 |
Once the process finishes you are all set with MongoDB.
Step 3: Manage Releases
In software development, release management is vital. There are always times when you need to update or roll back to previous versions. Fortunately, managing releases in Helm is a relatively straightforward process. Helm keeps version numbers so that you can always roll back to the previous version. Similarly, suppose that your application is deployed and live, and you need to make configurations- Helm supports this as well. Below we will go over some best practices to help you have these operations performed.
-
How to update the application
Suppose in your values.YAML file, you mention that you need to have two instances of the application running. This might be because your application needs to be highly available. But later, you realize that the application needs to have three instances. Without Helm, you will need to bring the application first and then configure and redeploy. Using Helm, you can first make changes in the values.YAML file and then just execute the below command. In your directory where the Helm files are located, execute the following command:
|
1 |
helm upgrade <app-name> |
-
How to roll back the release
Now suppose your release breaks. Maybe you configured the wrong port numbers or paths. To roll back to any previous version, all you need to do is execute the below version, and then Helm will revert the release to the previous version:
|
1 |
C:\> helm rollback <release> |
Helm will take care of all releases and versioning. This is one of the biggest advantages of using Helm with Kubernetes. To see all the releases of any application, execute the below command in the directory containing Helm charts and YAML files:
|
1 |
helm history RELEASE |
Step 4: Create Your Own Chart
Finally, now that you are comfortable with Helm and understand how it works, it is time to create your own chart. By creating your own custom chart, you can easily distribute your application as well as host it in any repository. Creating your chart is a fairly simple process if you follow the steps we will outline below. First, open the terminal and execute the below command:
|
1 |
helm create <chart-name> |
This will create the directory with the name you provided. We are using the name my-app. Let’s see the contents of the folder:
|
1 2 |
cd my-app ls |
You will get the below structure:
|
1 2 3 4 5 6 7 8 9 10 11 12 13 14 |
charts/ templates/ ├─ tests/ │ ├─ test-connection.yaml ├─ deployment.yaml ├─ hpa.yaml ├─ ingress.yaml ├─ NOTES.txt ├─ service.yaml ├─ serviceaccount.yaml ├─ _helpers.tpl ├─ .helmignore ├─ Chart.yaml ├─ values.yaml |
Here is a summary of the content in the output:
- charts folder – Used for adding dependent charts.
- templates folder – Configuration that will be deployed in the cluster.
- YAML file – Outline of the Helm chart structure.
- YAML file – Formatting information for configuring the chart.
Next, follow the steps below to install and configure your chart:
-
Configure image and pull
Open the values.YAML file. Here find the image node. Then, you can configure it as you wish. Possible values are IfNotPresent, Always, Latest. You can find the complete set of the values in the official documentation.
-
Override chart name
This step is optional, so you can skip it if you wish:

-
Service name
Open the
values.YAML file and locate the
serviceName. Then, add the desired name. It is good to have a name prepared before installing the chart:

-
Install the chart
Finally, to install the chart run the below command:
|
1 |
helm install <full name override> <chart name>/ --values <chart name>/values.yaml |
We advise you to carefully explore all the options present to configure your chart before deploying it on the cluster.
Why Developers Love Helm
Helm is gaining popularity with developers and DevOps specialists who must bring the deployments up and down occasionally. Here are some of Helm’s main benefits:
-
Helm simplifies the deployment process. It does not bring anything new to learn, rather existing YAML deployments are made to be easily configurable by the user.
-
Instead of changing the configuration frequently such as the number of clusters or ports, Helm makes it easily configurable. All the user needs to do is update the values in the values.YAML file.
-
Helm allows sharing the application with other users by packaging it into the repositories.
Conclusion
In this tutorial, we went over how to set up the Helm package manager from scratch on Windows. We looked at different key concepts that need to be understood clearly for leveraging Helm’s powers. We also saw different functionalities available within the Helm explored repositories. You should now feel at home with Helm and implement it in your next Kubernetes project/deployment.
To further increase your knowledge of Kubernetes and its functionalities, you can take a look at more tutorials from our blog:
- Getting to Know Kubernetes
- How To Create a Kubernetes Cluster Using Kubeadm on Ubuntu 18.04
- Deploy a PHP Application on a Kubernetes Cluster with Ubuntu 18.04
Happy Computing!
- How to Deploy WordPress with Persistent Volume on Kubernetes Cluster - March 17, 2023
- Deploying Applications on Kubernetes Using Argo CD and GitOps - October 26, 2022
- Using Node.js Modules with npm and package.json: A Tutorial - October 6, 2022
- Using Ansible to Install and Configure WordPress with LAMP on Ubuntu - September 23, 2022
- Creating Views in the Django Web Application Framework - September 22, 2022