
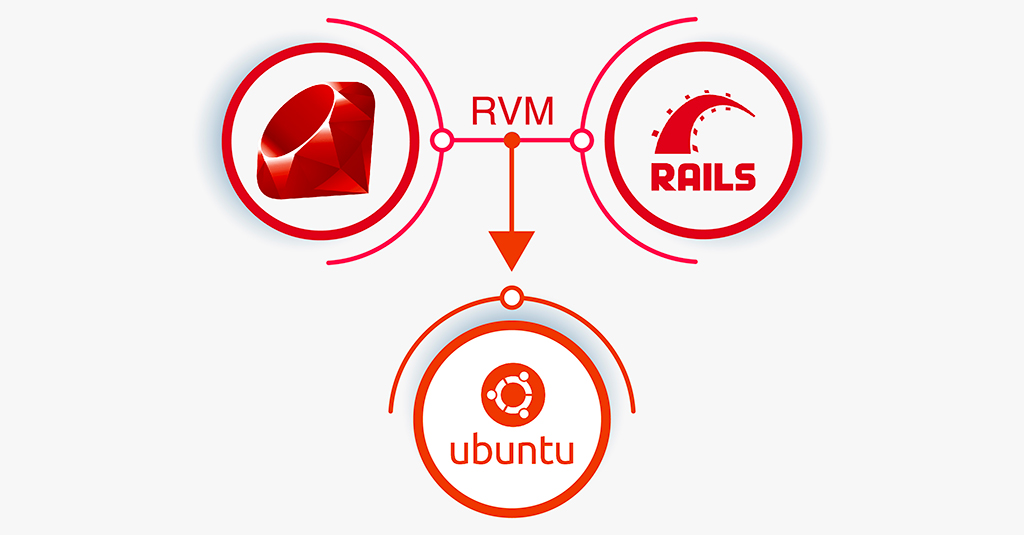
Ruby on Rails is one of the most popular web app frameworks. It’s open-source software designed for developers to create successful projects while writing fewer codes. Having a fun and enjoyable development experience is one of the fundamental principles that make Ruby on Rails an attractive choice.
The RVM (Ruby Version Manager) tool, as the name suggests, is a third-party package manager that provides the development environment. RVM allows having multiple Ruby environments and switching between them seamlessly. The RVM project is free and open-source. The project is also available on GitHub.
This guide will demonstrate how to use RVM to establish a Ruby on Rails development environment on Ubuntu.
Prerequisites
This tutorial requires having access to a non-root sudo user on a properly configured Ubuntu server. We also have an in-depth guide on managing sudo access for Linux users. We will use RVM to manage our Ruby on Rails installation and management. For general users, RVM is recommended to use as a single-user only. However, it’s possible to install RVM for all users.
Installing RVM and Ruby on Rails
RVM supports almost all UNIX/Linux systems. The installation procedure should work on any Linux distro (including Ubuntu).
The primary dependencies for RVM installation are bash, curl, and gpg2 (and standard GNU tools). However, the installation script will auto-detect and install any dependencies (if needed).
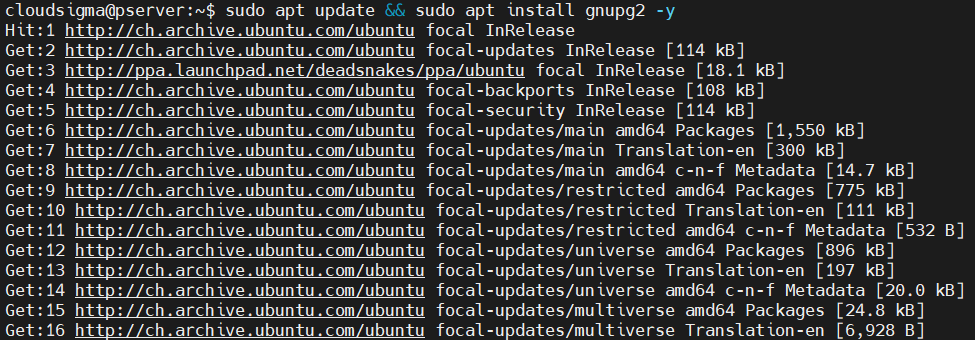
First, install the GPG (GNU Privacy Guard). It will be necessary to verify the packages received from the RVM repo:
|
1 |
sudo apt update && sudo apt install gnupg2 -y |
RVM uses GPG keys to sign all their releases. We need the public GPG keys of RVM to verify the legitimacy of each RVM release we will download. Add the RVM public GPG keys:
|
1 |
gpg2 --recv-keys 409B6B1796C275462A1703113804BB82D39DC0E3 7D2BAF1CF37B13E2069D6956105BD0E739499BDB |

The system is now ready to install RVM. Change the active directory to /tmp:
|
1 |
cd /tmp |
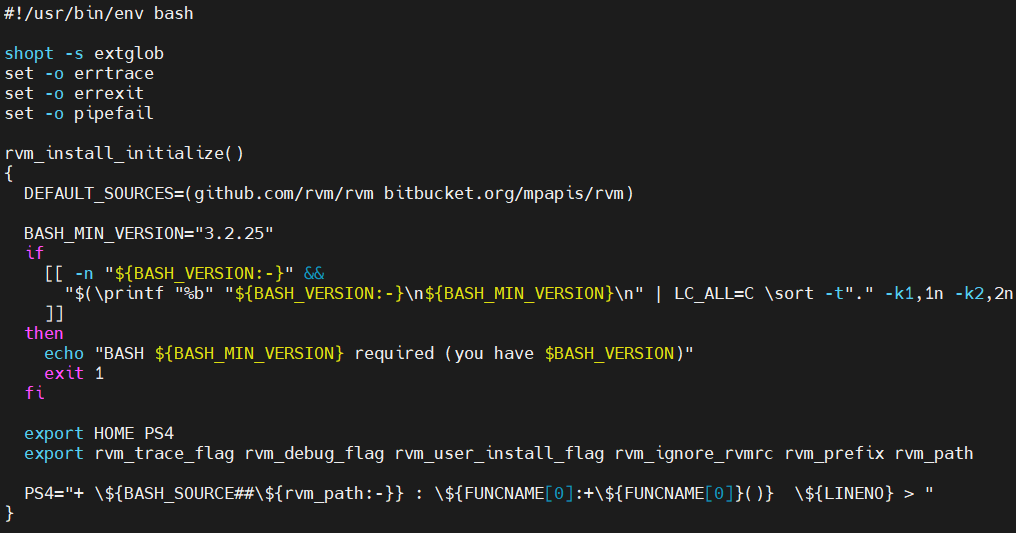
Next, download the RVM installation script:
|
1 |
curl -sSL https://get.rvm.io -o rvm.sh |
![]()
In addition, you can inspect the script before applying:
less /tmp/rvm.sh
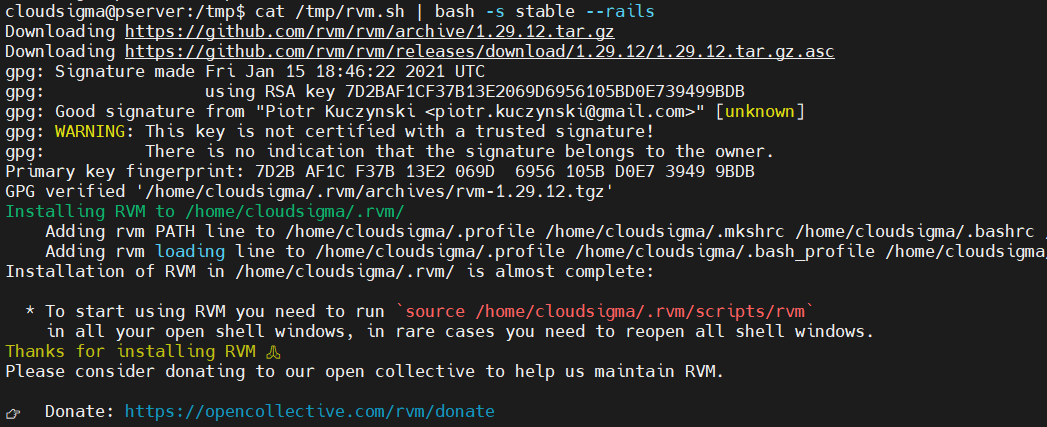
To install RVM, run the script. As we’re going to work with rails, add the --rails flag:
|
1 |
cat /tmp/rvm.sh | bash -s stable --rails |
The installation is complete. We now need to load the RVM scripts into bash. The default installation location is /home/<username> directory:
|
1 |
source /home/<username>/.rvm/scripts/rvm |
![]()
Then, verify if RVM was loaded successfully:
|
1 |
type rvm | head -n 1 |

Managing Ruby on Rails with RVM
RVM is now ready to use. We can also install specific versions of Ruby:
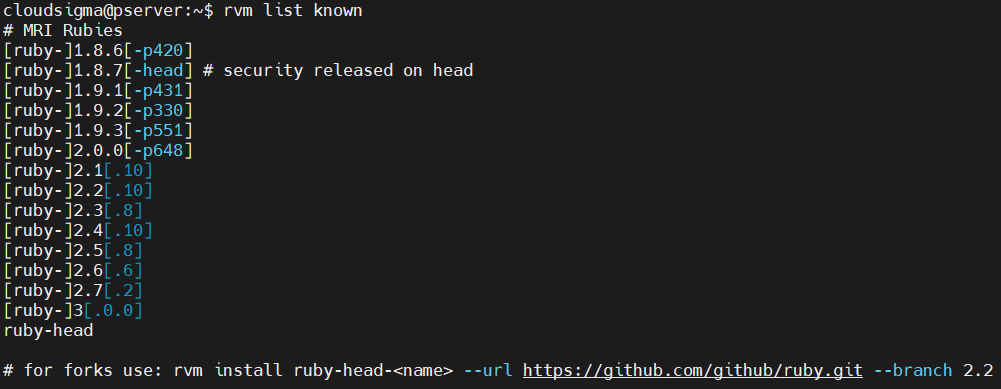
The following RVM command will list all the available Ruby versions:
|
1 |
rvm list known |
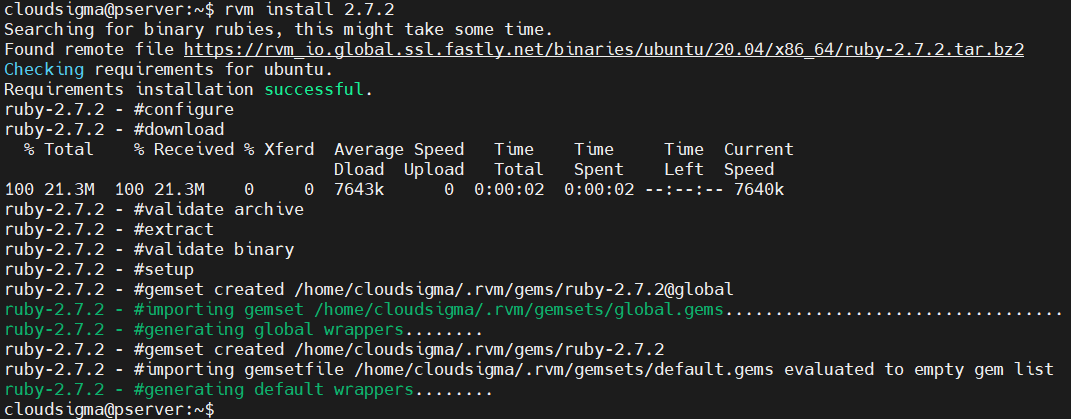
Use the following RVM command to install the target version of Ruby:
|
1 |
rvm install <ruby_version> |
If there are multiple versions of Ruby installed, RVM can list them for you:
|
1 |
rvm list |

RVM allows switching to a different Ruby version. To change to a different Ruby version, use the following command:
|
1 |
rvm use <ruby_version> |

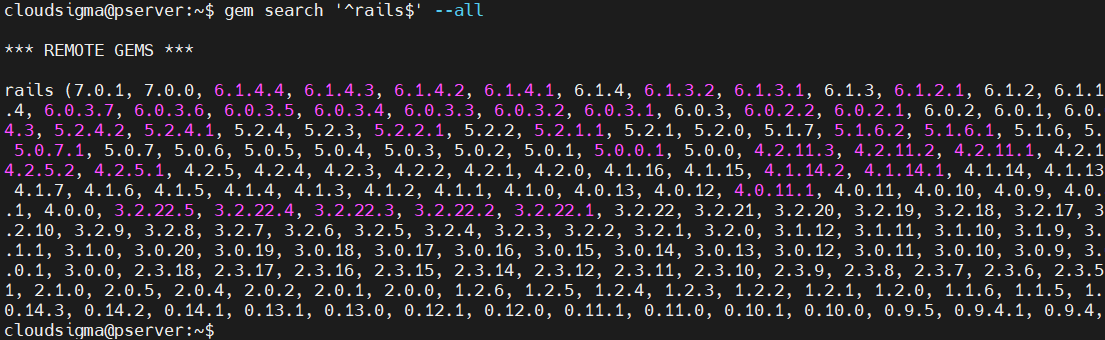
The Rails framework is managed as a gem. This gives us the ability to manage various versions of Rails as well. The following gem command will list all the valid versions of Rails:
|
1 |
gem search '^rails$' --all |
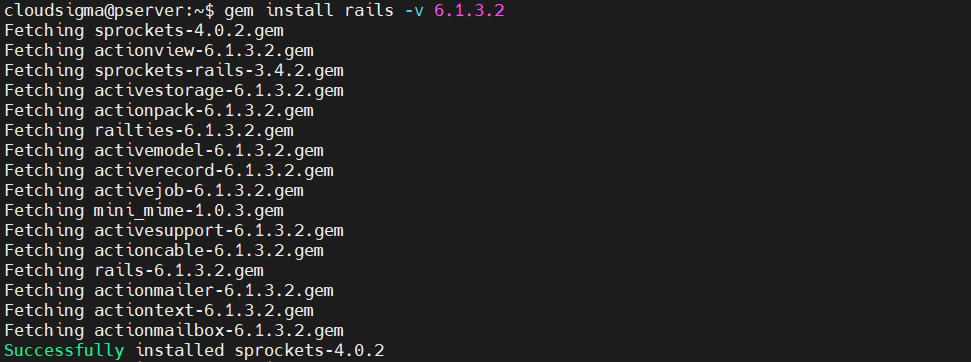
Once we have the target version of Rails, we can install it using the following gem command. Note that the Rails version will only refer to the version number:
|
1 |
gem install rails -v <rails_version> |
A gemset is a combo of Ruby and Rails together. It helps to manage Ruby on Rails easier. The gemsets will also have self-contained environments for gems. Moreover, they will have multiple environments for each Ruby version. Create a new gemset:
|
1 |
rvm gemset create <gemset_name> |

To specify a specific Ruby version to a gemset, use the following command:
|
1 |
rvm <ruby_version>@<gemset_name> --create |

JavaScript Runtime
Rails comes with some features that require a JavaScript runtime to function, for example, Asset Pipeline. We will install Node.js as the JavaScript runtime using the APT package manager.
Node.js has two versions – current (with latest features) and LTS (long-term support). For the most part, the LTS release is the go-to option. At the time of writing this article, the latest Node.js LTS release is version 14.17.3.
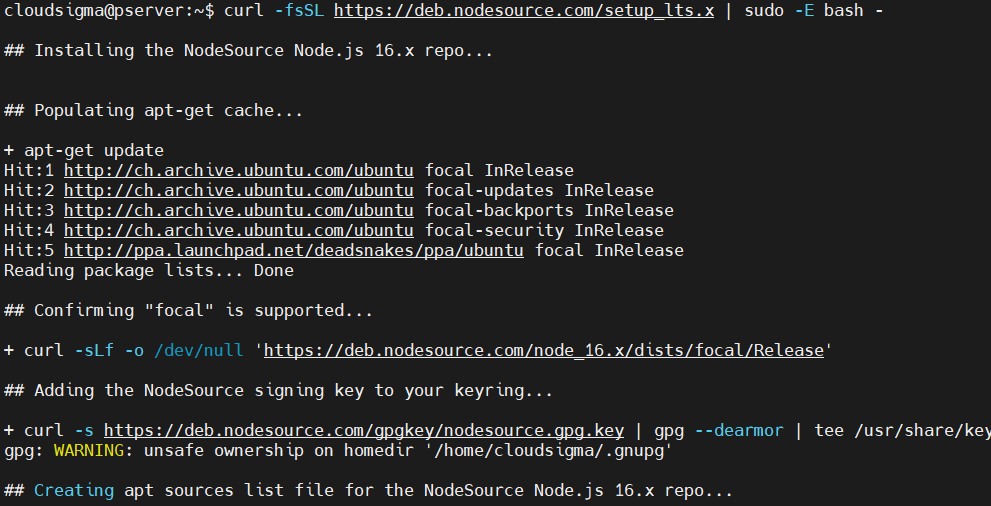
Similar to the RVM installation, Node.js offers an installation script to simplify the installation process. The following command will add the APT repository for the Node.js 14.x LTS release:
|
1 |
curl -fsSL https://deb.nodesource.com/setup_lts.x | sudo -E bash - |
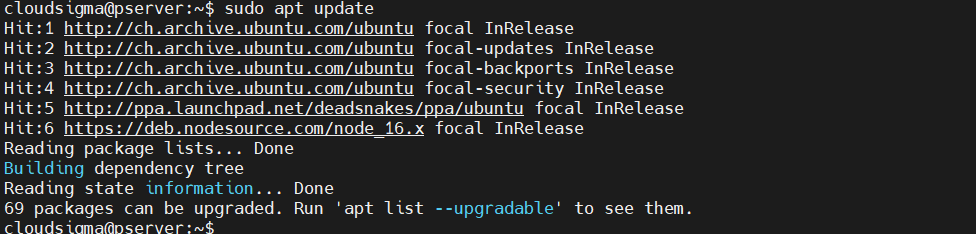
Once the Node.js repo is configured, update the APT package database:
|
1 |
sudo apt update |
Finally, install Node.js:
|
1 |
sudo apt install nodejs -y |

This is only the first step of Node.js installation. Check out the comprehensive guide on Node.js installation and configuration.
Uninstalling RVM
If RVM is no longer necessary, you can easily remove it from the system. First, remove the RVM source entry from the bashrc file:
|
1 |
nano ~/.bashrc |
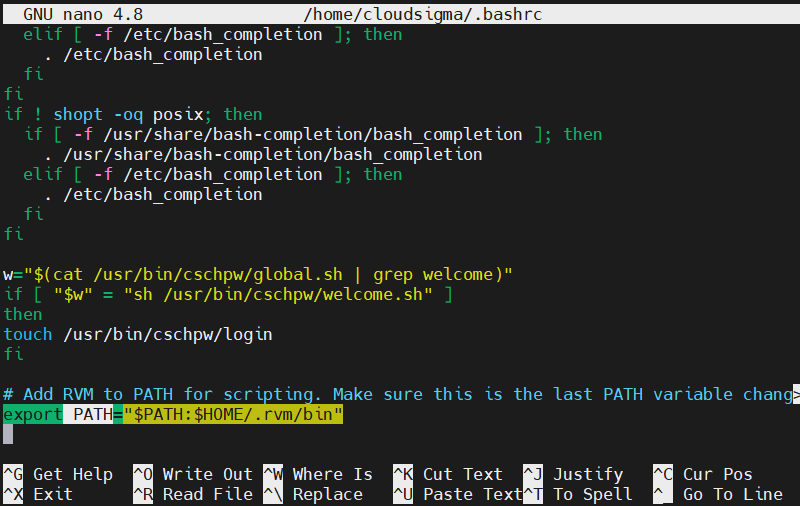
Next, remove the following line from the file:
|
1 |
export PATH="$PATH:$HOME/.rvm/bin" |
Save the file and close the editor. To take the changes into effect, reload bashrc:
|
1 |
source ~/.bashrc |
![]()
Finally, remove all the RVM-related files and directories:
|
1 |
rm -rf ~/.rvm |
Final Thoughts
This guide covers the basics of how to implement RVM to install and manage Ruby on Rails. Using these methods, you can seamlessly use multiple Ruby environments. If you’re a beginner with RVM, then check out the official documentation for the RVM basics.
Happy Computing!
- How to Deploy WordPress with Persistent Volume on Kubernetes Cluster - March 17, 2023
- Deploying Applications on Kubernetes Using Argo CD and GitOps - October 26, 2022
- Using Node.js Modules with npm and package.json: A Tutorial - October 6, 2022
- Using Ansible to Install and Configure WordPress with LAMP on Ubuntu - September 23, 2022
- Creating Views in the Django Web Application Framework - September 22, 2022