

Postfix is a popular free and open-source software that acts as a mail transfer agent (MTA). The job of Postfix is to route and deliver emails. Besides the classic usage, Postfix can also be configured to send emails by local applications only.
This application of Postfix is a useful trick to deploy in various situations. For example, it can be used when sending email notifications regularly, working with a third-party email service provider with limited outbound traffic, etc. Compared to any full-fledge SMTP server, Postfix is a lighter alternative that at the same time retains the necessary functionalities.
In this tutorial, check out how to install and configure Postfix as a send-only SMTP server on Ubuntu.
Prerequisites
In order to follow this guide, you need to fulfill the following prerequisites:
-
You need to have a properly configured Ubuntu server with access to a sudo non-root user.
-
You also need a fully registered domain name. Learn more about domain names from our Installing an SSL Certificate from a Commercial Certificate Authority post.
-
Finally, you will need a DNS record with the domain name pointing towards the server’s public IP address.
Installing Postfix
Once the preconditions are met, the server is ready to deploy Postfix. The simplest way of installing Postfix is to install the mailutils package. It’s directly available from the official Ubuntu repos.
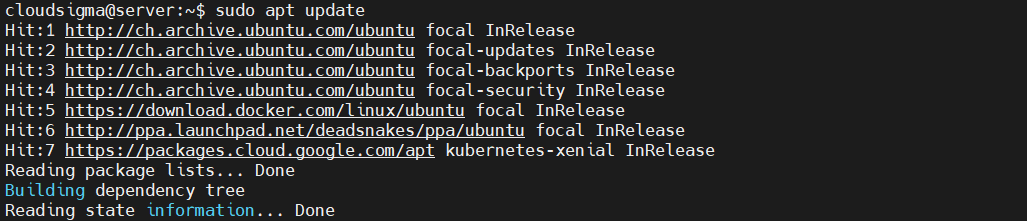
First, launch a terminal, and update the APT package database:
|
1 |
sudo apt update |
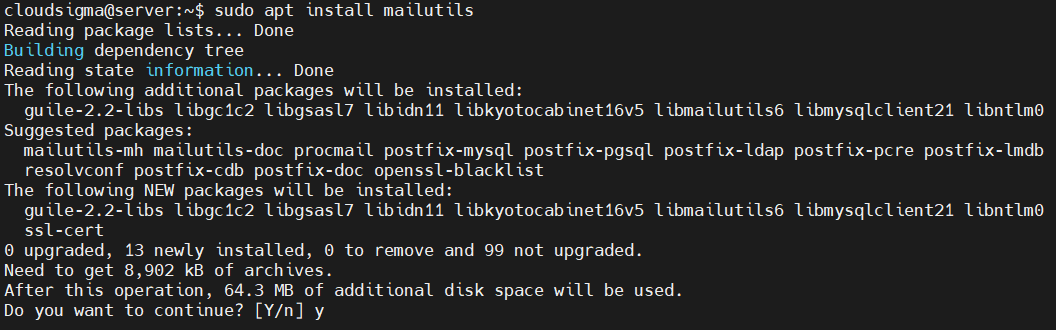
Then, you can install Postfix:
|
1 |
sudo apt install mailutils |
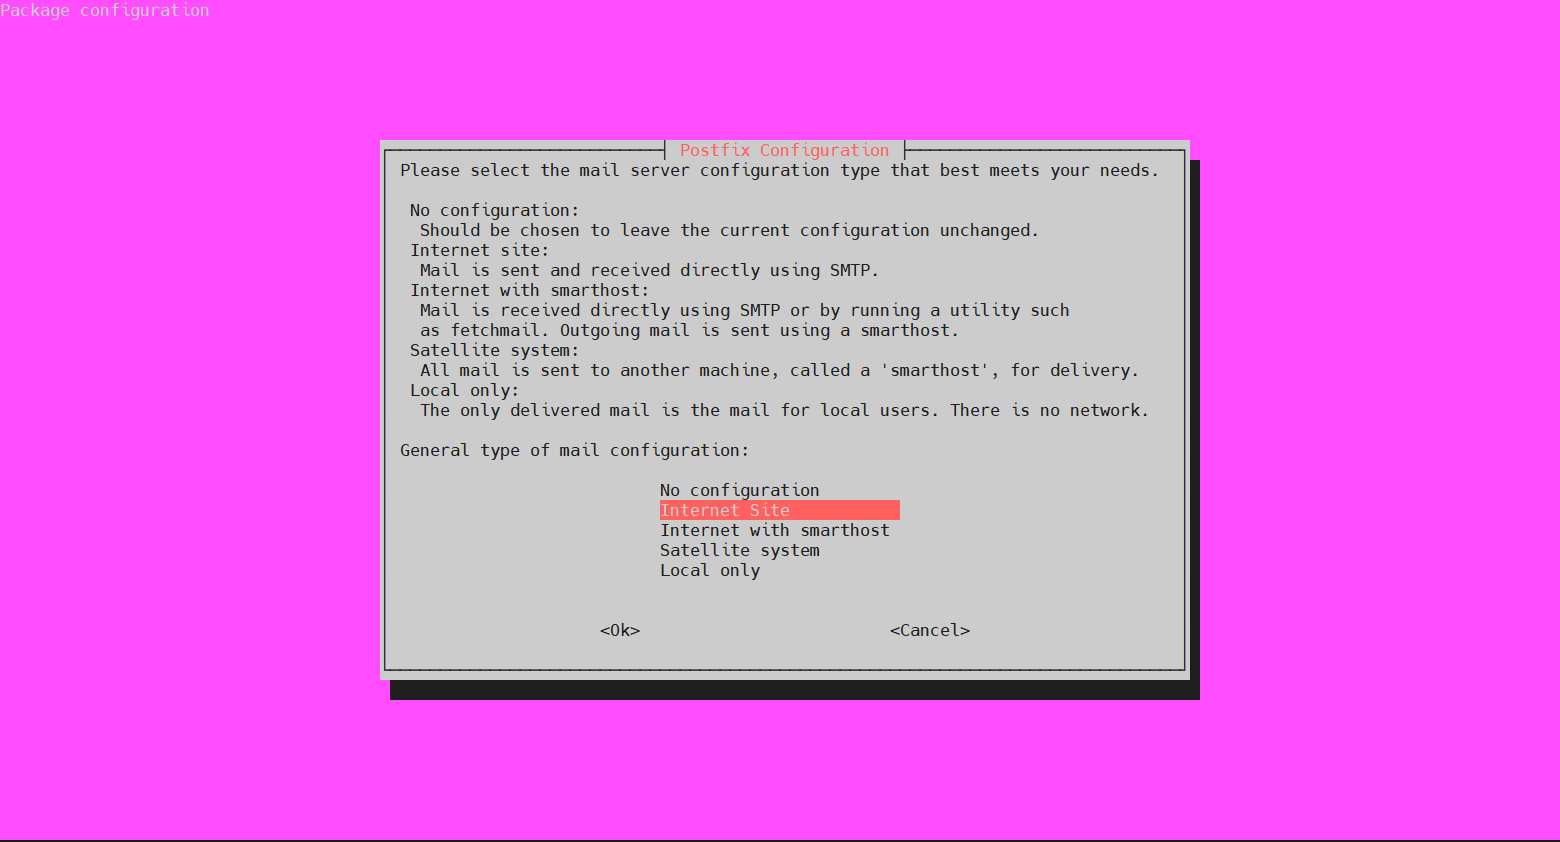
During the installation process, the following configuration window will pop up. The default option is Internet Site. To confirm the selection, press TAB to move the cursor to the next section. Then, hit Enter:
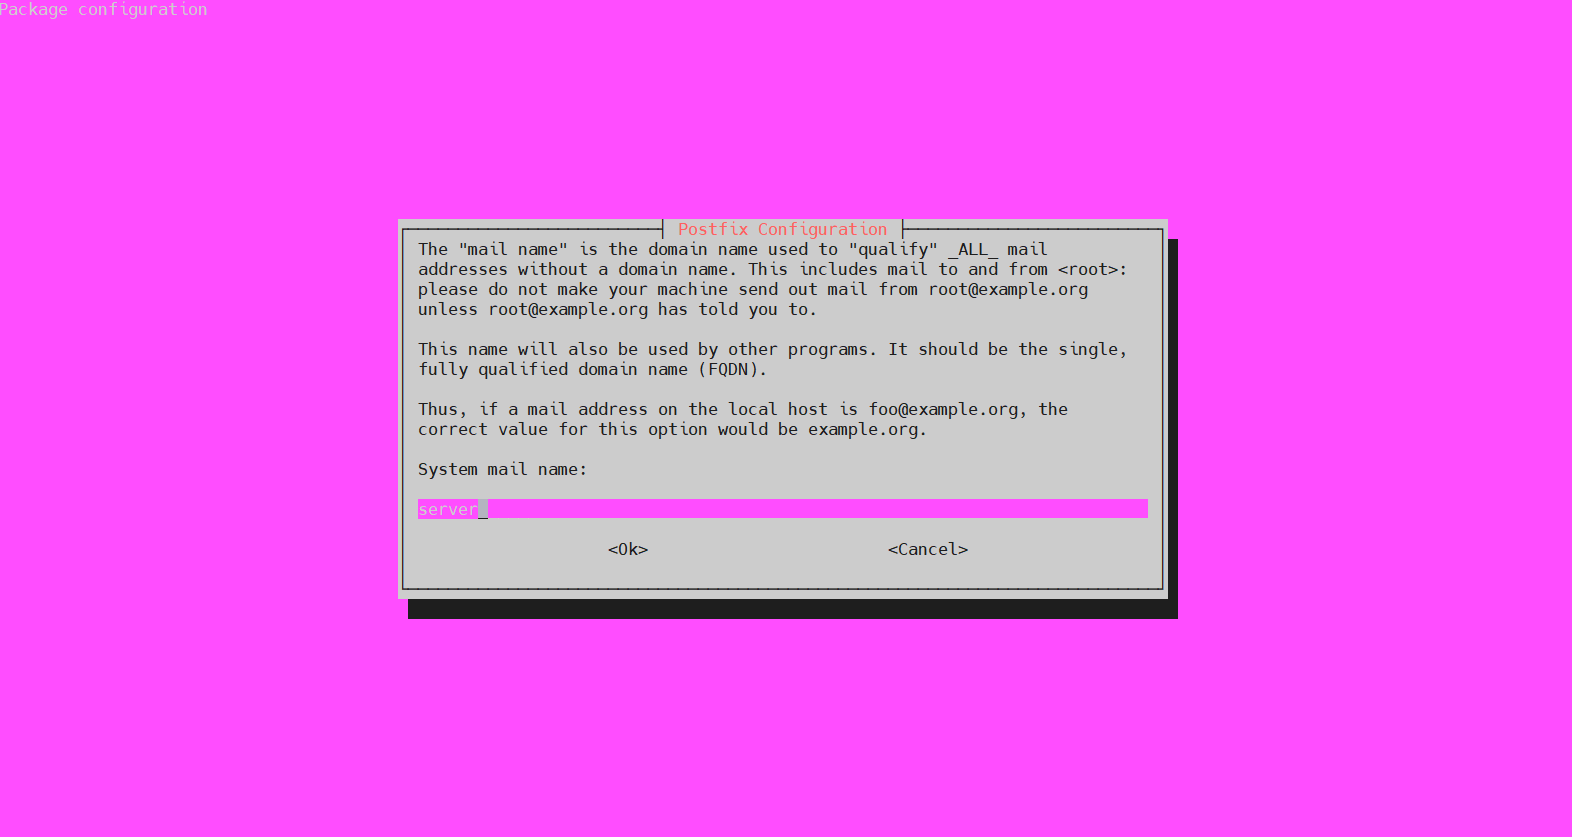
The next step will ask for the System mail name. It will be the name assigned to the server at the time of creation. As described in the script, if the mail address for the local host is “foo@example.org,” then the System mail name would be example.org:
Note that the configuration script can also be triggered anytime later using the following command:
|
1 |
sudo dpkg-reconfigure postfix |
Configuring Postfix
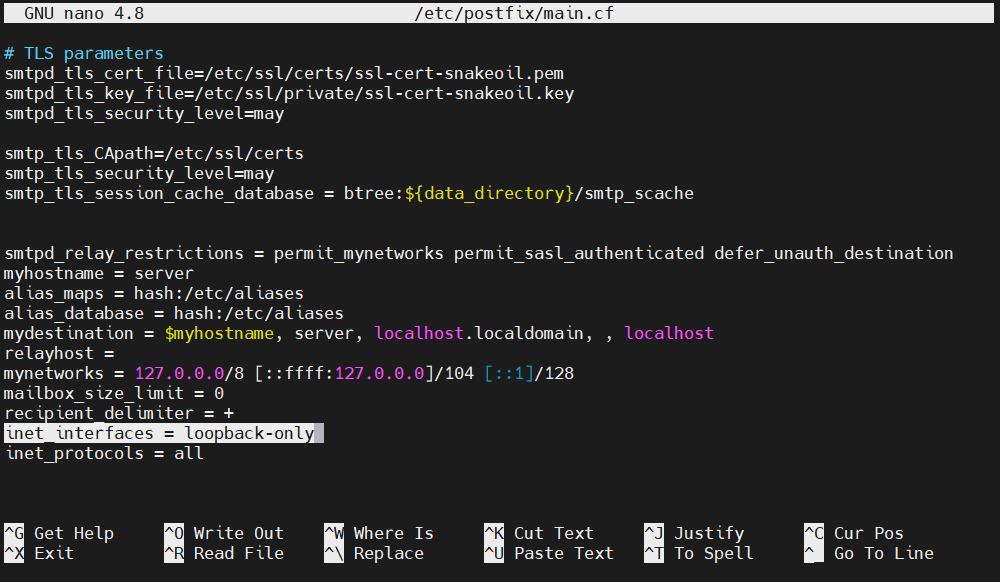
At this step, Postfix will be configured to send and receive emails only from localhost. This requires Postfix to listen on the loopback interface. It’s the virtual network interface that the server uses for internal communication. Next, open the Postfix configuration file using your text editor of choice:
|
1 |
sudo nano /etc/postfix/main.cf |
Change the value of inet_interface to loopback-only:
Another directive that you have to change is mydestination. It defines the list of domains that are delivered via the local_transport mail delivery transport. The default value will be something like this:
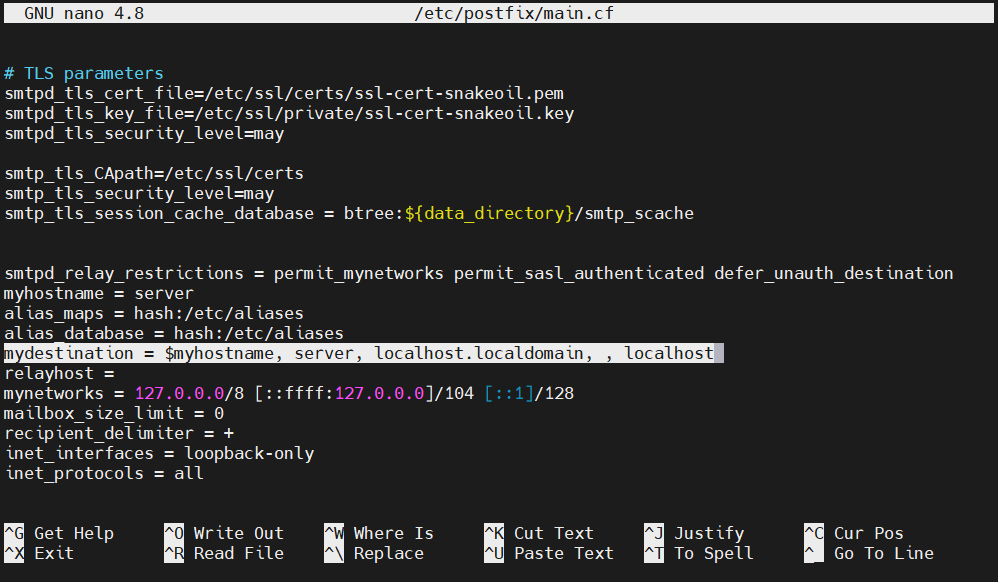
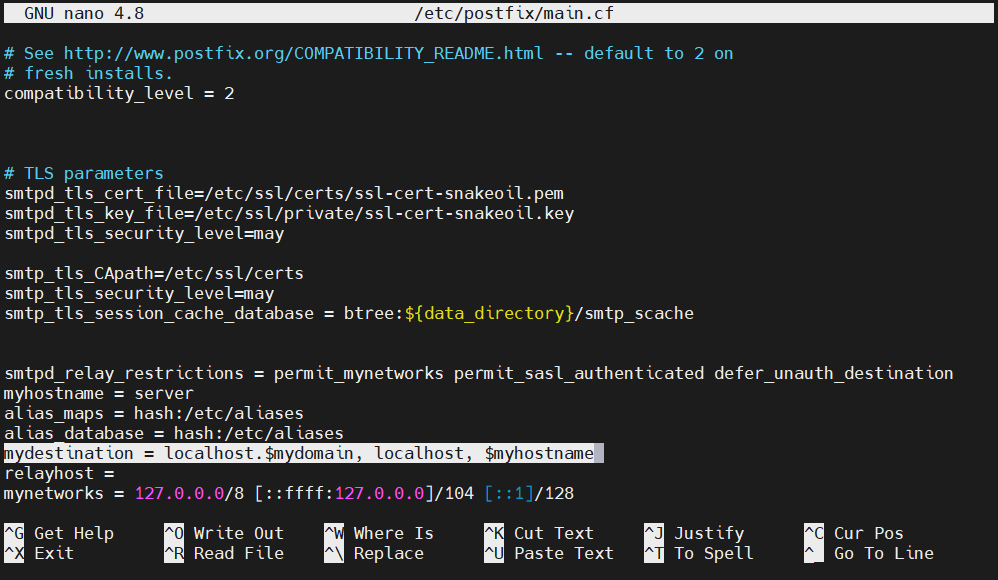
Change its value to the following:
|
1 |
mydestination = localhost.$mydomain, localhost, $myhostname |
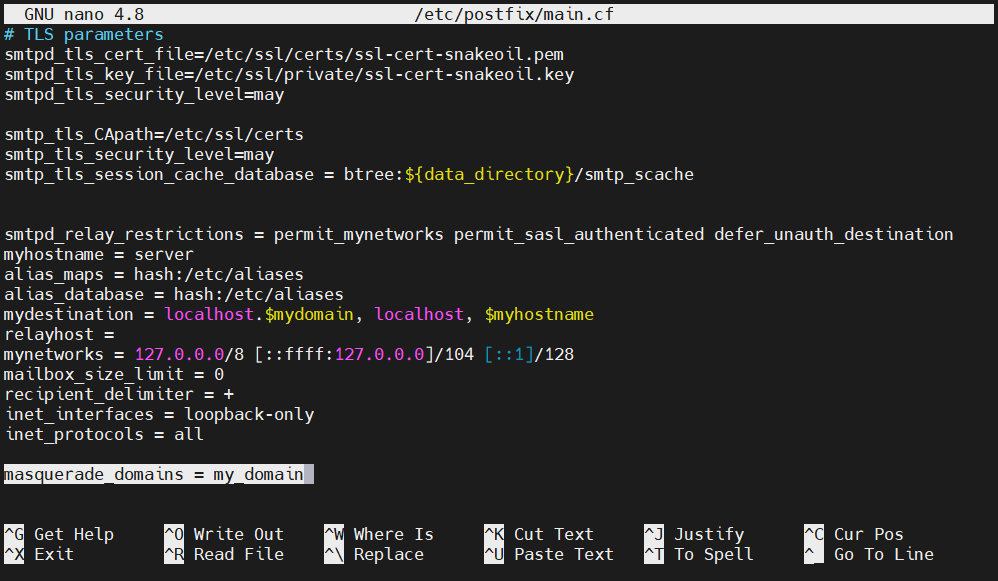
In case your domain is actually a subdomain and you want the emails to appear as if sent from the main domain, add the following directive at the end of the Postfix configuration. It will remove the subdomain from the email address:
|
1 |
masquerade_domains = <main_domain> |
To take the changes into effect, restart Postfix:
|
1 |
sudo systemctl restart postfix |
Testing the SMTP Server
Assuming the configuration process went successfully, it’s time to test it. In order to do that, check whether Postfix can send an email to an external email account using the mail command. It’s a part of the mailutils package:
|
1 |
echo "Test email body" | mail -s "Subject line" <email_address> |
The message should arrive at the email address specified. At this point, all the emails sent are unencrypted. Service providers will generally tag such emails as spam, so ensure to check the spam section for the email’s arrival.
If the mail command reports an error or the email didn’t arrive after a prolonged period of time, re-check the Postfix configuration and ensure that the server name and hostname are set properly. With this configuration, the emails will appear to be sent from the following address:
|
1 |
<username>@<domain> |
Here, the username will be the username of the server user that ran the mail command.
Forwarding System Mail
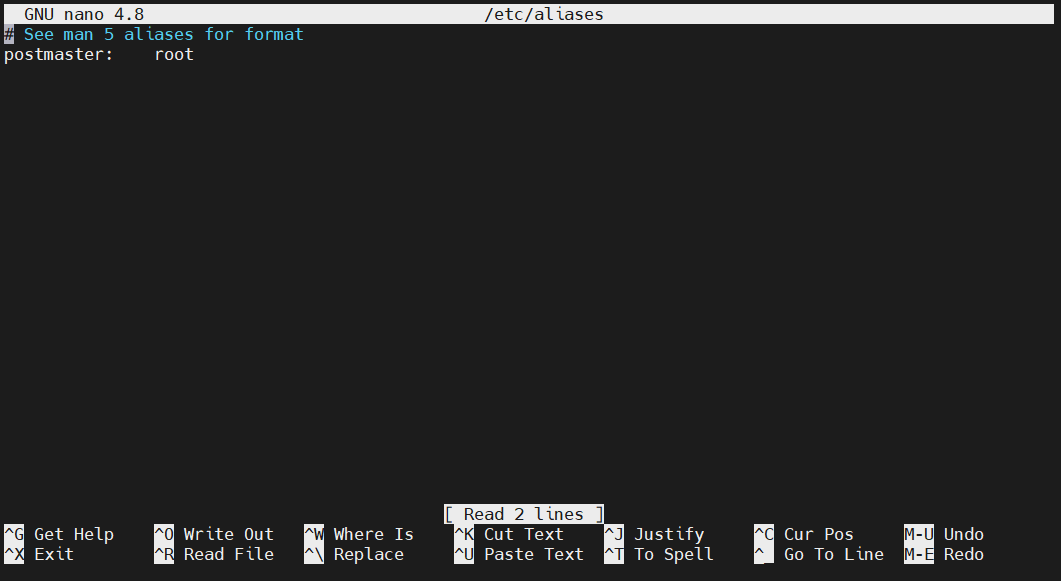
We’ve successfully verified that the email server is properly configured and functional. Now it has to be configured to forward email for root. All the system-generated messages sent to the server will get forwarded to an external email address. For email recipients, the /etc/aliases file contains the list of alternate names. Open it using your text editor of choice:
|
1 |
sudo nano /etc/aliases |
By default, it will look like this:
At the end of the file, add the following line:
|
1 |
root: <email_address> |
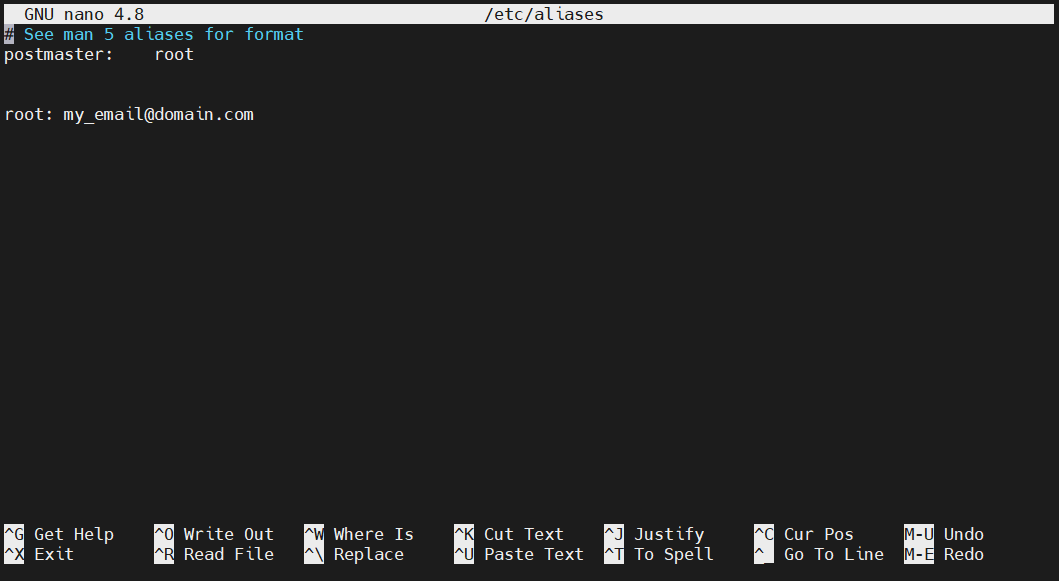
It tells that the emails sent to root will be forwarded to an email address. To take the change into effect, run the following command. It will rebuild the alias database that the mail command uses:
|
1 |
sudo newaliases |
![]()
Next, you need to test if the change was successful. Send a test email to root:
|
1 |
echo "Test root email body" | mail -s "Subject line" root |
The email should arrive at the specified email address. Don’t forget to check the spam folder as there’s no encryption configured yet.
Enabling SMTP Encryption
Sending emails in unencrypted format is a risky move. To ensure safety, it’s required to have SMTP encryption enabled. To achieve this, we’ll be requesting a free TLS certificate from Let’s Encrypt for your domain.
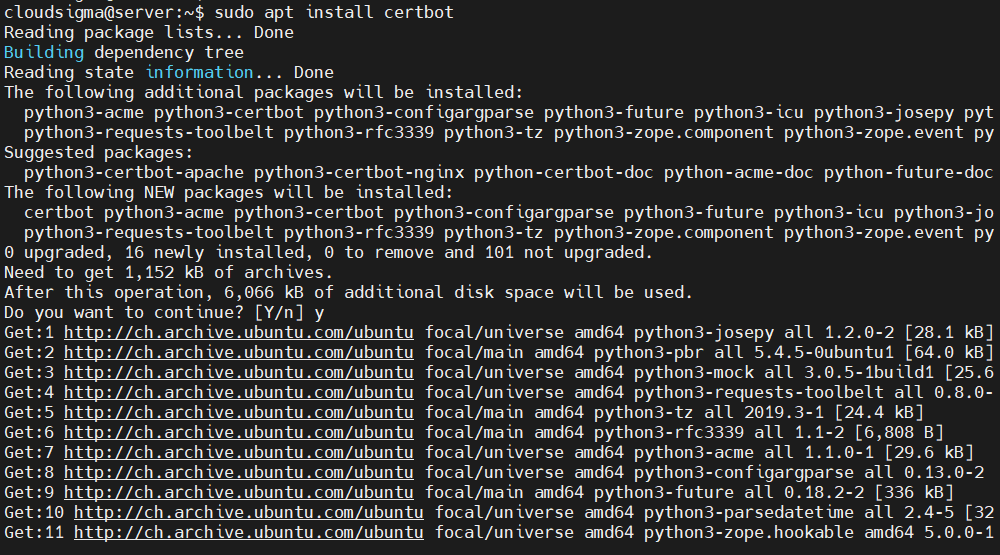
For Ubuntu, it’s the Certbot tool that does the job. Thankfully, it’s directly available from the official Ubuntu repo. Install Certbot with the following command:
|
1 |
sudo apt install certbot |
Assuming the server has UFW configured, it’s necessary to have port 80 open so that domain verification can take place. Run the following command to enable it:
|
1 |
sudo ufw allow 80 |

Now, run Certbot to generate a certificate. It commands Certbot to issue certificates with a 4096-bit RSA key. The verification will take place via port 80 (HTTP):
|
1 |
sudo certbot certonly --standalone --rsa-key-size 4096 --agree-tos --preferred-challenges http -d <domain> |
The output will be something like this:
|
1 2 3 4 5 6 7 8 9 10 11 12 13 14 15 16 17 18 19 20 21 22 23 24 25 26 27 28 29 30 31 32 33 34 35 36 37 |
Saving debug log to /var/log/letsencrypt/letsencrypt.log Plugins selected: Authenticator standalone, Installer None Obtaining a new certificate Performing the following challenges: http-01 challenge for '<domain>' Waiting for verification... Cleaning up challenges IMPORTANT NOTES: - Congratulations! Your certificate and chain have been saved at: /etc/letsencrypt/live/<domain>/fullchain.pem Your key file has been saved at: /etc/letsencrypt/live/<domain>/privkey.pem Your cert will expire on 2020-07-11. To obtain a new or tweaked version of this certificate in the future, simply run certbot again. To non-interactively renew *all* of your certificates, run "certbot renew" - If you like Certbot, please consider supporting our work by: Donating to ISRG / Let's Encrypt: https://letsencrypt.org/donate Donating to EFF: https://eff.org/donate-le |
The key will be stored in the following directory:
|
1 |
/etc/letsencrypt/live/<domain> |
Now that your certificate is generated, open the Postfix configuration file in a text editor:
|
1 |
sudo nano /etc/postfix/main.cf |
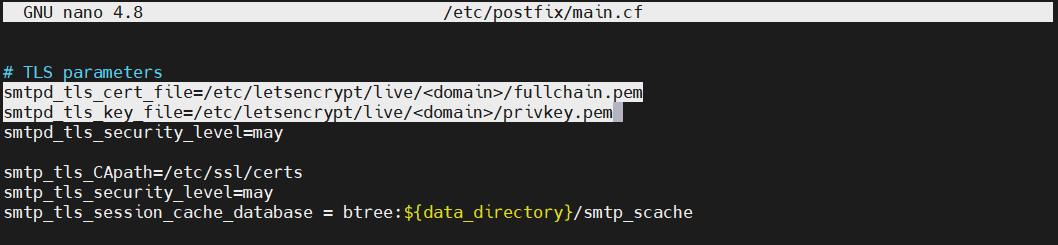
Find the section TLS parameters:
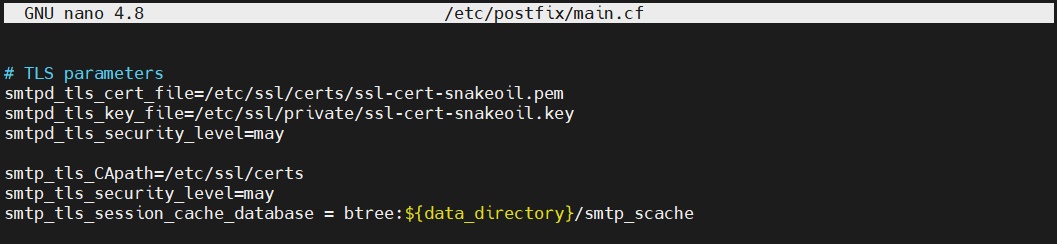
After that, change the value of the directives smtpd_tls_cert_file and smtpd_tls_key_file:
Next, save and close the file. To take the changes into effect, restart Postfix:
|
1 |
sudo systemctl restart postfix |
Finally, send a dummy email again to a target email address:
|
1 |
echo "This is email body" | mail -s "Email subject line" <email> |
The email should now appear normally like other emails. If you check the technical info of the email, it will appear encrypted.
Final Thoughts
Congratulations! You’ve successfully configured a send-only email server, powered by Postfix. The email transactions are also secure using an appropriate encryption key.
For more ways to optimize email transfer check out this tutorial The Best Ways to Use Google’s SMTP Server.
Happy computing!
- How to Deploy WordPress with Persistent Volume on Kubernetes Cluster - March 17, 2023
- Deploying Applications on Kubernetes Using Argo CD and GitOps - October 26, 2022
- Using Node.js Modules with npm and package.json: A Tutorial - October 6, 2022
- Using Ansible to Install and Configure WordPress with LAMP on Ubuntu - September 23, 2022
- Creating Views in the Django Web Application Framework - September 22, 2022