

In this tutorial, we shall go through the initial steps required to set up an Ubuntu server. The configurations we will discuss will enhance the security and usability of the server. We will be using an Ubuntu 18.04 LTS image.
Step 1: Setting up the instance on CloudSigma
I am using a machine with the following resources:
- 8 GHz CPU
- 8 GB RAM
- 50 GB SSD
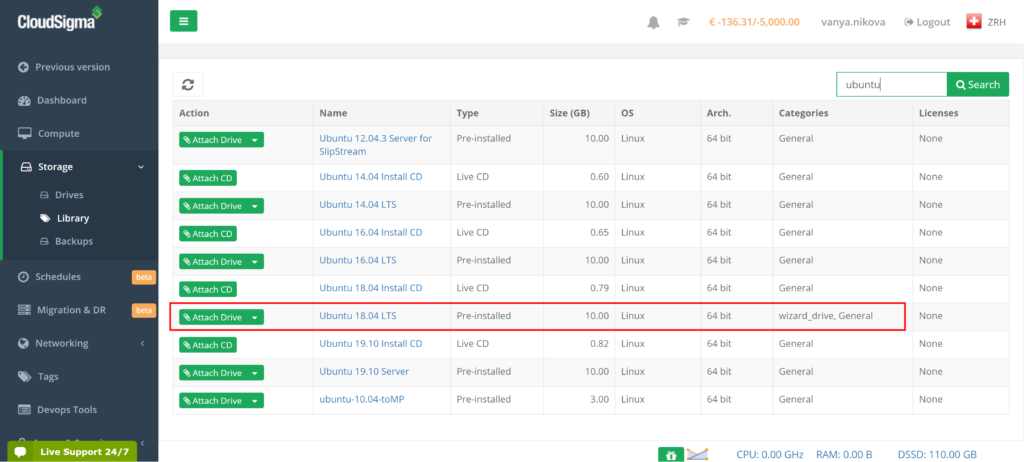
I am cloning Ubuntu 18.04 from the library and resizing it to 50 GB. Ubuntu 18.04 on the library comes pre-installed with 64bit with VirtIO drivers, superuser, Python 2.7.17, Pip 20.0.2 OpenSSL 1.1.1d, Cloud-init and latest updates until 2019-03-03.
It is not recommended to use the root user as it has very broad privileges and should only be used for very specific activities. Therefore we should create a different user with lesser privileges. Fortunately for us, images provided by CloudSigma already have a user ‘cloudsigma’ created.
I have linked an ssh key with my instance to access the machine. We will now set up a password for user ‘cloudsigma’ to access it without the key.
Step 2: Allowing Login Using Passwords
It is recommended to access the server using ssh keys rather than passwords, but if you need to access it using passwords, you can follow the steps below:
First, use the following command to set a password for the user – cloudsigma:
|
1 |
sudo passwd cloudsigma |
Output:
|
1 2 3 4 |
cloudsigma@ubuntumachine:~$ sudo passwd cloudsigma Enter new UNIX password: Retype new UNIX password: passwd: password updated successfully |
After that password is set, we will enable login using a password in sshd configurations using the following commands:
|
1 2 |
sudo sed -i 's/PasswordAuthentication no/PasswordAuthentication yes/g' /etc/ssh/sshd_config sudo systemctl restart sshd |
Now you can access ssh to your Ubuntu server using passwords as well.
Step 3: Creating Additional Users
We can always create a new user for a particular user. I will create a user on my name to use it for this tutorial.
|
1 |
sudo adduser akshay |
Once I run the above command, the system asks me for a password and some information. Once I fill those in, it creates a user for me.
Step 4: Granting Administrative Privileges
With the previous step, we have got a user with regular permissions and privileges. However, some of your users might have to do administrative tasks as well. To avoid switching between the root user and their user account, we can add them to the sudo user/superuser list. With that, the users will able to run commands with root user privileges by adding the ‘sudo’ keyword before the command.
To add user ‘akshay’ to the list, we can run this command from root user or cloudsigma user, which is already a superuser.
|
1 |
sudo usermod -aG sudo akshay |
After running this command, we can run commands with administrative privileges from user ‘akshay’ as well by adding the keyword ‘sudo’.
Step 5: Setting up a Basic Firewall
We can use the UFW – Uncomplicated Firewall, part of Ubuntu 18.04 OS, to ensure only connections to trusted applications are allowed. With UFW, profiles can be registered by different applications which can be used to manage them. OpenSSH is the application that lets us establish a connection to our server. It already has a profile registered with UFW with the name OpenSSH.
We can see the app profiles with this command:
|
1 |
sudo ufw app list |
Output:
|
1 2 3 |
akshay@ubuntumachine:/home/cloudsigma$ sudo ufw app list Available applications: OpenSSH |
We need to ensure that OpenSSH is in the allow list so we can log on the next time or the firewall will block the connection. We can run the following command to do the same:
|
1 |
sudo ufw allow OpenSSH |
Next, once we have added the application to the allow list, we will enable the firewall by using the command:
|
1 |
sudo ufw enable |
After that, we can check the status of the firewall and the application in it’s allow list by using the command:
|
1 |
sudo ufw status |
Output:
|
1 2 3 4 5 6 7 |
akshay@ubuntumachine:/home/cloudsigma$ sudo ufw status Status: active To Action From -- ------ ---- OpenSSH ALLOW Anywhere OpenSSH (v6) ALLOW Anywhere (v6) |
Finally, as we have configured the firewall to only allow SSH connections, other applications would have to be configured when installed to allow the traffic.
Our Ubuntu server is now set up and ready to be used!
- Removing Spaces in Python - March 24, 2023
- Is Kubernetes Right for Me? Choosing the Best Deployment Platform for your Business - March 10, 2023
- Cloud Provider of tomorrow - March 6, 2023
- SOLID: The First 5 Principles of Object-Oriented Design? - March 3, 2023
- Setting Up CSS and HTML for Your Website: A Tutorial - October 28, 2022