


A while back I wrote a guest post on BitTorrent’s blog about how to use BitTorrent Sync as an alternative to cloud storage services, such as Dropbox and Box. As a result, this post is an expansion of that post that provides more clear step-by-step instructions on how to securely deploy BitTorrent Sync.
Security notes
First, since the focus of this post is security, it wouldn’t be fair to our readers to ignore the recent concerns raised at Hackito Session (where CloudSigma was also coincidentally a sponsor). However, BitTorrent were quick to respond to these concerns and there is an ongoing debate around this.
As such, for those with an interest, there is an open source alternative to BitTorrent Sync named Syncthing which you may wish to investigate further.
Server Configuration
Next, you should think twice before handing over your sensitive data to a cloud backup service. As convenient as it may be, you should still ask if it is worth the price you pay by allowing third parties to snoop on your data.
However, the problem is that keeping your files both save and in sync across devices in sync yourself isn’t trivial. Fortunately, Sync makes this a lot easier.
While it is possible to simply use Sync to keep two devices in sync, it does rely on the fact that both devices are online in order to sync. For instance, if you want to keep your laptop and desktop computer at home in sync, both must be powered on and able to talk with each other to sync. However, this may not always be the case.
The solution to this problem is to add a server into the mix that is always accessible. In addition, this gives you the added benefit of an extra copy.
While this server could be at home, it might make more sense to use a cloud-based server for resilience purposes. However, in order to avoid going back to square one, you need to chose a provider and geographical location that takes privacy seriously, such as CloudSigma and our Zurich location in Switzerland plus, for increased security, you may also consider using disk encryption.
Steps for Server Configuration
To begin with, installing BitTorrent Sync is very straightforward. For example, if you are using an Ubuntu 14.04 for your server, all you will have to do is to run the following commands:
[bash light=”true”] $ wget https://www.resilio.com/individuals/ -O btsync.tgz$ tar xvfz btsync.tgz
$ sudo mv btsync /usr/local/bin/
$ sudo useradd btsync
$ sudo mkdir /btsync
$ sudo chown -R btsync:btsync /btsync/
[/bash]
Next, we need to create a configuration file. A minimal configuration would look as follows. In addition, a full sample config is available here.
[python light=”true”] {"device_name": "MyNode",
"listening_port" : 0,
"pid_file" : "/tmp/btsync.pid",
"download_limit" : 0,
"upload_limit" : 0,
"webui" :
{
"listen" : "127.0.0.1:8888",
"login" : "myuser",
"password" : "mypassword",
"allow_empty_password" : false,
"directory_root" : "/btsync",
"dir_whitelist" : [ "/btsync" ] }
} [/python]
After that, modify this to your needs and save it as /usr/local/etc/btsync.conf using your favorite text editor.
In addition, please note that:
- Your password is stored in plaintext in the config file. Aslo, there is an option to save it encrypted instead.
- The above configuration listens on 127.0.0.1 (localhost). As a result, you will not be able to access the server from the outside without using an SSH tunnel (covered below). However, you can change this to ‘0.0.0.0:8888’ to make it accessible to the world, but if you do this I would only recommend that you do this combined with the built-in SSL support (alternatively, place your server behind a reverse proxy that adds SSL support).
Starting the server
Then, with your config file populated, we can now start the server using the following command:
[bash light=”true”]
$ sudo -u btsync btsync –config /usr/local/etc/btsync.conf
[/bash]
If you get the following error, simply try starting the server with ‘-u btsync’ the first time:
|
1 |
btsync: /mnt/jenkins/workspace/Build-Sync-x64/linux/breakpad/client/linux/handler/minidump_descriptor.h:55: google_breakpad::MinidumpDescriptor::MinidumpDescriptor(const string&): Assertion `!directory.empty()' failed. |
Since we used configured Sync to only listen on 127.0.0.1, the server won’t be accessible to the world. Next, to access the server, we will have to use an SSH tunnel. If you’re on OS X or Linux, this is very simple. All you need to do is to open a terminal window and run the following command:
[bash light=”true”] $ ssh -L 8888:127.0.0.1:8888 -N user@remoteserver.com -v[/bash]
What this will do is to create a secure tunnel on your local machine that will allow you to access the remote server on your local port 8888.
If you’re using Windows, there are a few tools available for creating SSH tunnels. The most popular one is probably PuTTY.
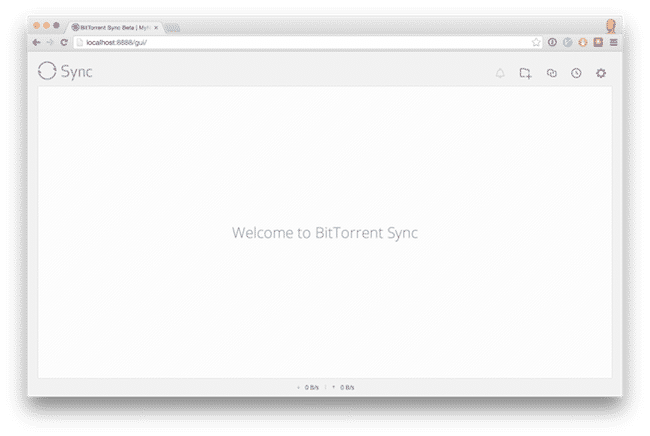
With the SSH tunnel active we can just point our browser to http://127.0.0.1:8888 and login using the credentials specified.
Syncing a folder
Once you’re able to login to the web interface, it’s time to add a folder for synchronization. To do this, you need to download and install BitTorrent Sync on your local computer.
On your local computer, click the ‘Add Folder’ button. Then, select the folder that you’d like to sync. After that, you’d get the following dialogue window. Next, close this dialogue window. Then, bring up the preferences for the newly created share:

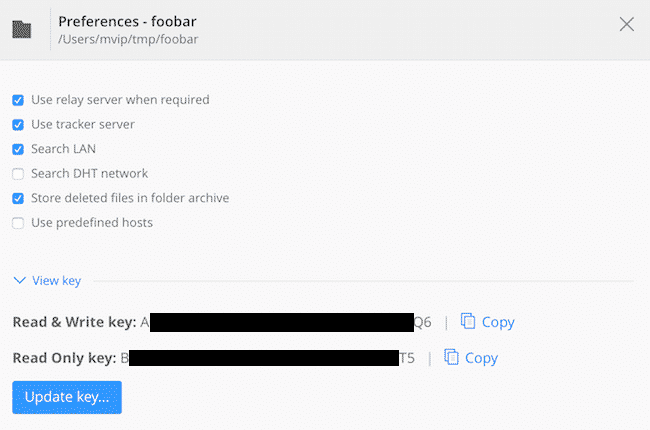
We will use the Read Only key for this, since that protects our local computer in case the remote server would for some reason get compromised. If we were to use the Read Write key, an intruder would be able to push back changes to your local computer.
Let’s now go back to the browser window for the remote server and click the ‘Enter a key or link’ icon.
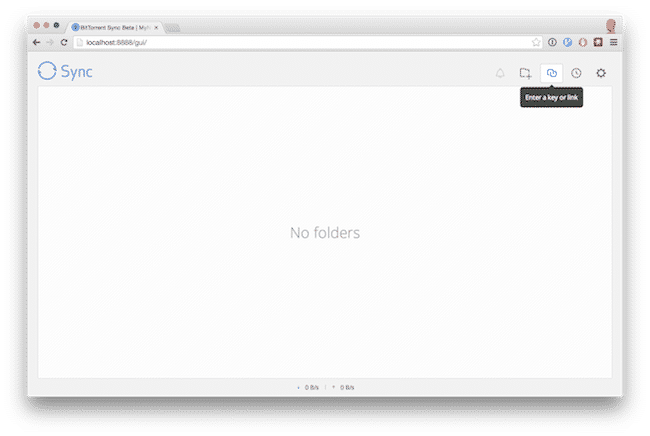
Since we already copied our Read Only key, we just need to paste in the key.

Lastly, we need to select where to store the folder. Remember that it needs to go in the ‘/btsync’ folder as per our configuration above (directory_root).

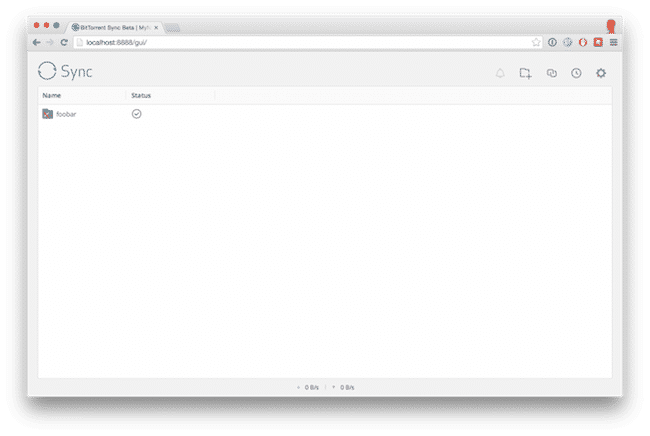
The remote server and your local computer will now start synchronizing. Depending on the size of the folder and your connection, this may take some time. You will be able to follow the process both locally and in the web interface. When done, it will look as follows:
At the end, repeat this process for each folder you’d like to synchronize.
Wrap up
In conclusion, that’s all folks. You should now be able to get your data in sync using BitTorrent Sync. If you want to add another desktop, you can simply add the Read Write key to it. That will allow you to work on the same files and have both devices in sync. It is also worth noting that there are mobile clients for both iOS and Android, which allows you to both backup data from your phone (such as photos) as well as accessing remote data from a share.
Next, if you want to reconfigure the remote server, all you need to do is to open the SSH tunnel described above. Then, point your browser to the local URL.
Finally, in case you ever need to restart the remote server (or if Sync crashes), all you need to do then is to re-run the btsync command to start it back up.
- Manage Docker resources with Cgroups - May 12, 2015
- Docker, Cgroups & More from ApacheCon 2015 - April 30, 2015
- How to setup & optimise MongoDB on public cloud servers - March 24, 2015
- Presentation deck from CloudExpo Europe - March 17, 2015
- CoreOS is now available on CloudSigma! - March 10, 2015