
For system administrators, Webmin is a boon. It’s a web-based control panel that allows managing a Linux machine remotely, using a modern web-based interface. Webmin can change various system configurations on the fly, including web servers and databases. It can also manage users, groups, and software packages.
In this guide, we will walk you through the steps of installing and configuring Webmin on Ubuntu 18.04.
Webmin on Ubuntu
While Webmin is a popular tool for system admins, it’s not available from the official Ubuntu repositories. Thankfully, Webmin has a dedicated PPA for Ubuntu. It takes care of keeping the software up-to-date. Here are the prerequisites you will need before we begin:
- You will need an Ubuntu server with sudo non-root user and a firewall. Check out how to install your Ubuntu server here, and how to set up your sudo user here.
- Because of the nature of Webmin, it’s important to protect access from unwanted hands. By default, Webmin comes with a handful of security features. In this guide, however, Webmin will be secured using Let’s Encrypt and Apache. Follow this tutorial to install your Apache server.
- For the following tutorial, you also need to have an FQDN with a DNS record pointing towards the IP address of the server.
- You will also need Certbot, which you can follow how to install from Step 1 of our Securing Apache with Let’s Encrypt on Ubuntu 18.04 tutorial. You will utilize Certbot to create the TLS/SSL certificate for Webmin.
Now, let’s start!
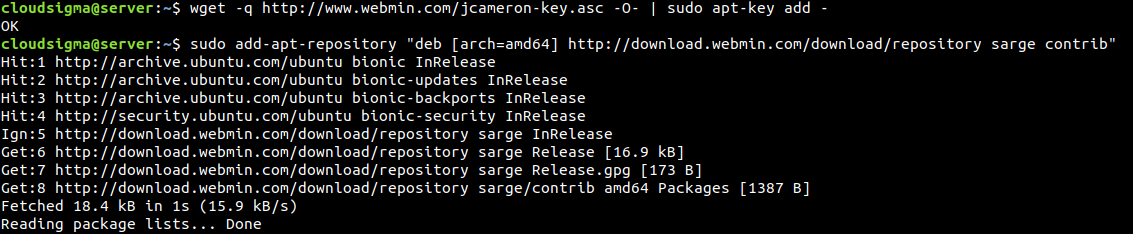
Installing Webmin on Ubuntu
To install Webmin, we need to add the Webmin PPA. First, ensure that the system contains all the necessary dependencies:
|
1 |
sudo apt update && sudo apt install software-properties-common apt-transport-https wget |
Next, import the Webmin PGP key:
|
1 |
wget -q http://www.webmin.com/jcameron-key.asc -O- | sudo apt-key add - |
Finally, add the Webmin repo:
|
1 |
sudo add-apt-repository "deb [arch=amd64] http://download.webmin.com/download/repository sarge contrib" |
APT can now recognize the Webmin PPA. Update the APT cache:
|
1 |
sudo apt update |
Finally, install Webmin:
|
1 |
sudo apt install webmin |
Once the installation is complete, it will show something like this, indicating that Webmin can directly be accessed through the following link. In this example, it’s using my system hostname:
|
1 |
https://localhost:10000 |

It states that to have full control over the system using Webmin, the user has to know the root password. However, that’s not enough to secure something as sensitive as Webmin. We will be putting it behind the Apache webserver with a valid TLS/SSL certificate as we mentioned earlier.
Securing Webmin
For accessing Webmin, the default method is to have the port 10000 open. In our case, this is not optimal. To solve the issue, we are going to configure an Apache virtual host as a proxy to Webmin’s server running on port 10000. Then, the virtual host will be secured using a TLS/SSL certificate obtained from Let’s Encrypt. This procedure requires that you have installed and properly configured the Apache web server and Certbot.
- Creating a New Apache Virtual Host
The new virtual host will be defined by its configuration file. Open the configuration file in your text editor of choice:
|
1 |
sudo vim /etc/apache2/sites-available/my_domain.conf |
In the file, add the following lines:
|
1 2 3 4 5 6 |
<VirtualHost *:80> ServerAdmin <email> ServerName <domain> ProxyPass / http://localhost:10000/ ProxyPassReverse / http://localhost:10000/ </VirtualHost> |
It tells Apache to pass requests coming to the virtual host to the Webmin server at the following location. It also ensures that Webmin-generated internal links will pass through Apache.
- Disabling Webmin TLS/SSL
Because we are going to configure Apache with TLS/SSL, there is no need for Webmin to have its own TLS/SSL. It’s recommended to disable this feature from Webmin. Next, open the Webmin configuration file in your text editor of choice:
|
1 |
sudo vim /etc/webmin/miniserv.conf |
Then, search for the following line:
|
1 |
ssl=1 |
Here, the value “1” denotes that Webmin has SSL enabled. Next, set the value to “0” to disable Webmin SSL.
- Adding the Domain to Webmin
By default, Webmin wouldn’t allow our domain to access it. It’s because such access can be part of a malicious attack, for example, a Cross-Site Scripting (XSS) attack.
To ensure that Webmin allows our domain, it has to be declared in the Webmin configuration. Open the configuration file with your favorite text editor:
|
1 |
sudo vim /etc/webmin/config |
At the bottom of the text, add the following line:
|
1 |
referers=<domain> |
After that, save the text, exit the editor, and restart the Webmin service to take all the changes into effect:
|
1 |
sudo systemctl restart webmin |
- Configuring Apache
We need the proxy_http module of Apache. The following command will enable it:
|
1 |
sudo a2enmod proxy_http |
It suggests restarting Apache. However, you need to enable the new virtual host first:
|
1 |
sudo a2ensite <domain> |
Finally, restart Apache. It’ll enable the module and the virtual host:
|
1 |
sudo systemctl restart apache2 |
The following command will configure the firewall to allow incoming traffic on ports 80 and 443 (Apache default ports for HTTP/HTTPS traffic):
|
1 |
sudo ufw allow in "Apache Full" |
To verify the configuration worked successfully, go to your domain. It should bring up the Webmin login page. However, DO NOT log in to Webmin. As TLS/SSL wasn’t yet implemented, it will communicate through HTTP, sending all the data in clear text format:
|
1 |
http://<domain> |
- Configuring TLS/SSL
We need a certificate for our domain so that the connection is encrypted. To do so, we will be using Let’s Encrypt. It’s a free, automated, and open certificate authority (CA). It runs for the benefit of the public, provided by the Internet Security Research Group (ISRG).
To generate the certificate, certbot is the tool to use in the shell. Run the following certbot command to generate a TLS/SSL certificate for your domain and configure Apache to redirect the traffic to the secure site:
|
1 |
sudo certbot --apache --email <email> -d <domain> --agree-tos --redirect --noninteractive |
The output will look like this:
|
1 2 3 4 5 6 7 8 9 10 11 12 13 14 15 16 17 18 19 20 |
Saving debug log to /var/log/letsencrypt/letsencrypt.log Plugins selected: Authenticator apache, Installer apache Obtaining a new certificate Performing the following challenges: http-01 challenge for <domain> Enabled Apache rewrite module Waiting for verification... Cleaning up challenges Created an SSL vhost at /etc/apache2/sites-available/<domain>-le-ssl.conf Enabled Apache socache_shmcb module Enabled Apache ssl module Deploying Certificate to VirtualHost /etc/apache2/sites-available/<domain>-le-ssl.conf Enabling available site: /etc/apache2/sites-available/<domain>-le-ssl.conf Enabled Apache rewrite module Redirecting vhost in /etc/apache2/sites-enabled/<domain>.conf to ssl vhost in /etc/apache2/sites-available/<domain>-le-ssl.conf ------------------------------------------------------------------------------- Congratulations! You have successfully enabled https://<domain> You should test your configuration at: https://www.ssllabs.com/ssltest/analyze.html?d=<domain> ------------------------------------------------------------------------------- |
It indicates that the certificate installation was successful and Apache was successfully configured to redirect requests from http://<domain> to https://<domain>.
Using Webmin
Finally, we are ready to manage the system using Webmin. Open the Webmin domain from a web browser and log in as the root user (or any other user with sudo privileges).
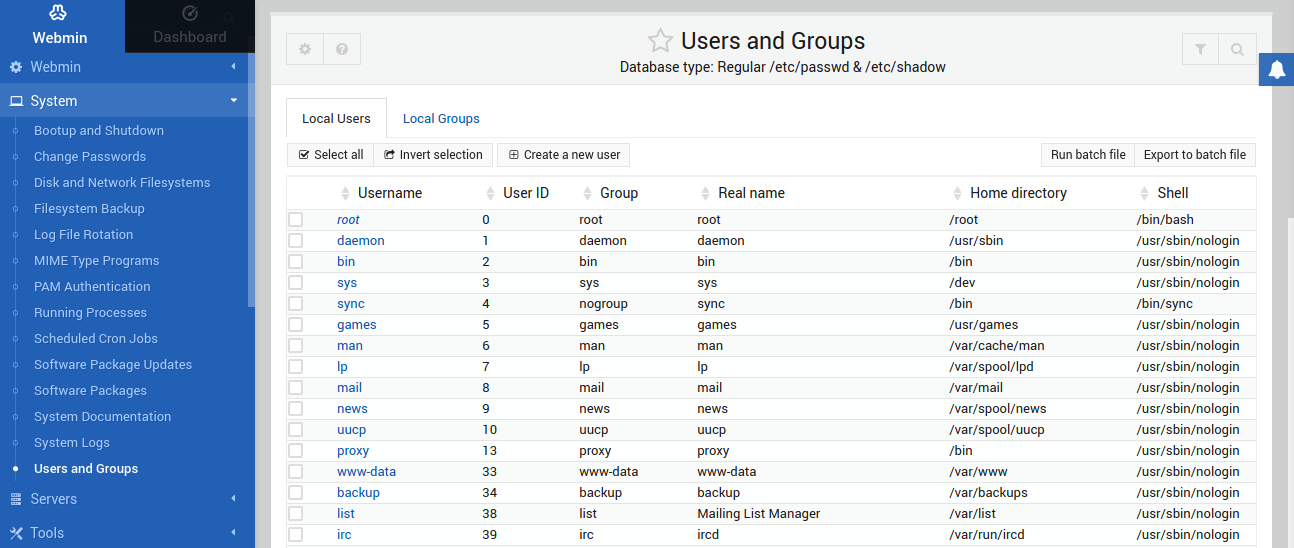
- Managing Users and Groups
First, let’s see how to manage users and groups using Webmin. From the left panel, go to System >> Users and Groups:
To create a new user, click Create a new user:
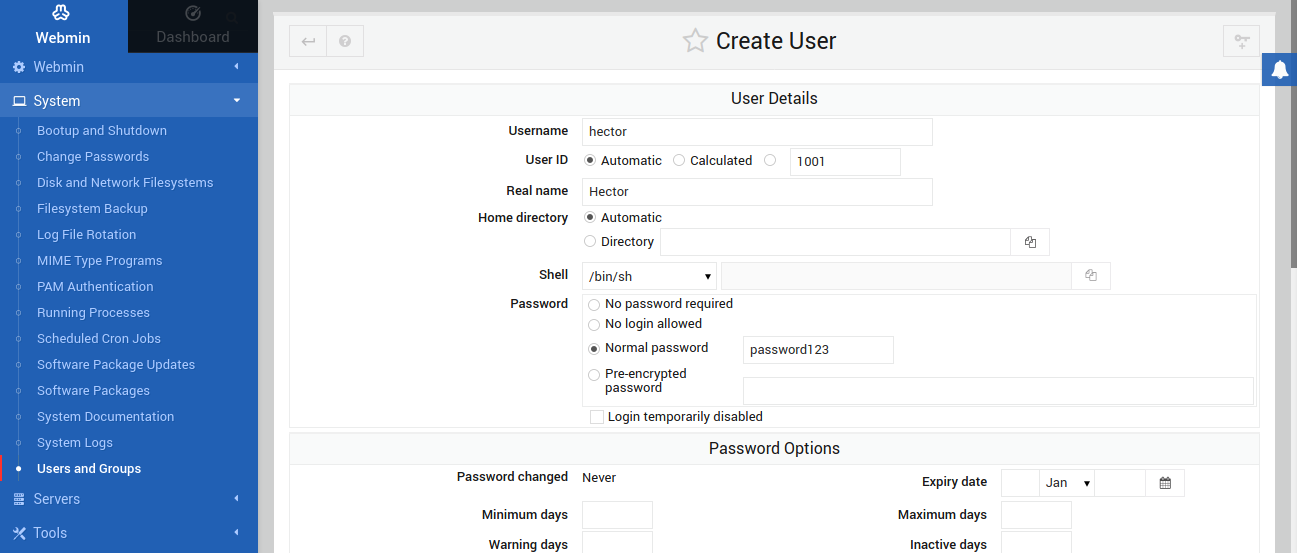
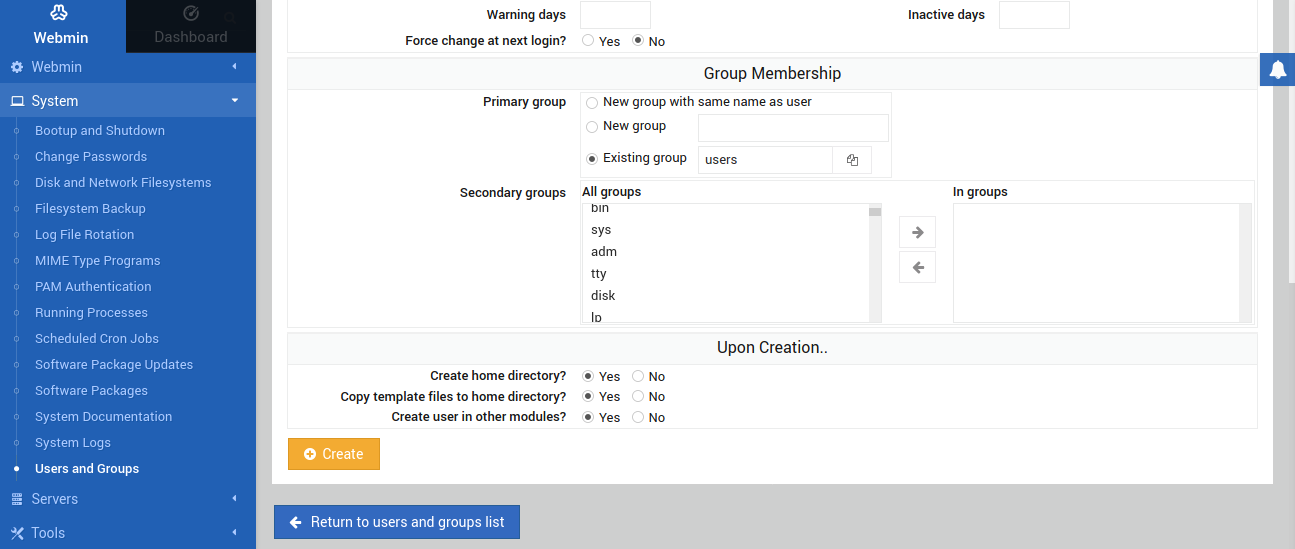
After that, fill in the required info for the new user. Click Create to finalize the procedure:
- Package Updates
Webmin can also check for available package updates. From the left panel, click the Dashboard icon:
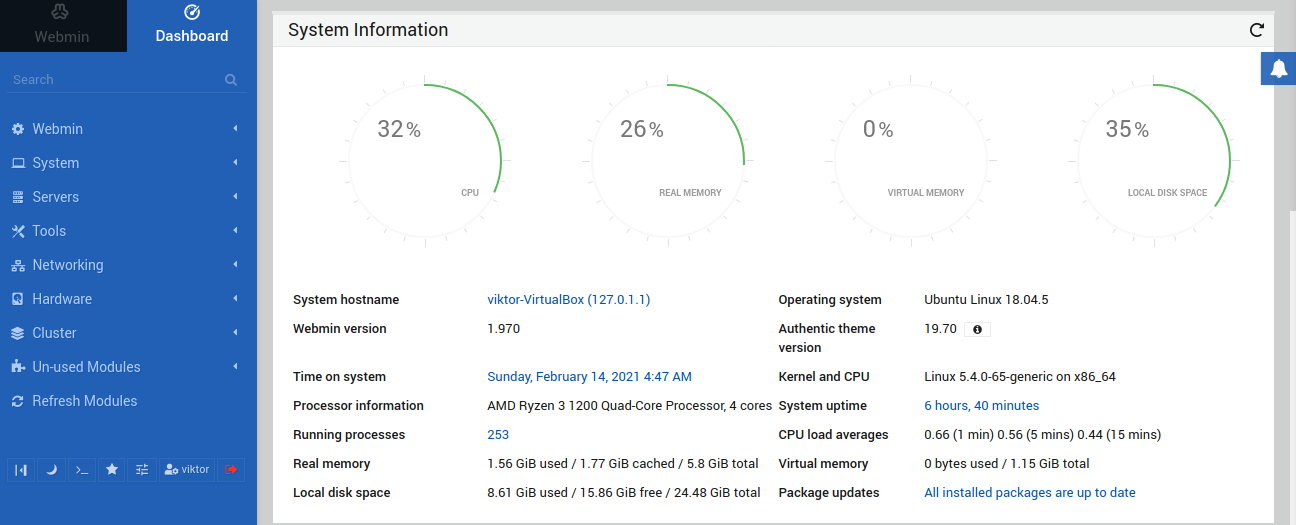
The Dashboard will present a quick summary of the system stats. Under the System Information section, locate the Package updates label. It will report if there’s any update available to any package.
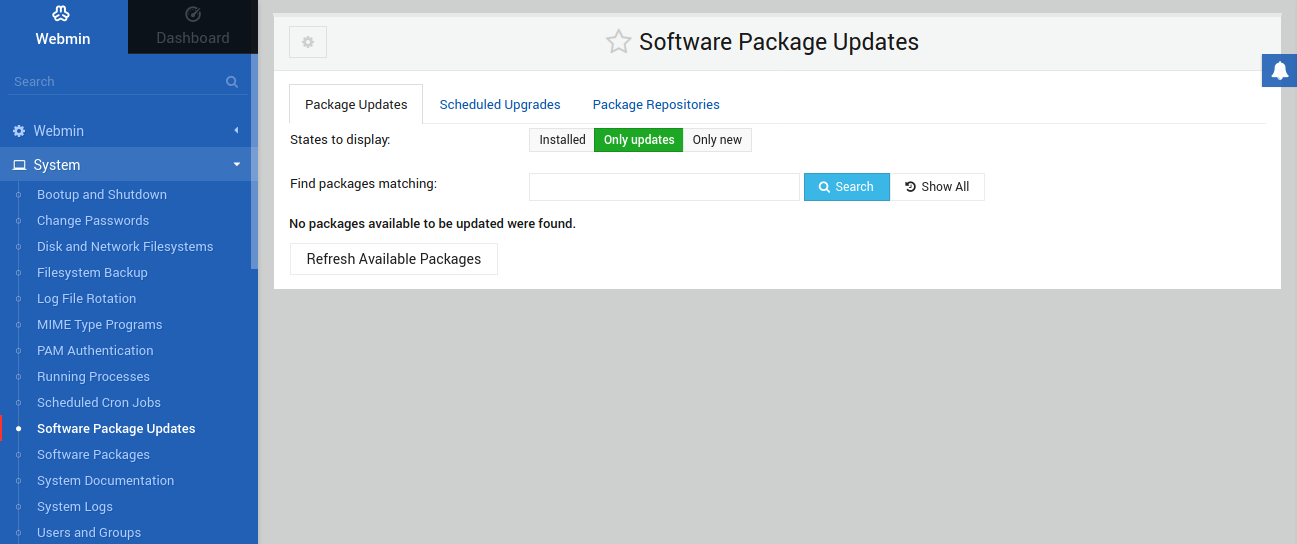
Alternatively, from the left panel, go to System >> Software Package Updates. Under the Package Updates tab, Webmin will report all the packages that have updates available:
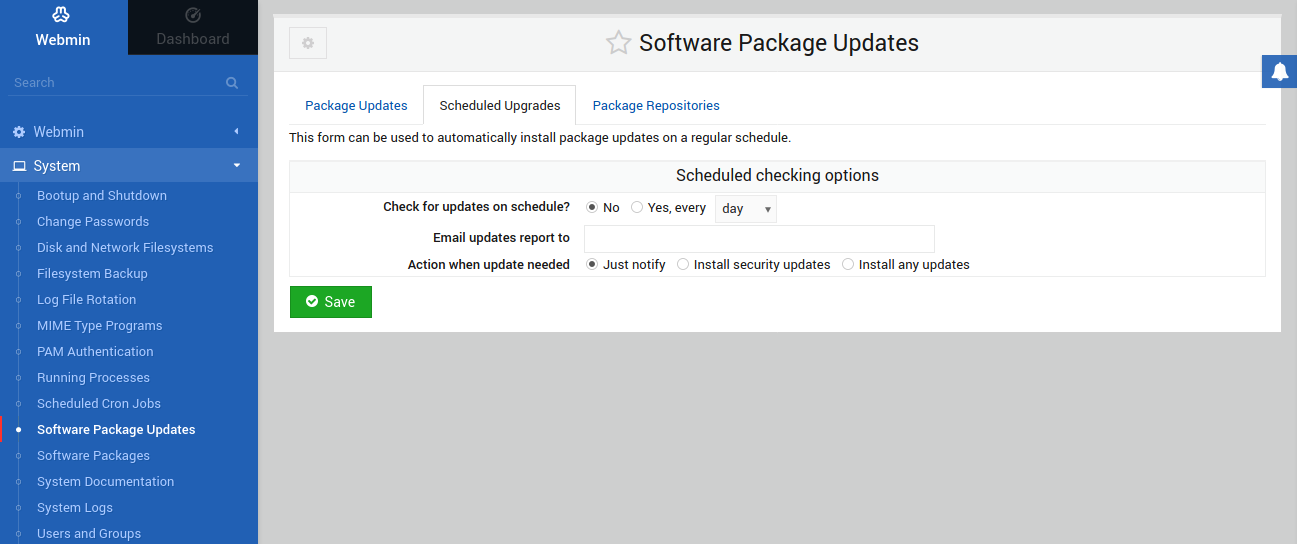
Under the Scheduled Upgrades tab, Webmin offers the option to automate package update installation:
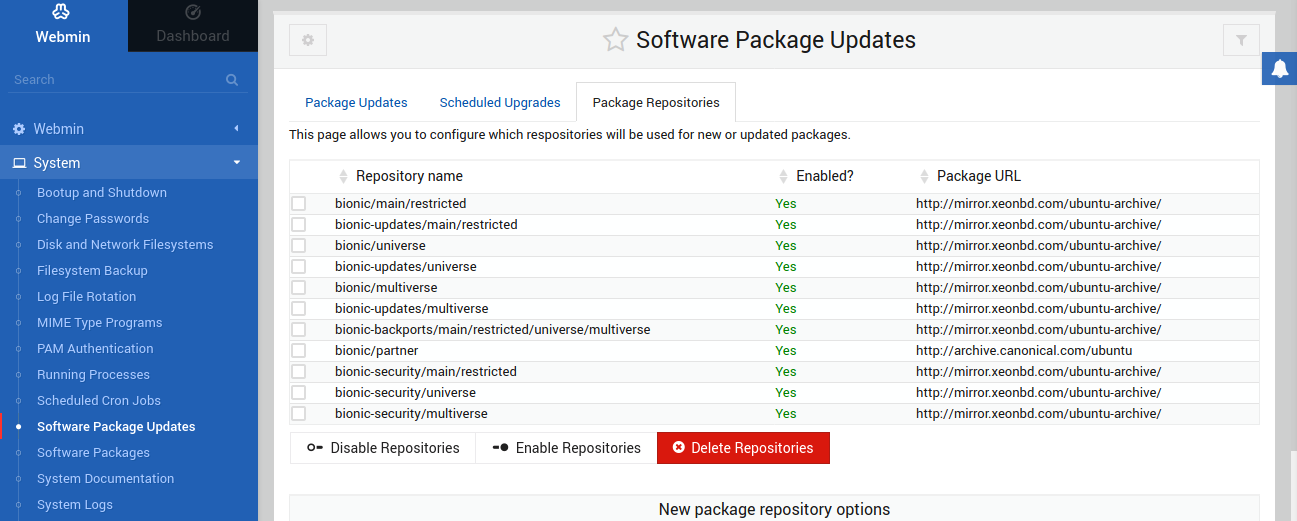
Next, below the Package Repositories tab, Webmin offers an easy way of managing all the package repos configured in the system:
- Running Custom Commands
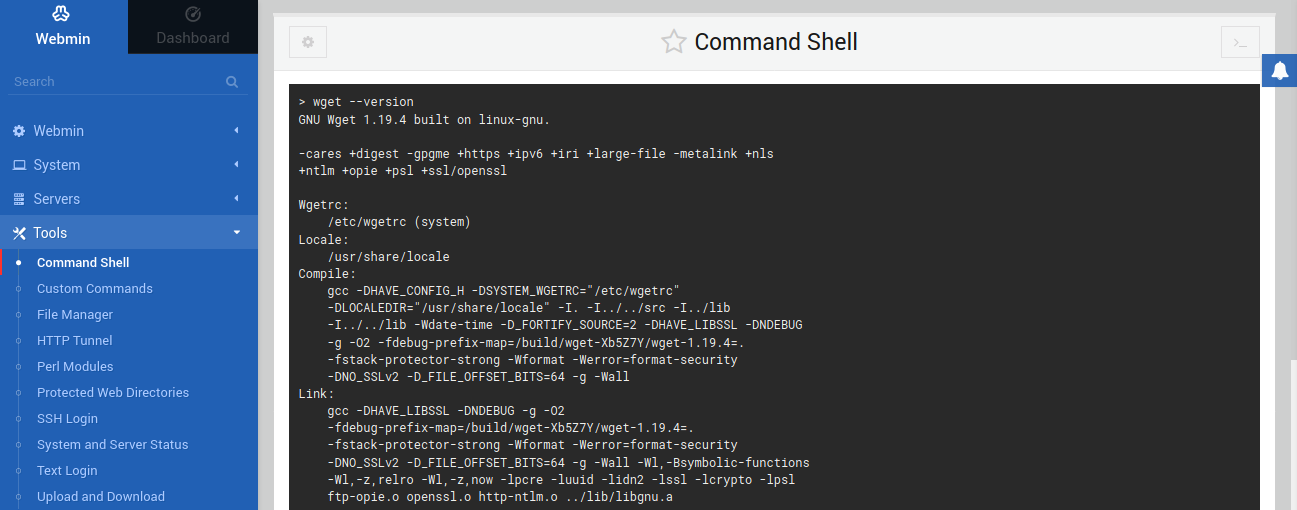
While Webmin offers a ton of options and customizations, there are still things that need to be done manually. Webmin can run any shell command. To run a command, from the left panel, go to Tools >> Command Shell:
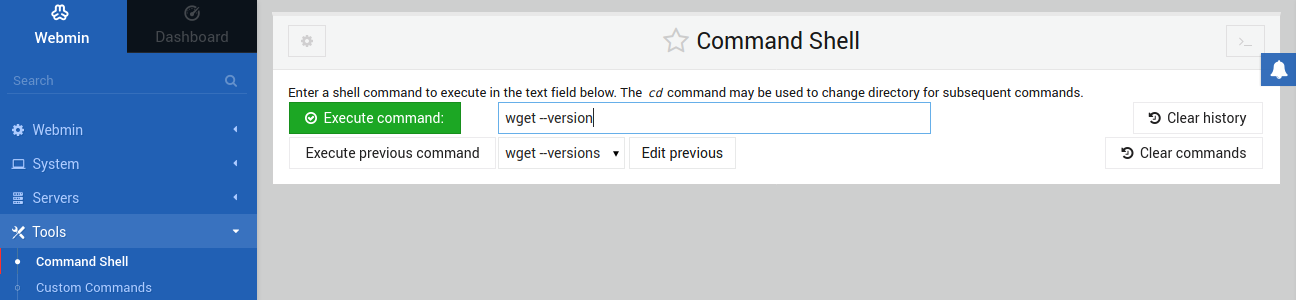
Next, enter the desired command, and click Execute command to run it:
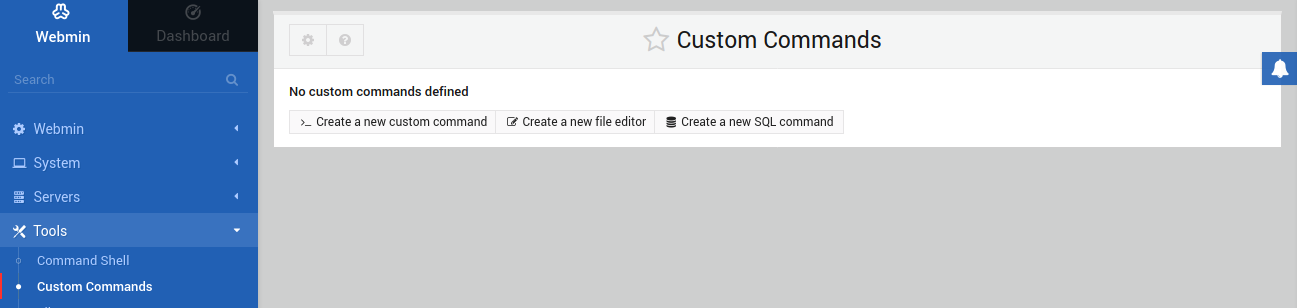
Running certain commands regularly? Consider marking them up in Webmin. From the left panel, go to Tools >> Custom Commands. No need to type those commands manually anymore:
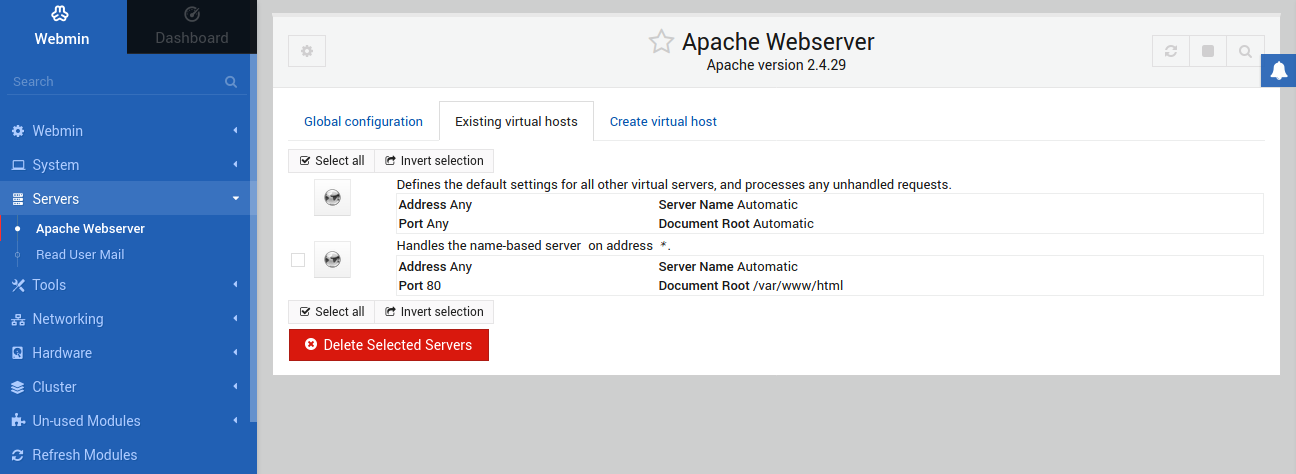
- Managing Apache
In addition, if there is any server engine installed, Webmin can manage it. For this example, we used Apache. In order to manage Apache through Webmin, go to Servers >> Apache:
Final Thoughts
Webmin is a very useful tool for managing your entire system. It offers a comfortable way of doing things that would normally require boring interaction with the console screen. Moreover, it helps you finely organize your system. This guide showcases the most useful applications of Webmin. Feel free to explore your way around the official Webmin wiki to learn more about utilizing the tool to your best advantage.
Happy computing!
- How To Enable, Create and Use the .htaccess File: A Tutorial - March 8, 2023
- An Overview of Queries in MySQL - October 28, 2022
- Introduction to Cookies: Understanding and Working with JavaScript Cookies - October 25, 2022
- An Overview of Data Types in Ruby - October 24, 2022
- The Architecture of Iptables and Netfilter - October 10, 2022