

Introduction
In software development, versioning is an incredibly powerful tool. It allows the developer(s) to keep track of the software at the source level. Versioning helps to keep track of changes, reverting to previous stages, and branching out to create alternate versions of files and directories. Among all the version control systems, Git is probably the most popular one. In the case of the Git system, the project files are maintained in Git repositories. Sites like GitHub, GitLab, and Bitbucket offer to host free/paid Git repositories for all sorts of purposes. Git also makes project sharing and collaboration more efficient.
In this guide, check out how to install Git on Ubuntu 18.04.
Prerequisites
Before we start, you need to make sure that you have a non-root user with sudo privileges on an Ubuntu 18.04 server. You can set up your Ubuntu server by following our step-by-step tutorial. You can follow this tutorial to make sure you have the right non-root user with sudo privileges. Now, let’s start!
Installing Git on Ubuntu
On Ubuntu, there are multiple methods to install Git. The software is directly available from the official Ubuntu repositories. Alternatively, Git can also be built and installed from the source. This guide demonstrates both methods.
Install Git from Ubuntu repo
First, launch a terminal and update the APT local package index:
|
1 |
sudo apt update |
The following APT command will grab and install Git from the repos:
|
1 |
sudo apt install git |
Verify that Git was installed successfully.
|
1 |
git --version |
![]()
Installing Git from source
Git is an open-source project. It’s possible to download and build the tool manually. While it offers more flexibility, it’s a more complex process. When Git receives an update, this entire process has to be performed again. For general use, it’s recommended to avoid this method.
Prerequisite software
First, we need the system to have all the necessary tools and dependencies required to build Git. All these packages are available directly from the Ubuntu repositories:
|
1 |
sudo apt update && sudo apt install make libssl-dev libghc-zlib-dev libcurl4-gnutls-dev libexpat1-dev gettext unzip |
Downloading Git source code
The next step is to download the source code. If Git wasn’t previously installed, then the source code has to be downloaded manually. If Git was previously installed, then we can use Git to download the Git source code.
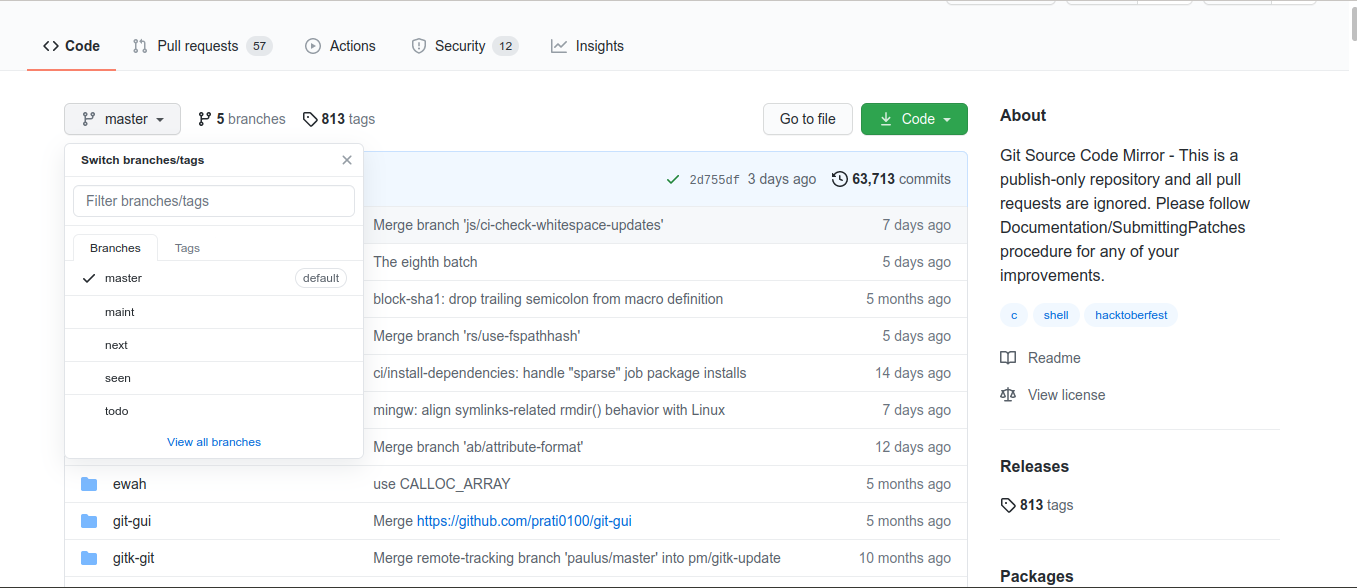
First, check out how to manually download the latest Git source code. Go to the official Git page on GitHub:
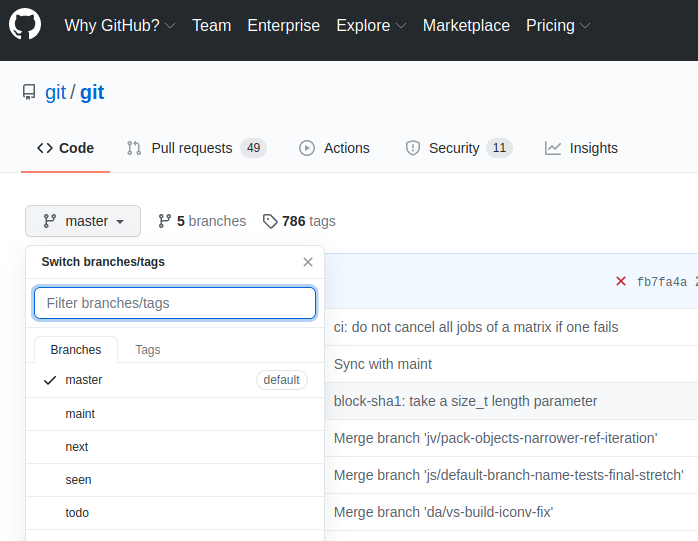
From the drop-down menu, select “master” for the branch. As for the tag, select the target version of Git. It’s recommended to use the latest stable version. At the time of writing this article, it’s v2.30.0. Avoid the release candidate (marked as “rc”) versions as those may be unstable:
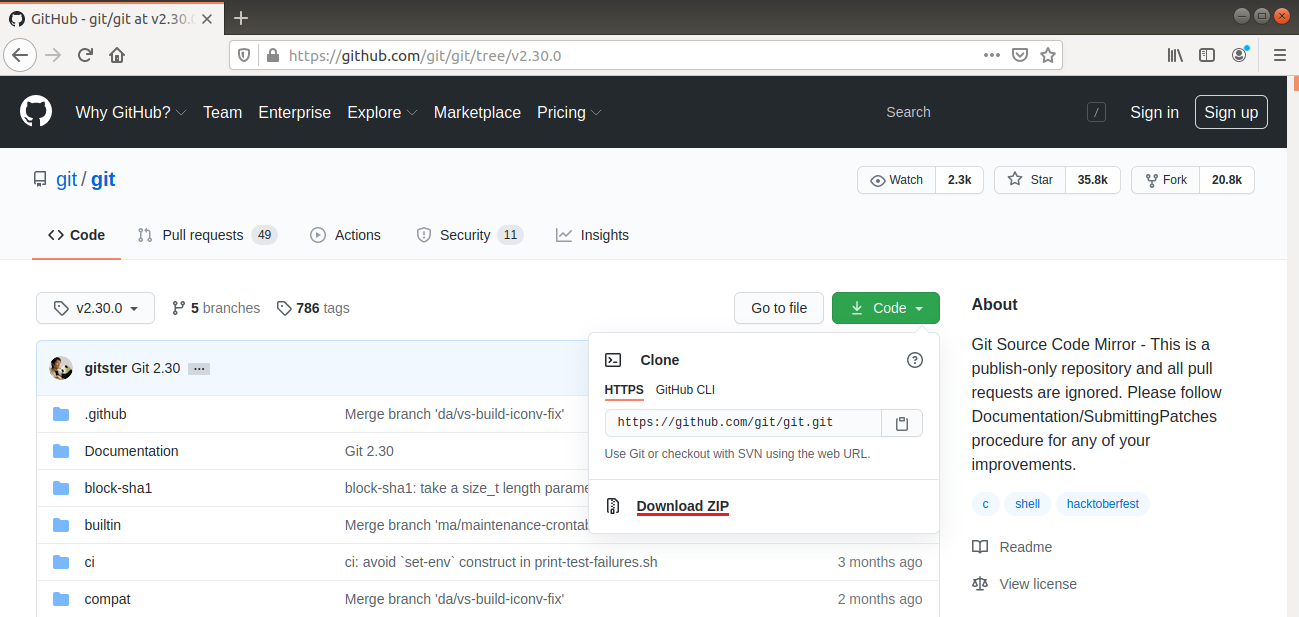
Next, click the “Code” icon. Select “Download ZIP”. In this example, this will download the source code of Git v2.30.0 in a zipped archive:
Alternatively, the source archive is directly available in the following URL format:
|
1 |
https://github.com/git/git/archive/<version>.zip |
To download Git v2.30.0 source archive using wget, run the following command:
|
1 |
wget https://github.com/git/git/archive/v2.30.0.zip -O git_source.zip |
Another alternative is to use Git to clone the Git source repository. If there’s already Git installed, the process is much simpler. Just run the following command:
|
1 |
git clone https://github.com/git/git.git |

Compiling Git source code
In this section, assume we’re using the Git source code obtained as the zip archive. Extract the archive:
|
1 |
unzip git_source.zip |
Change the current directory:
|
1 |
cd git-2.30.0/ |
Start the compilation process. Using the “-j” flag, “make” will use multiple CPU cores to speed up the process:
|
1 |
make prefix=/usr/local all -j$(nproc) |
Installing Git
The following command will install the freshly built program:
|
1 |
sudo make prefix=/usr/local install |
After that, verify if the installation went successfully:
|
1 |
git --version |
Git configuration
Now you should have Git successfully installed. In order to use it properly, Git requires some information to generate proper commit messages. Git embeds the name and email address into each commit. Add the info using the following commands:
|
1 2 |
git config --global user.name "<username>" git config --global user.email "<email_address>" |
Next, verify if the configurations were set successfully:
|
1 |
git config --list |

This information is stored locally in the Git configuration file. The file is available at the following location:
|
1 |
vim ~/.gitconfig |
Git supports lots of additional options. However, these two are the absolutely necessary ones. If skipped, Git may warn when trying to commit to any Git repositories. It increases the workload as each commit has to be revised with the corrected information.
Conclusion
Git is a powerful version controlling system. This guide demonstrated how to install and configure Git on Ubuntu.
Happy computing!
- How To Enable, Create and Use the .htaccess File: A Tutorial - March 8, 2023
- An Overview of Queries in MySQL - October 28, 2022
- Introduction to Cookies: Understanding and Working with JavaScript Cookies - October 25, 2022
- An Overview of Data Types in Ruby - October 24, 2022
- The Architecture of Iptables and Netfilter - October 10, 2022